How to turn a Vintage Zenith Radio Cabinet into a Lighted Bar Part 3: Cabinet Work
Cabinet Work
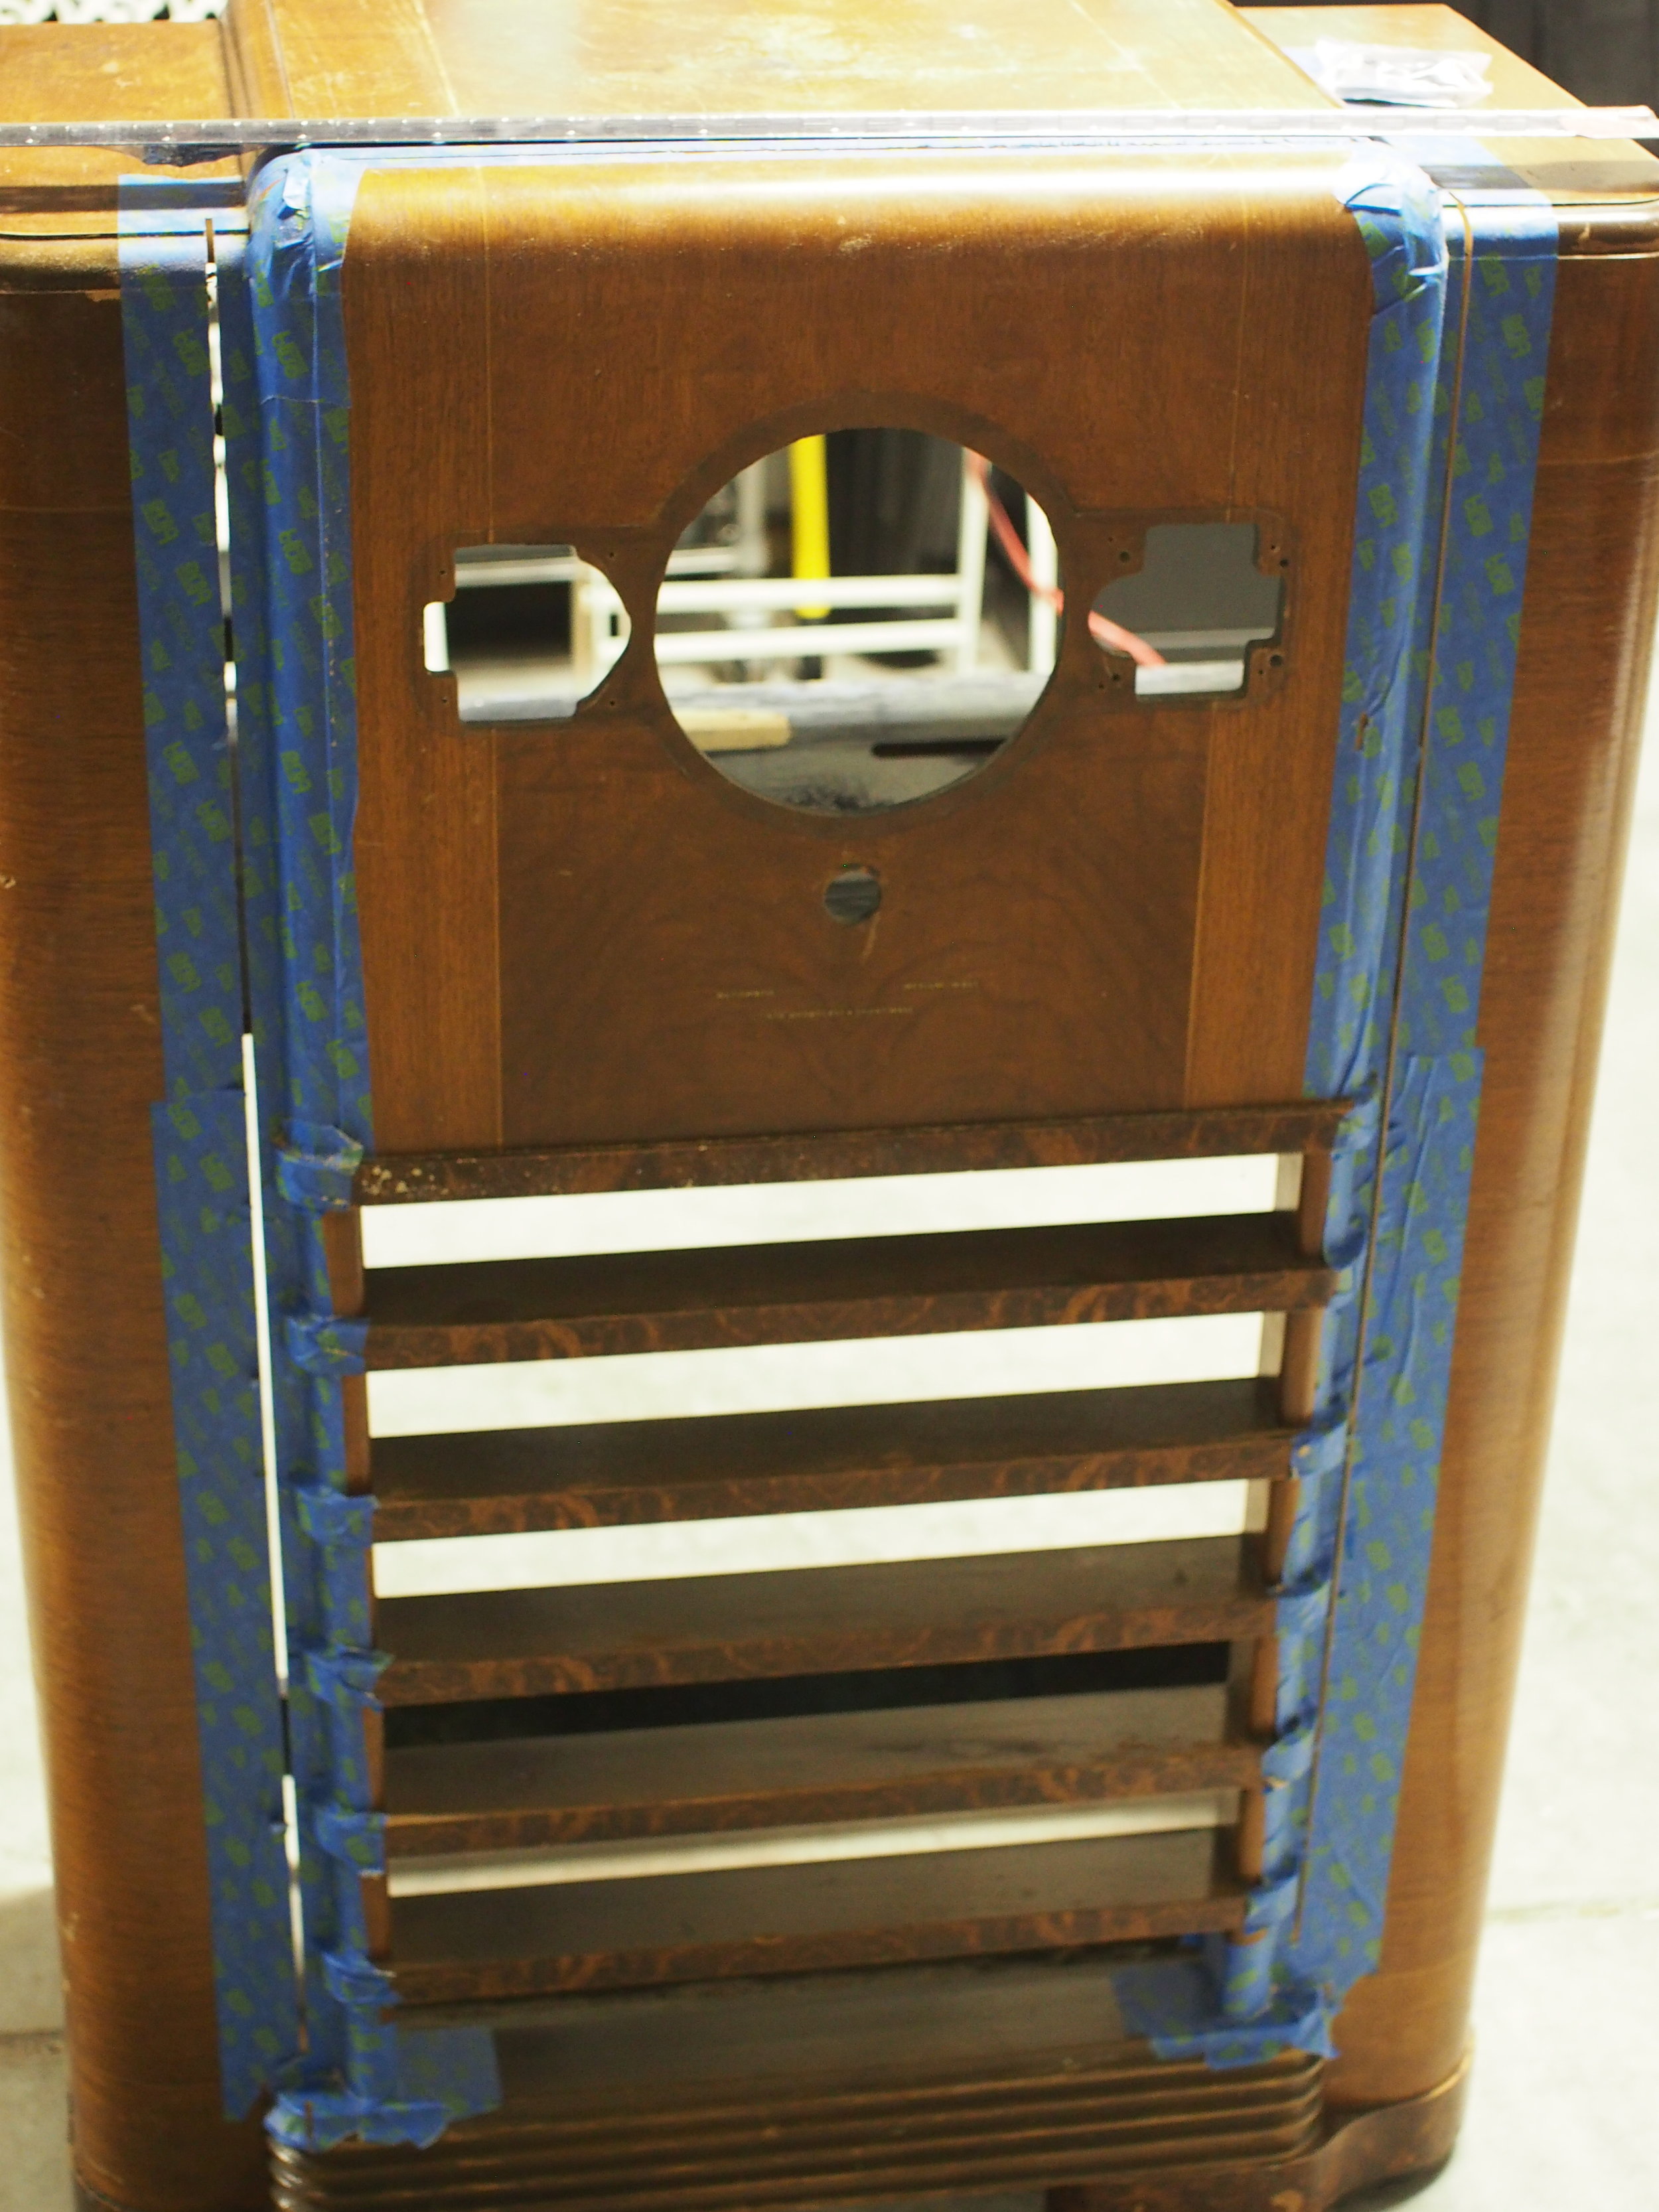
Starting with cutting the door, the interior of the cabinet needed to be reconfigured to make it workable.
The Door
My across-the-street neighbor has a nice woodshop in his second garage, so I asked to borrow his table saw to cut the door.
Nice straight cuts
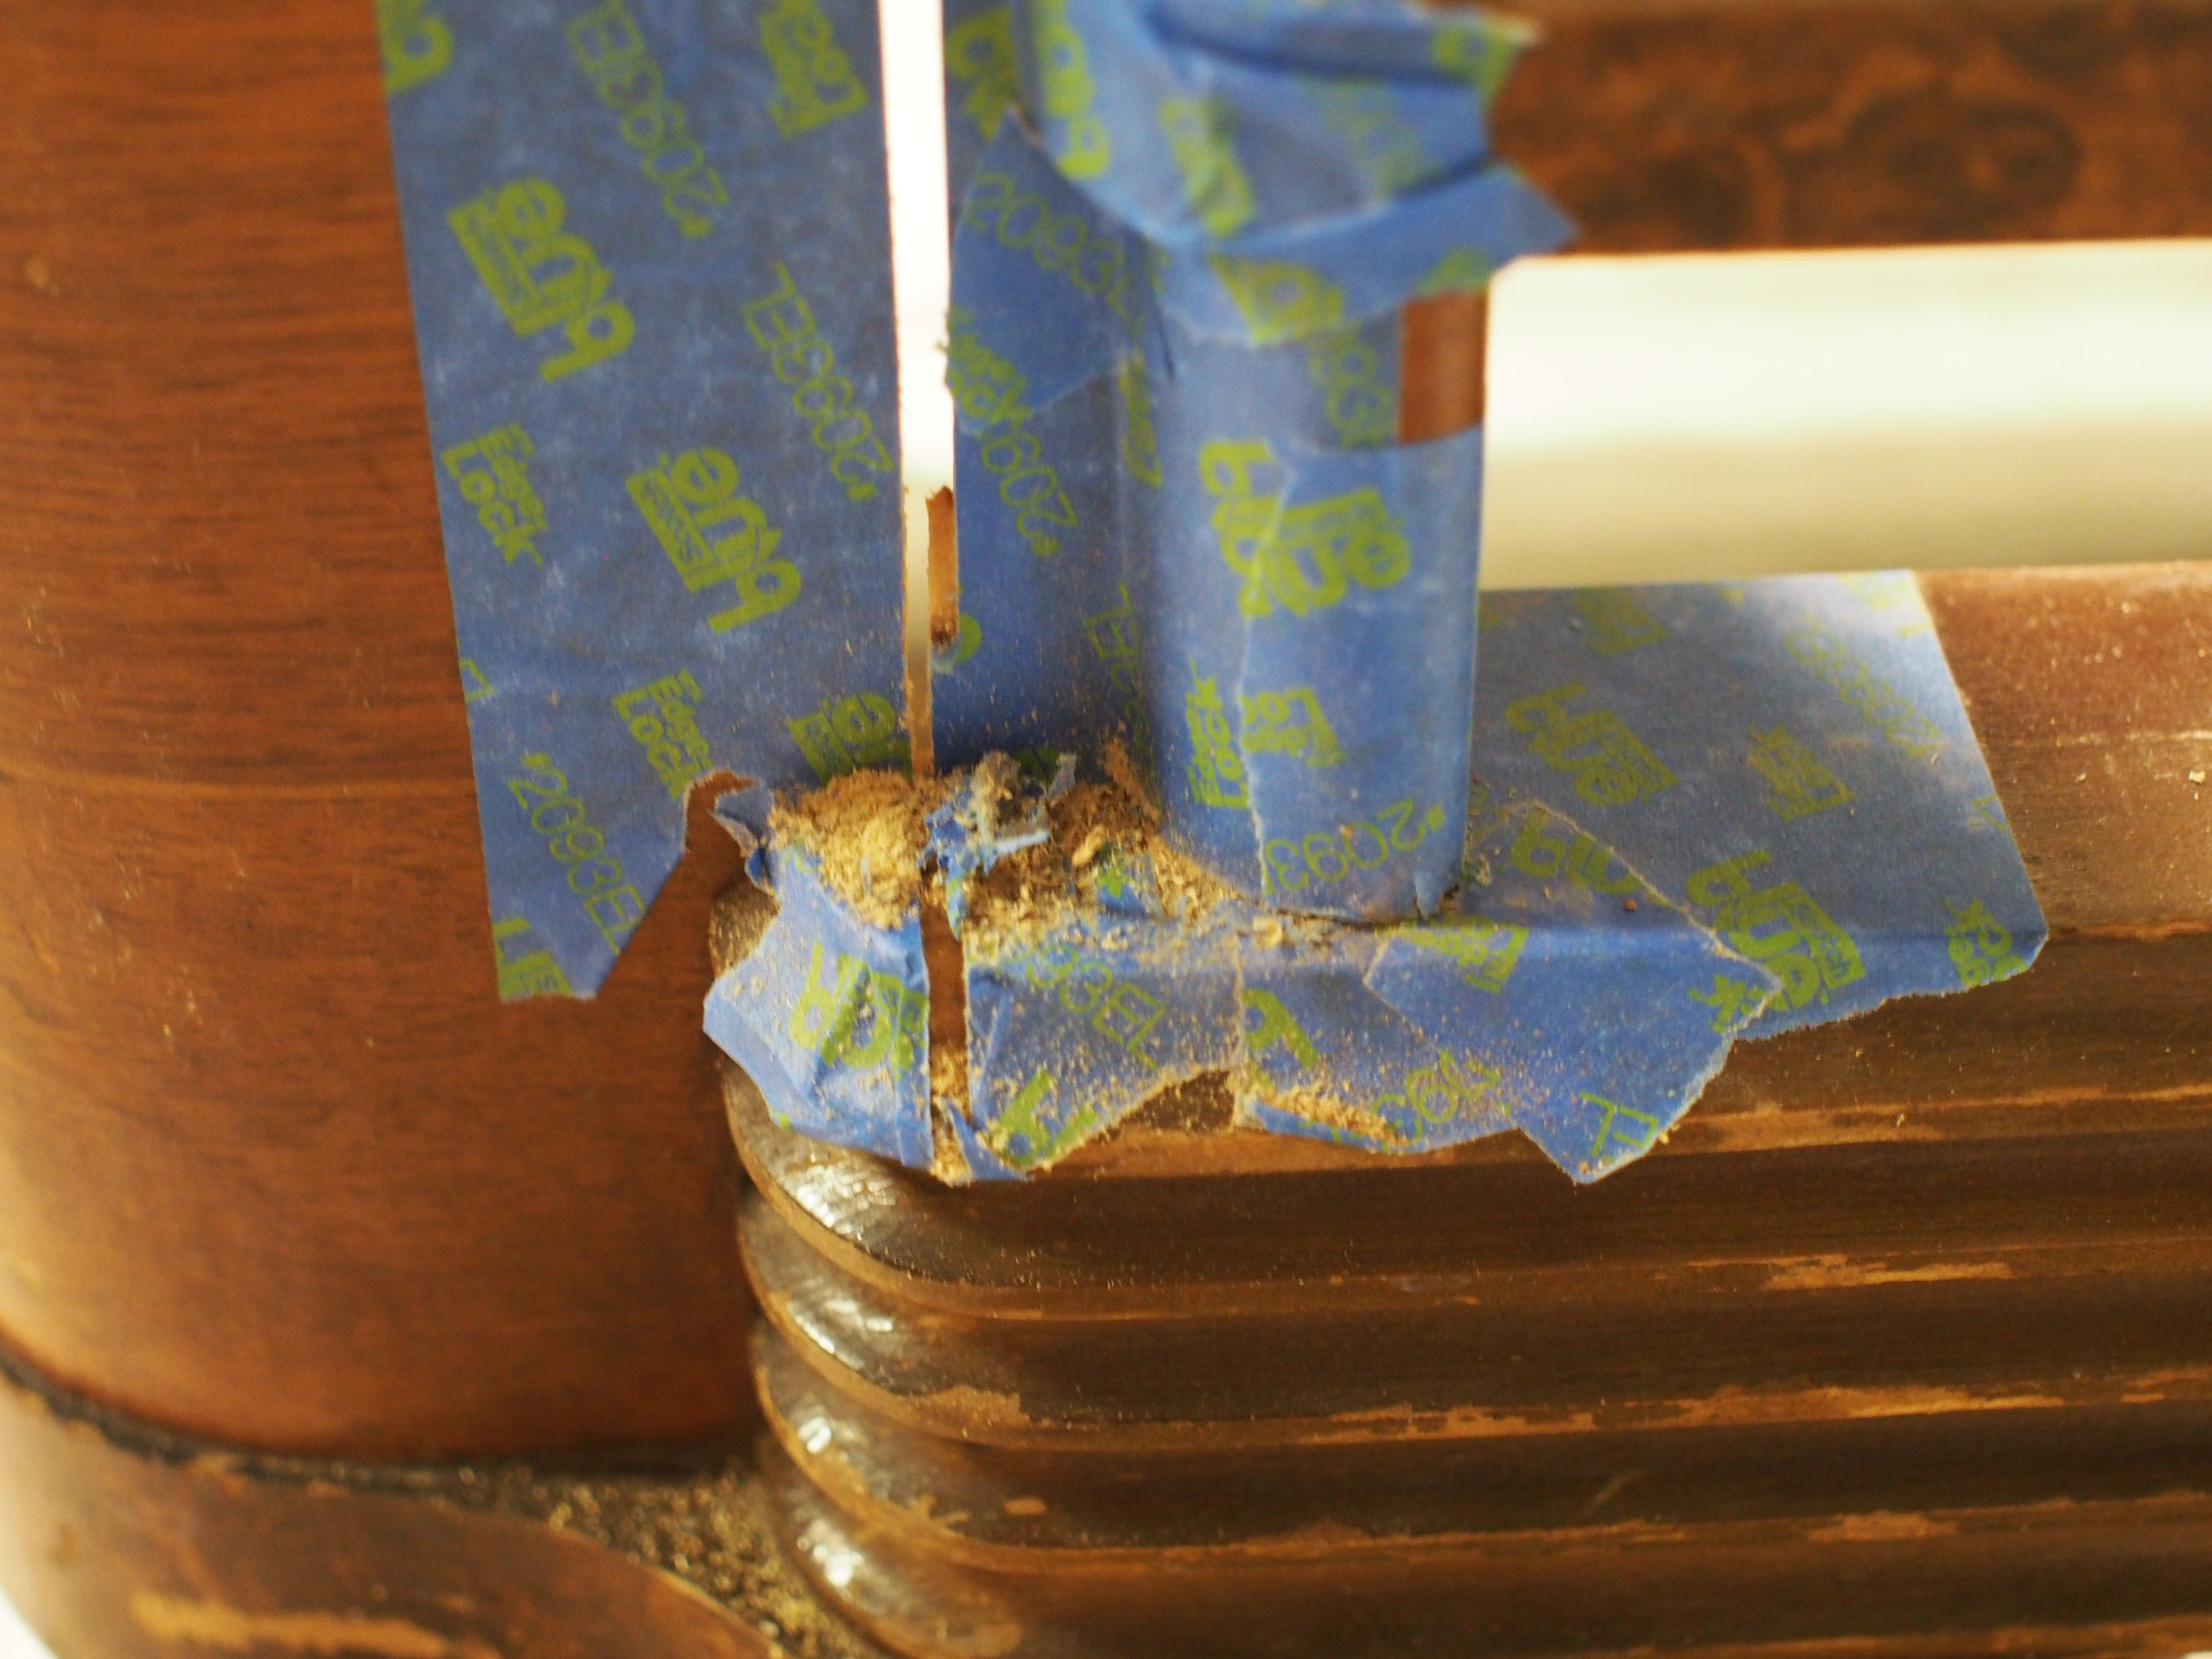
A little too close!
I finished up the top and bottom with a hand saw.

The door, showing the original faux finish
The Shelves
The interior of the cabinet required removing the shelf and all its supports, and reinforcing areas that bear weight. Chiseling out these little triangular shelf supports was the worst part of this. They tended to splinter instead of coming out cleanly.
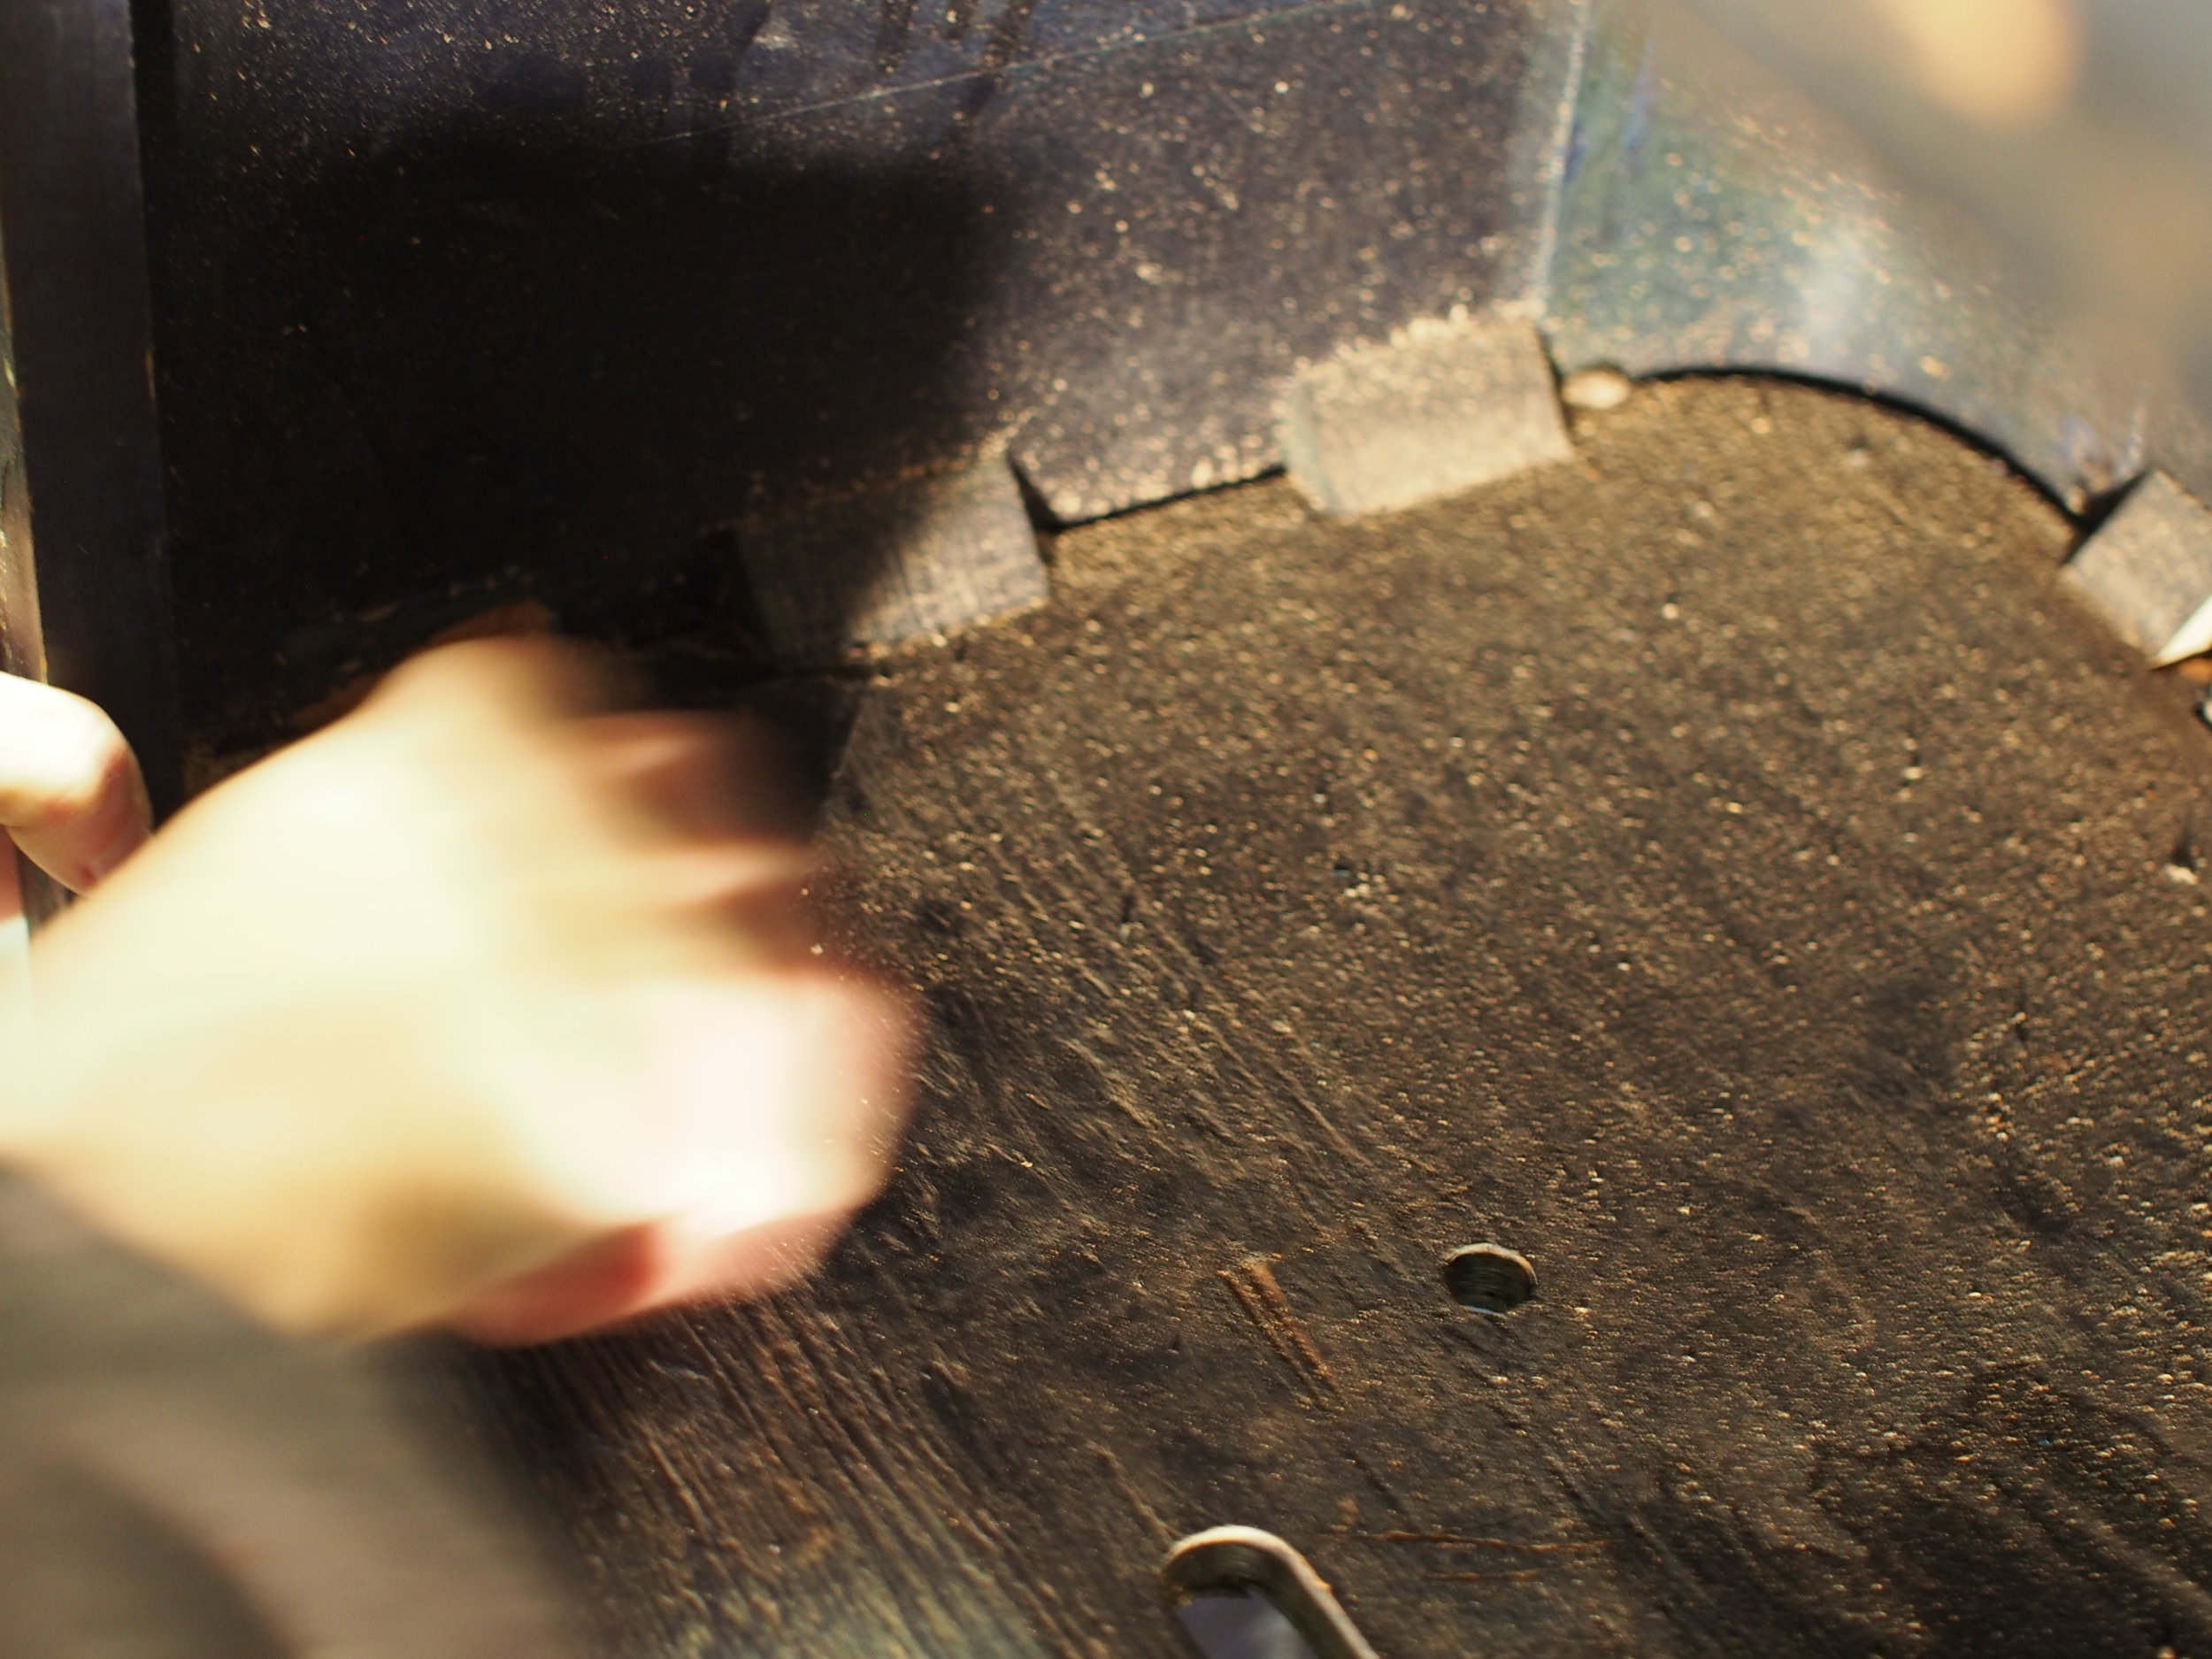
Shelf supports
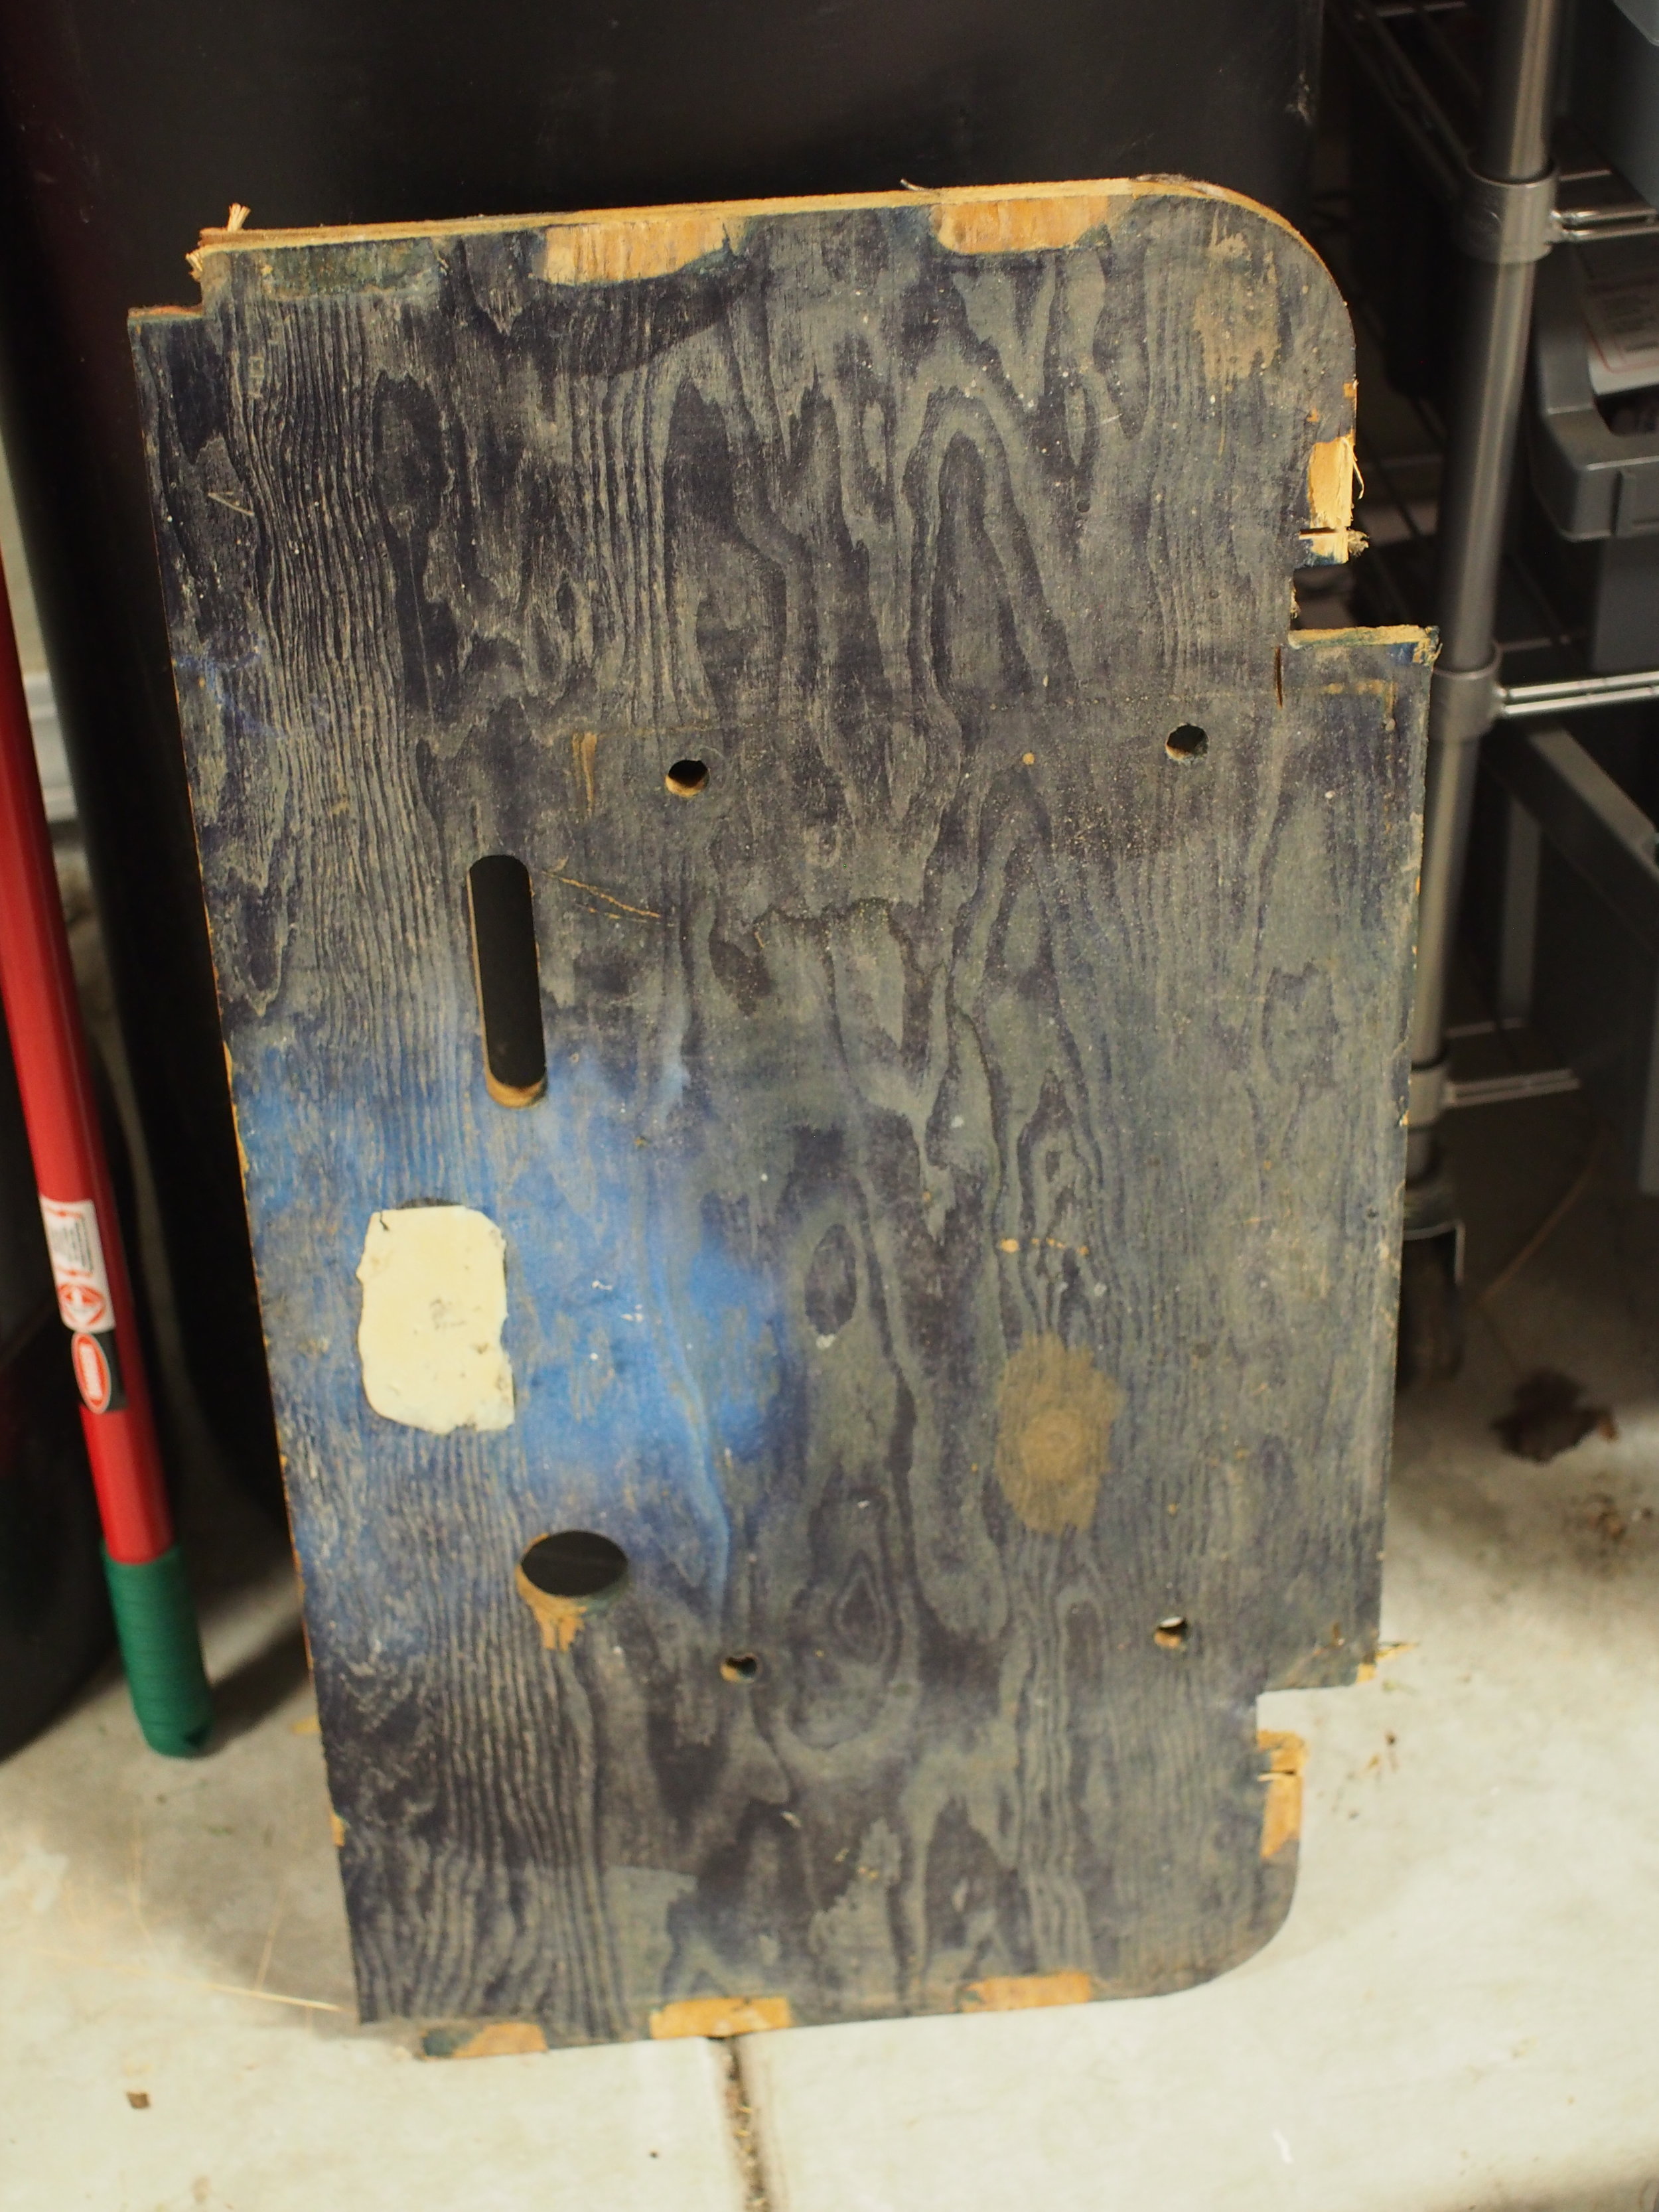
The shelf
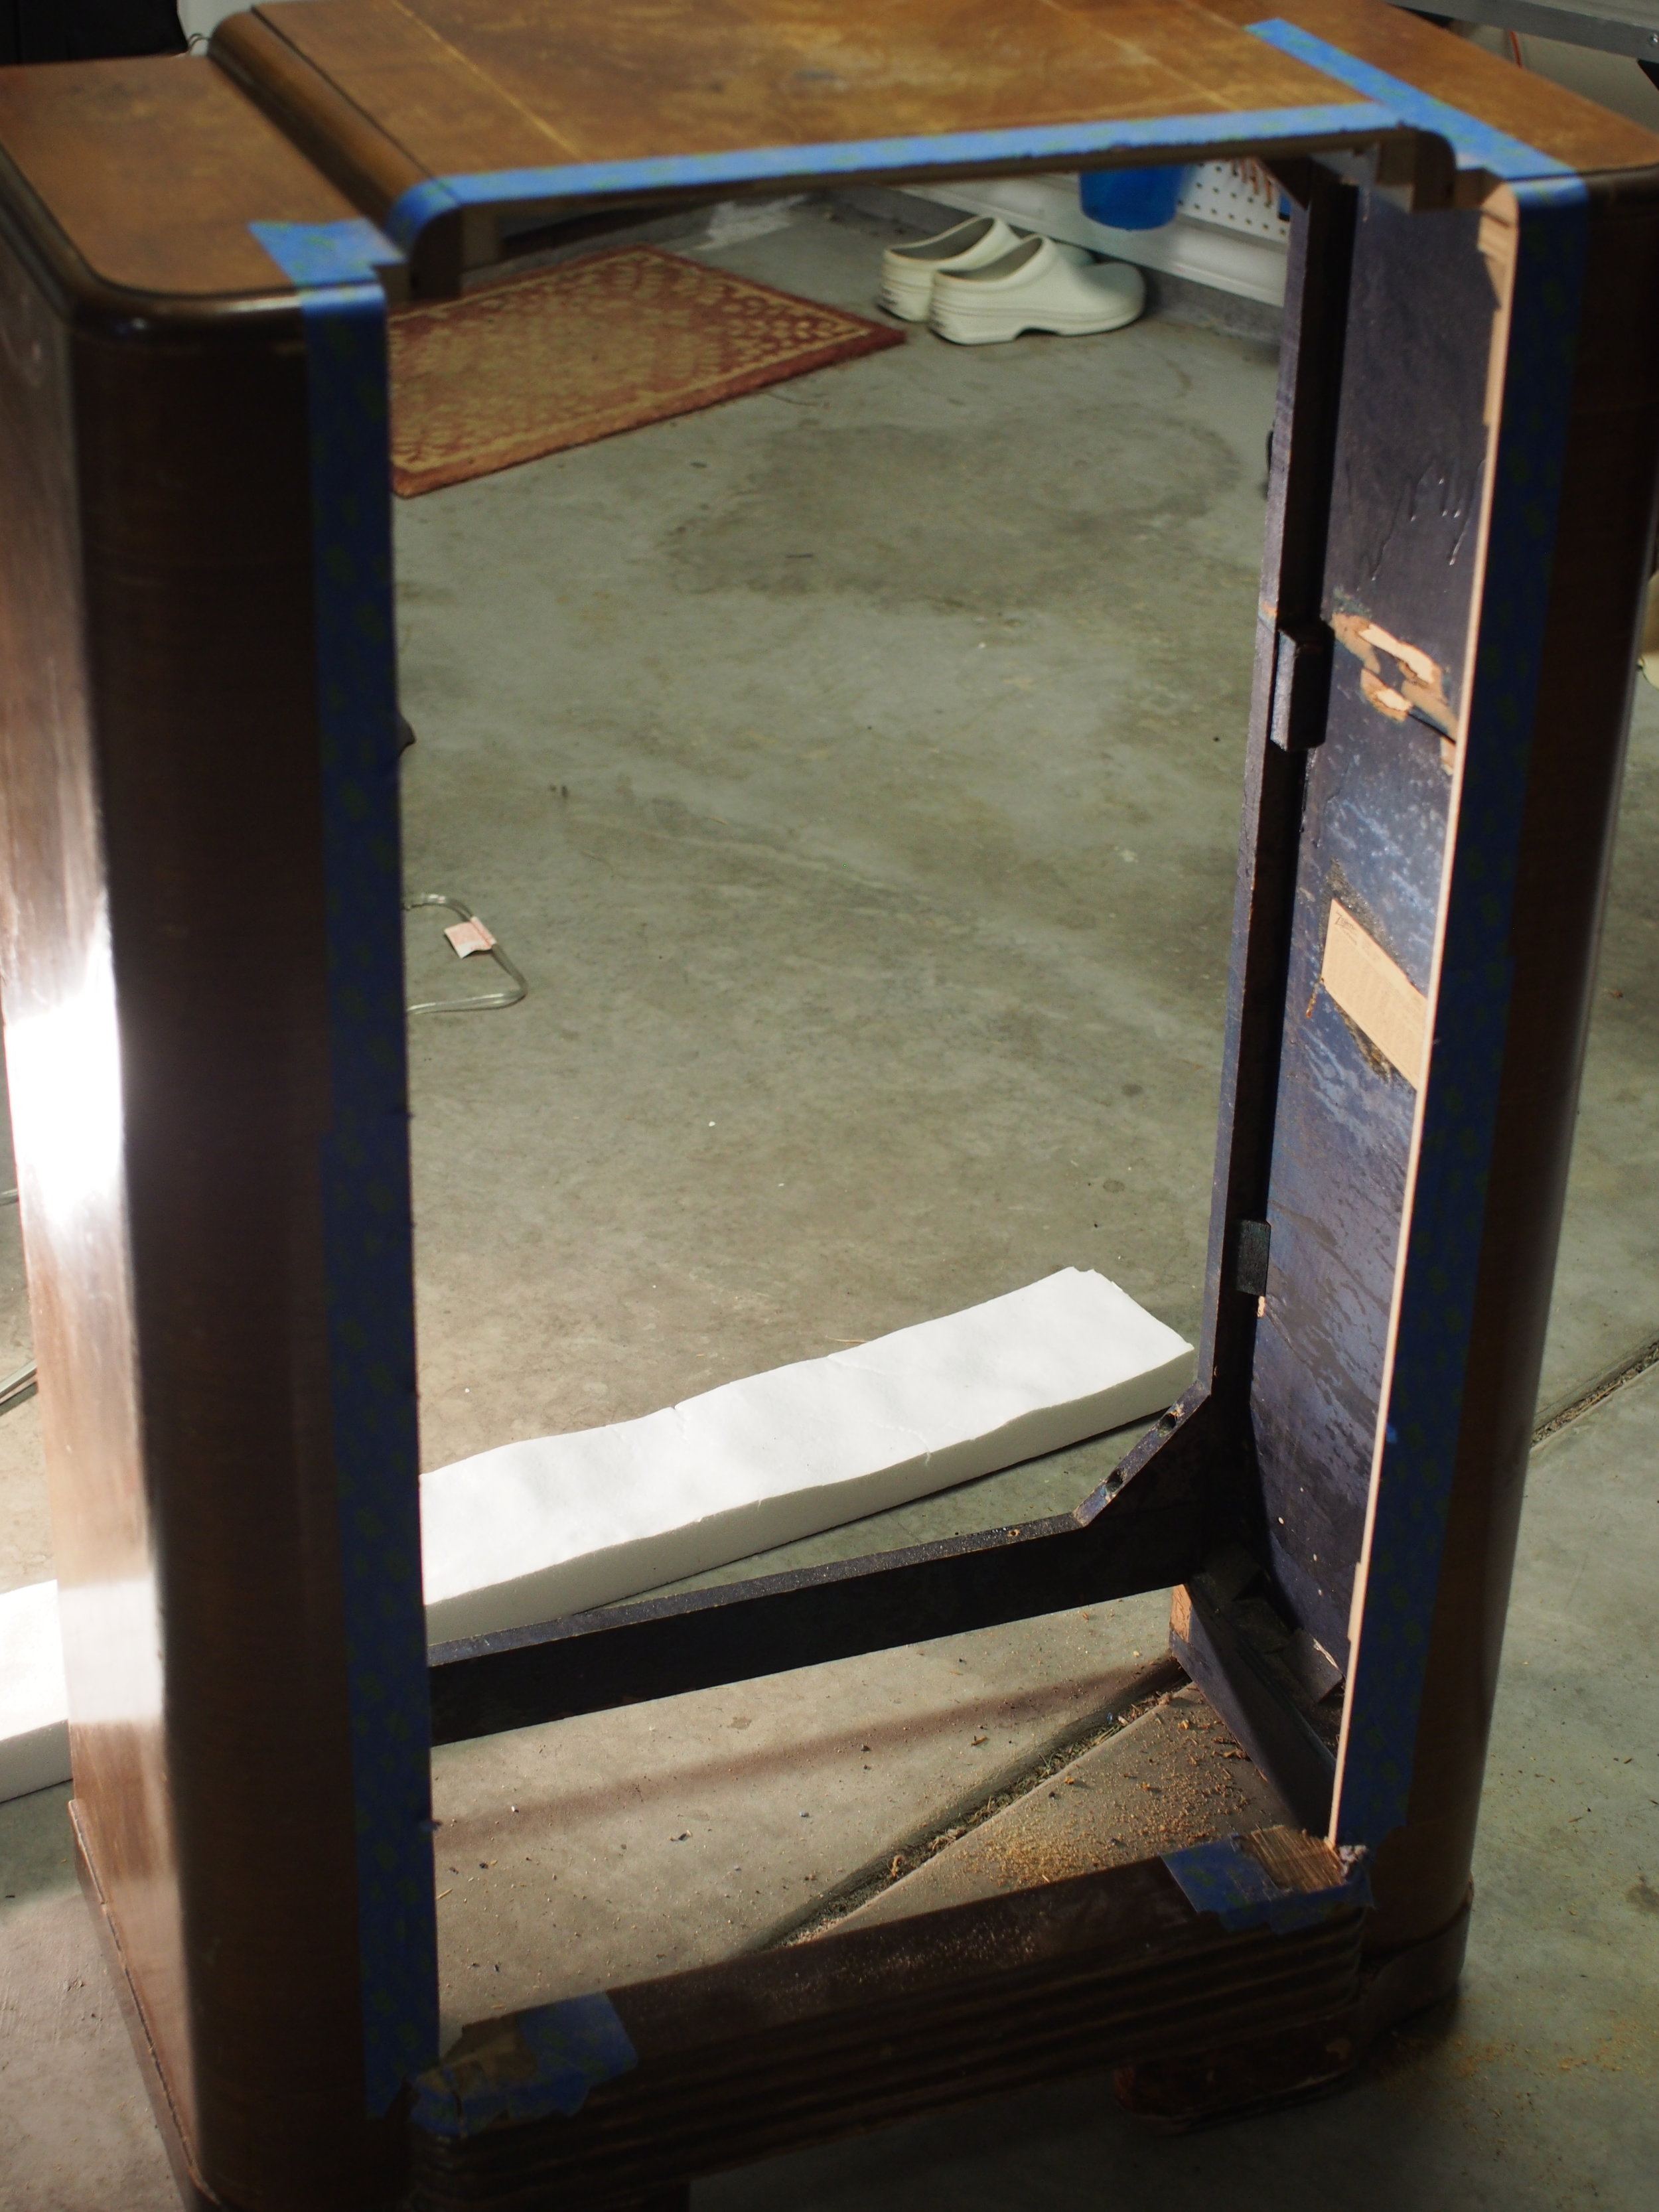
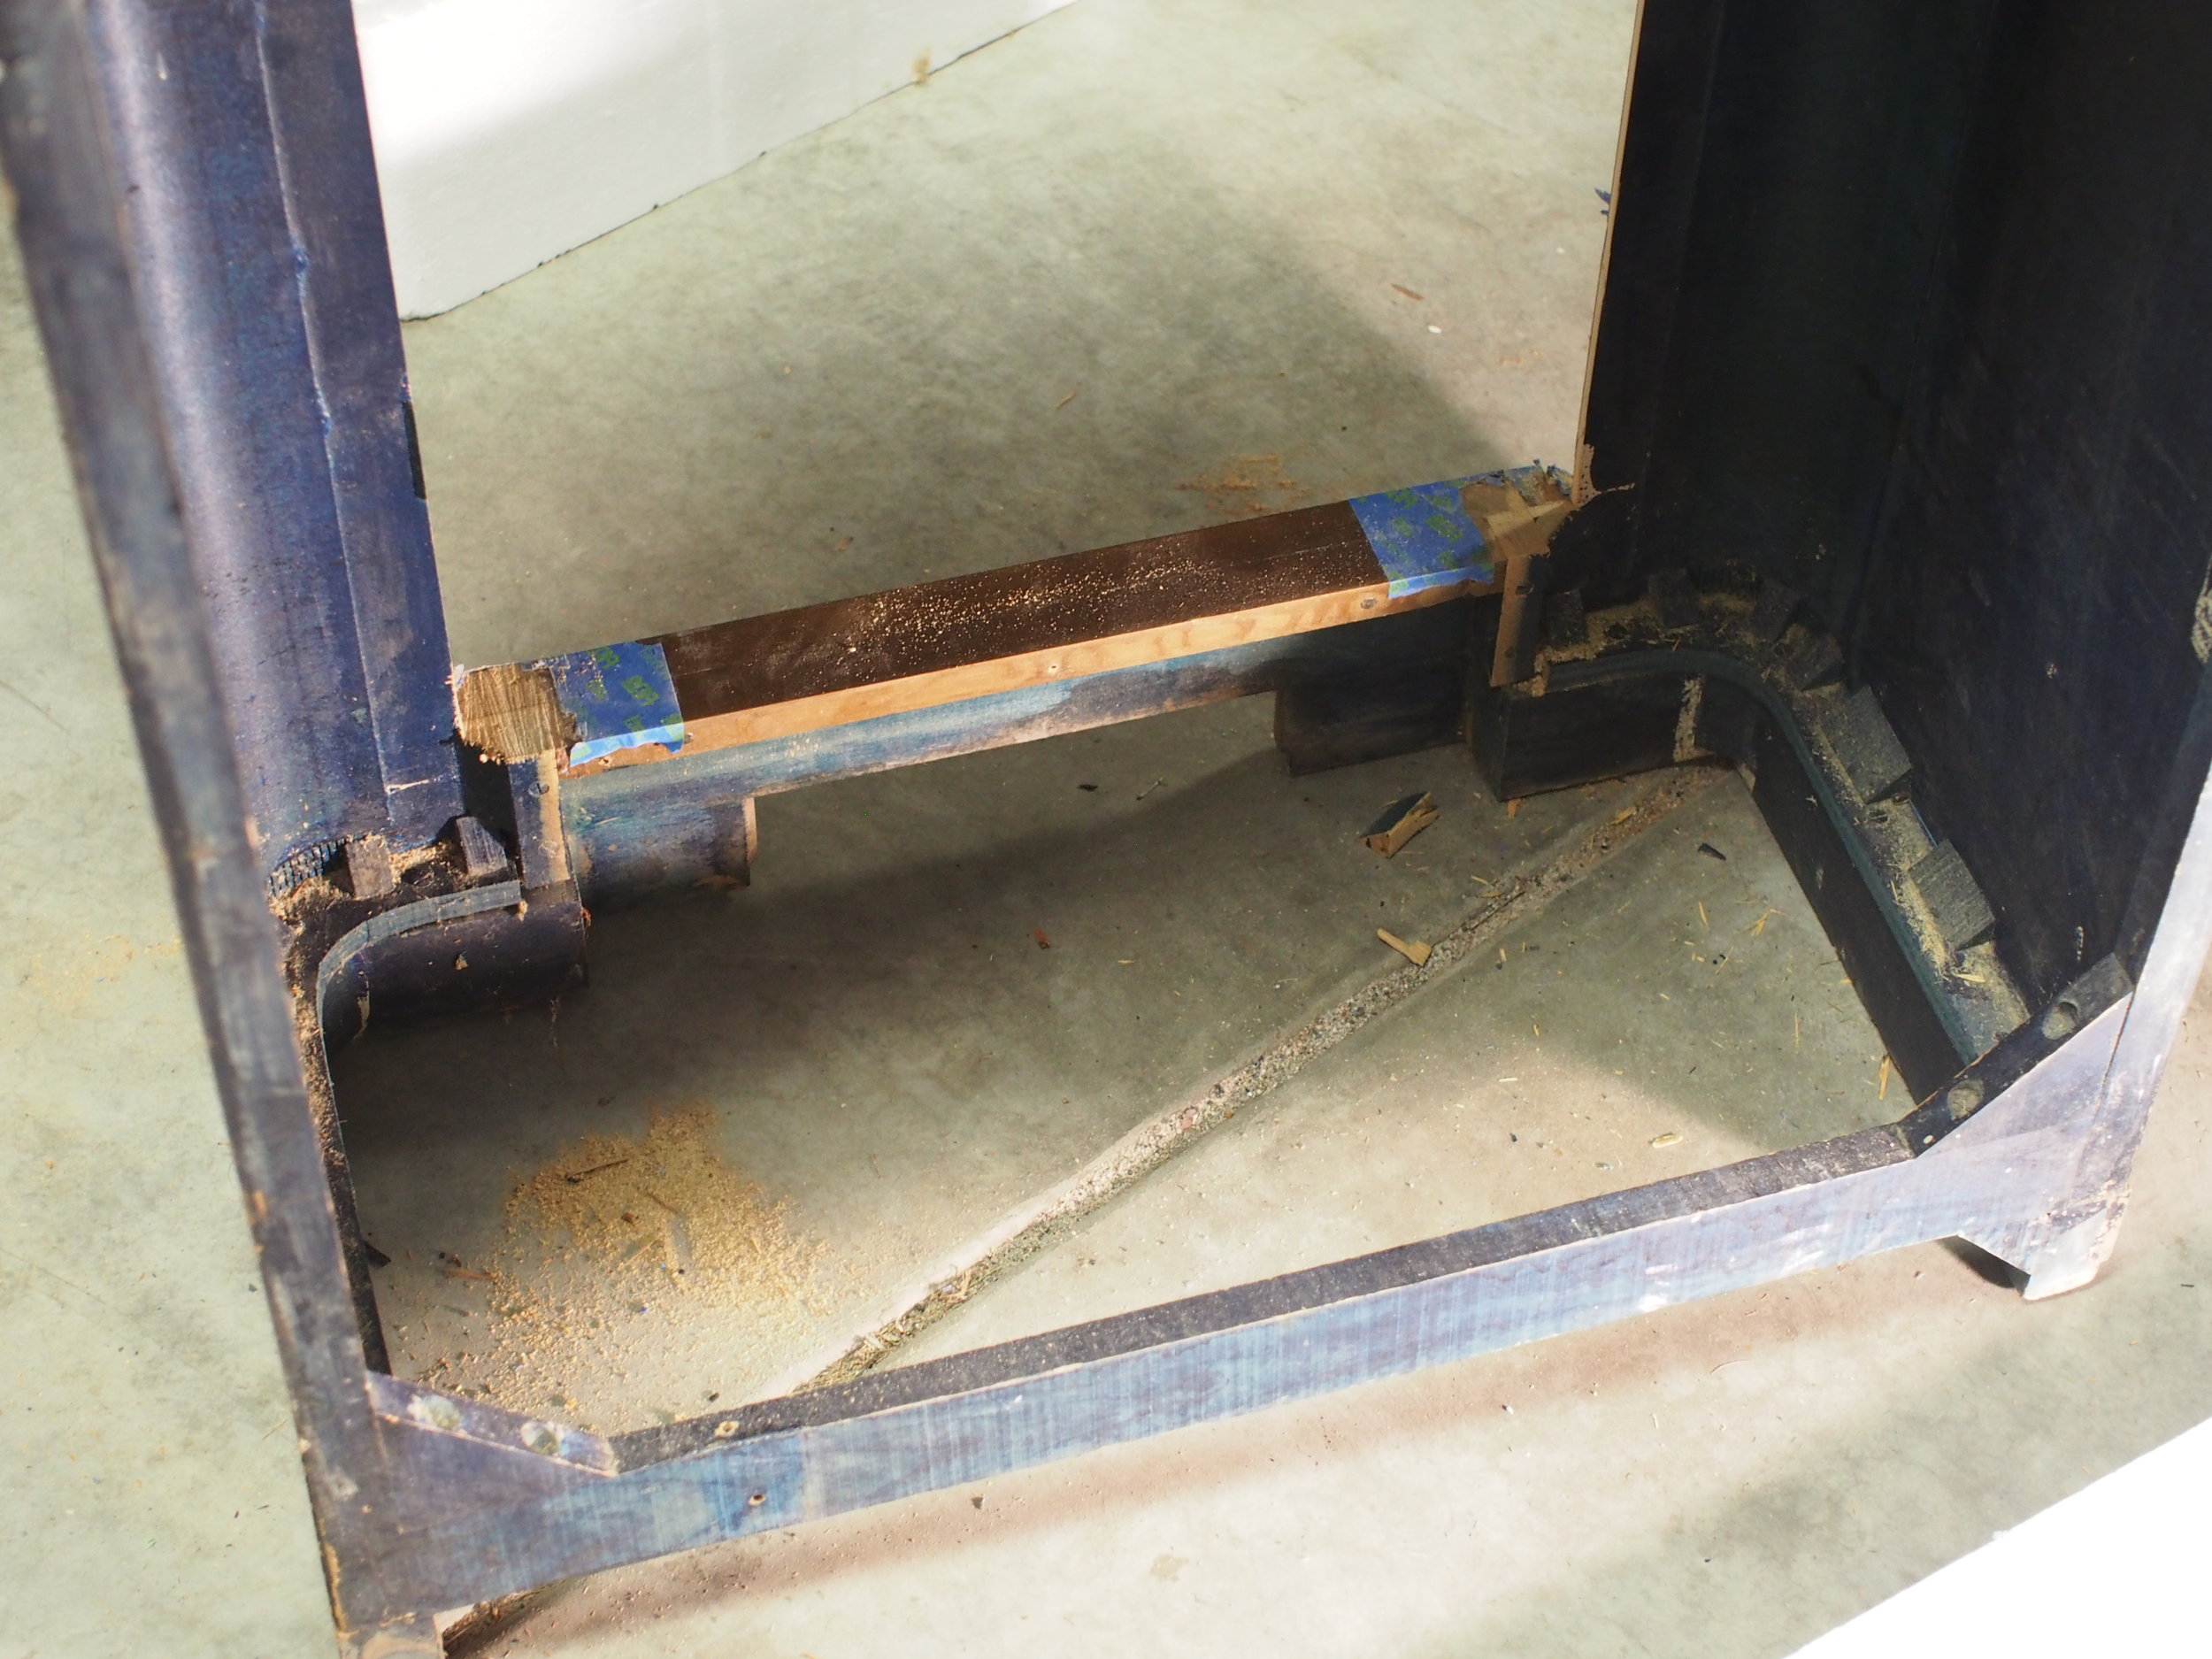
Where the bottom shelf needs to go, all those supports had to be removed....
Once the shelf was out, I used it to template out the two shelves I intended to reinstall into the bar. I made the shelves out of some MDF I had laying around. I used clamps and wood glue to secure everything. I was planning on using a piano hinge to hang the door, I used that to double check the width of the reinforcement pieces I glued in to the front.
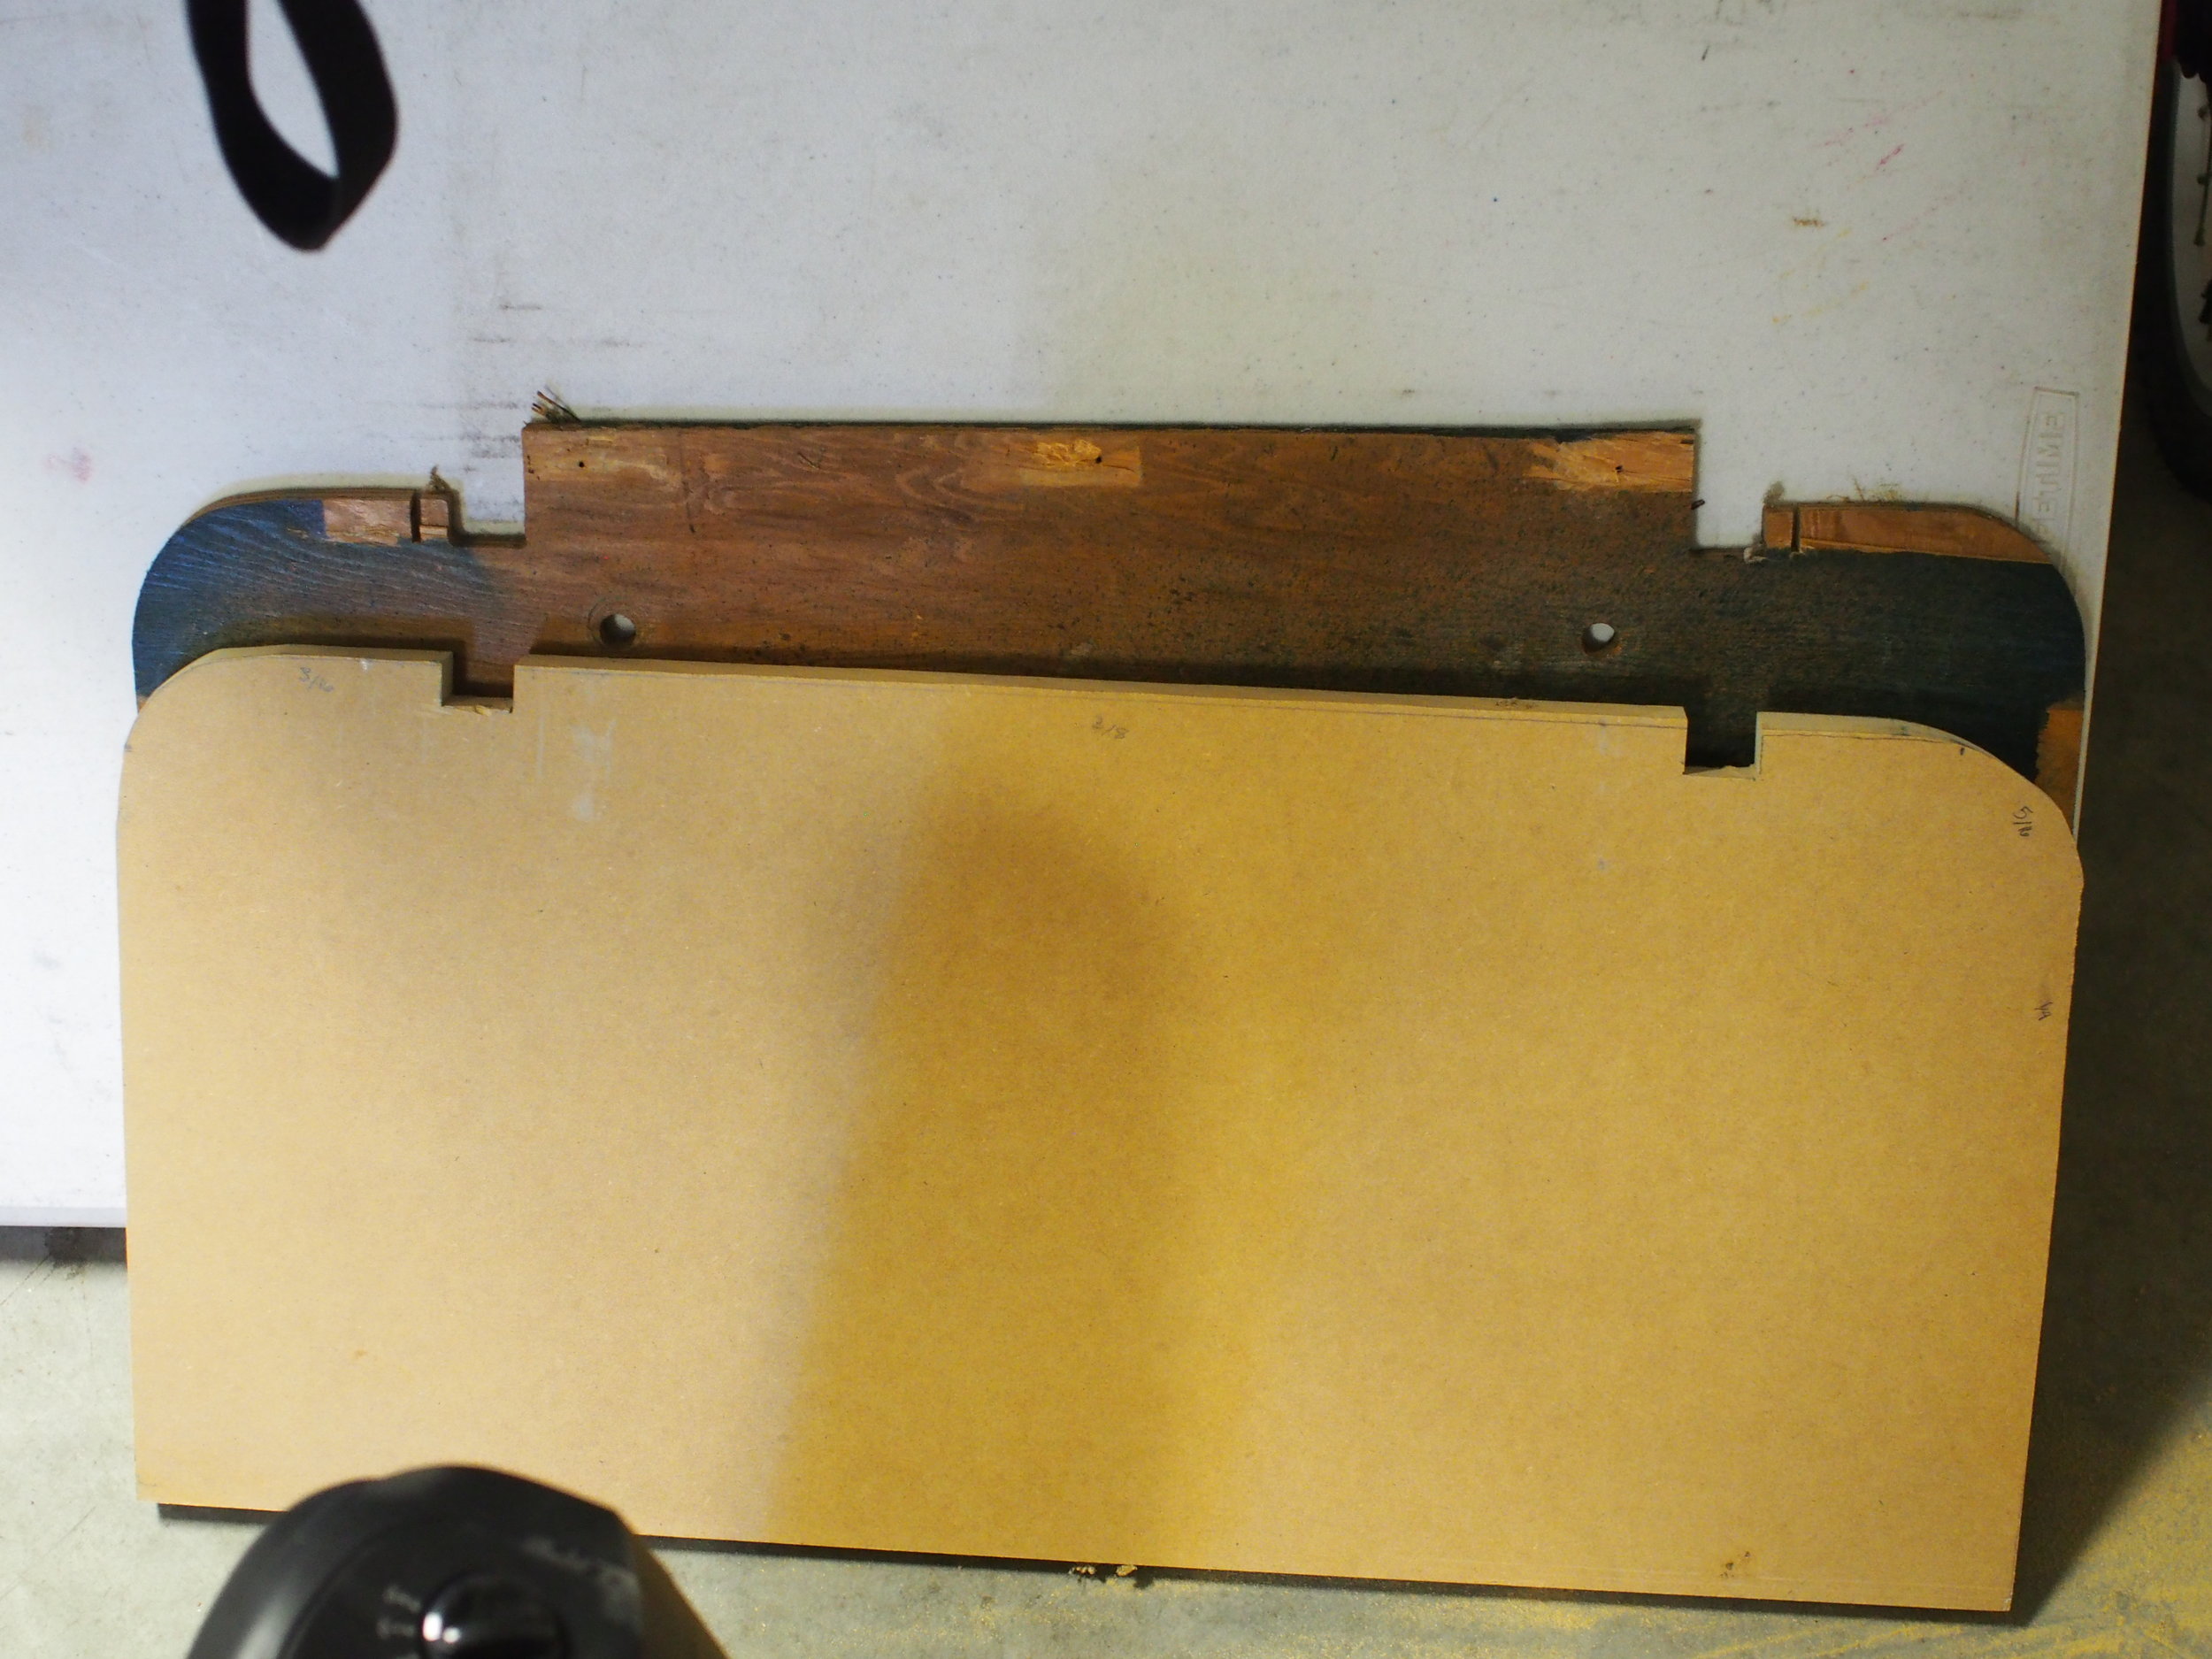
New shelf out of MDF
I glued in the new shelves and some reinforcement for the hinges.
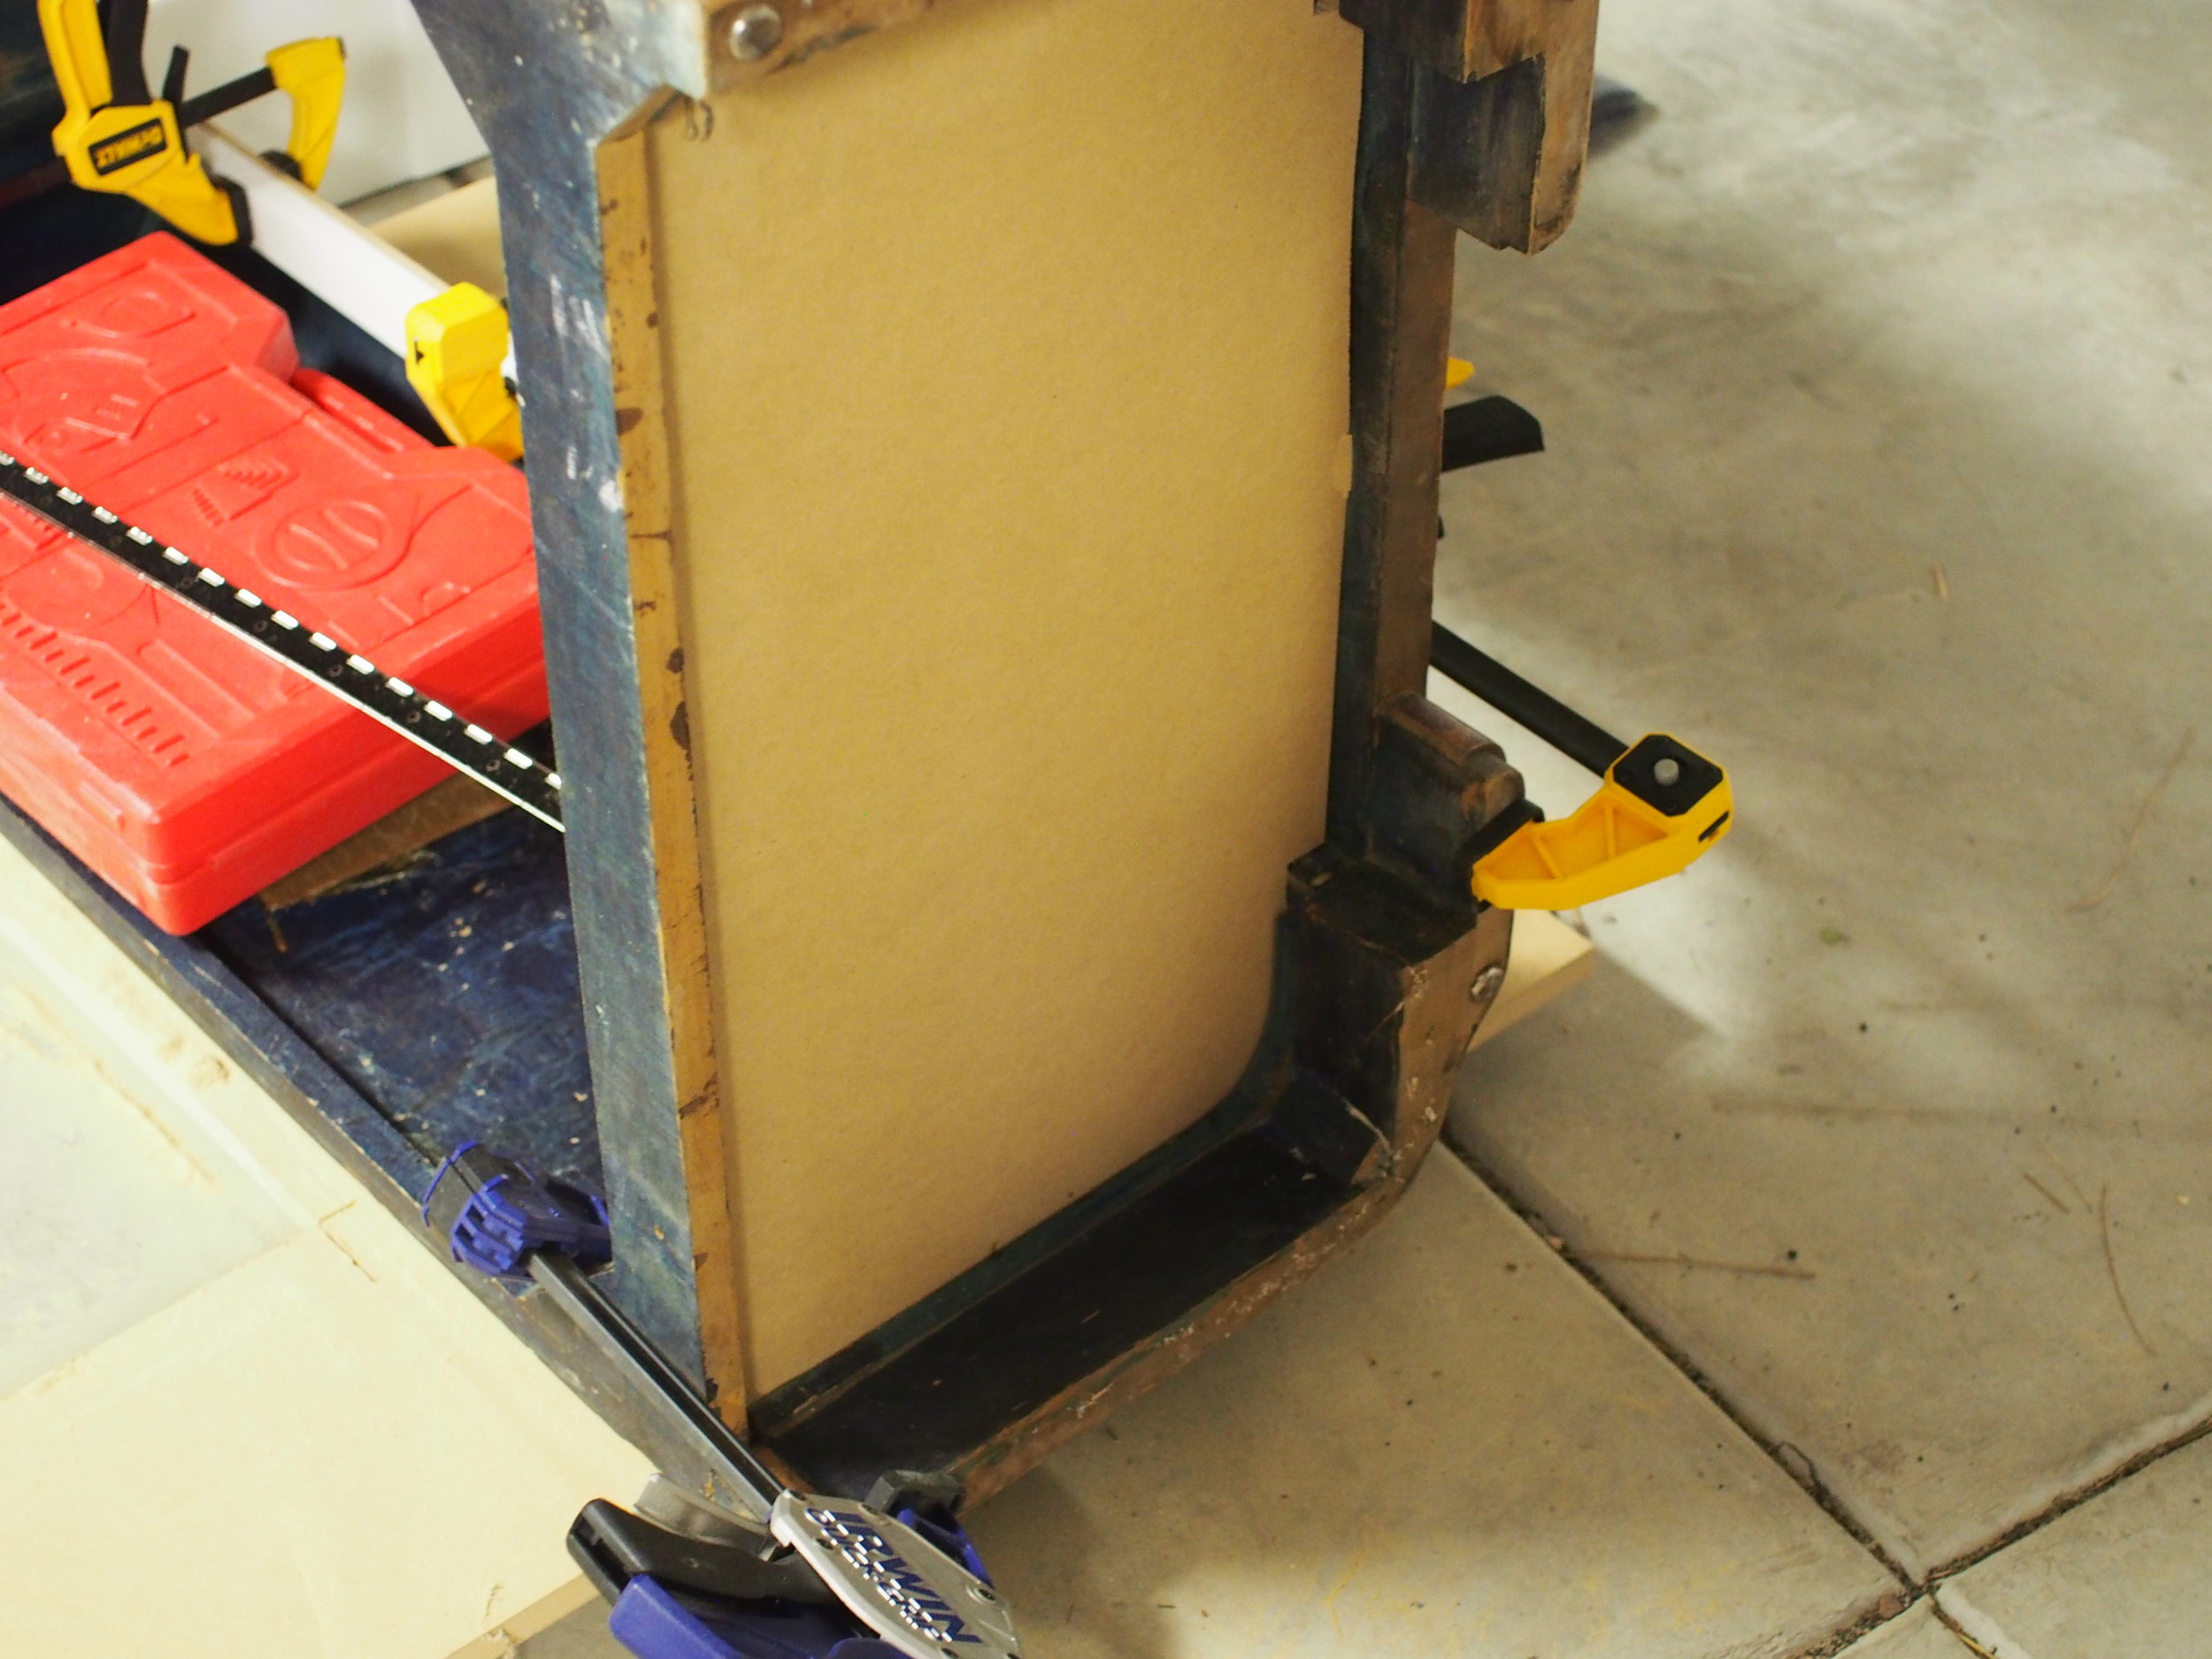
Every clamp I own is in here
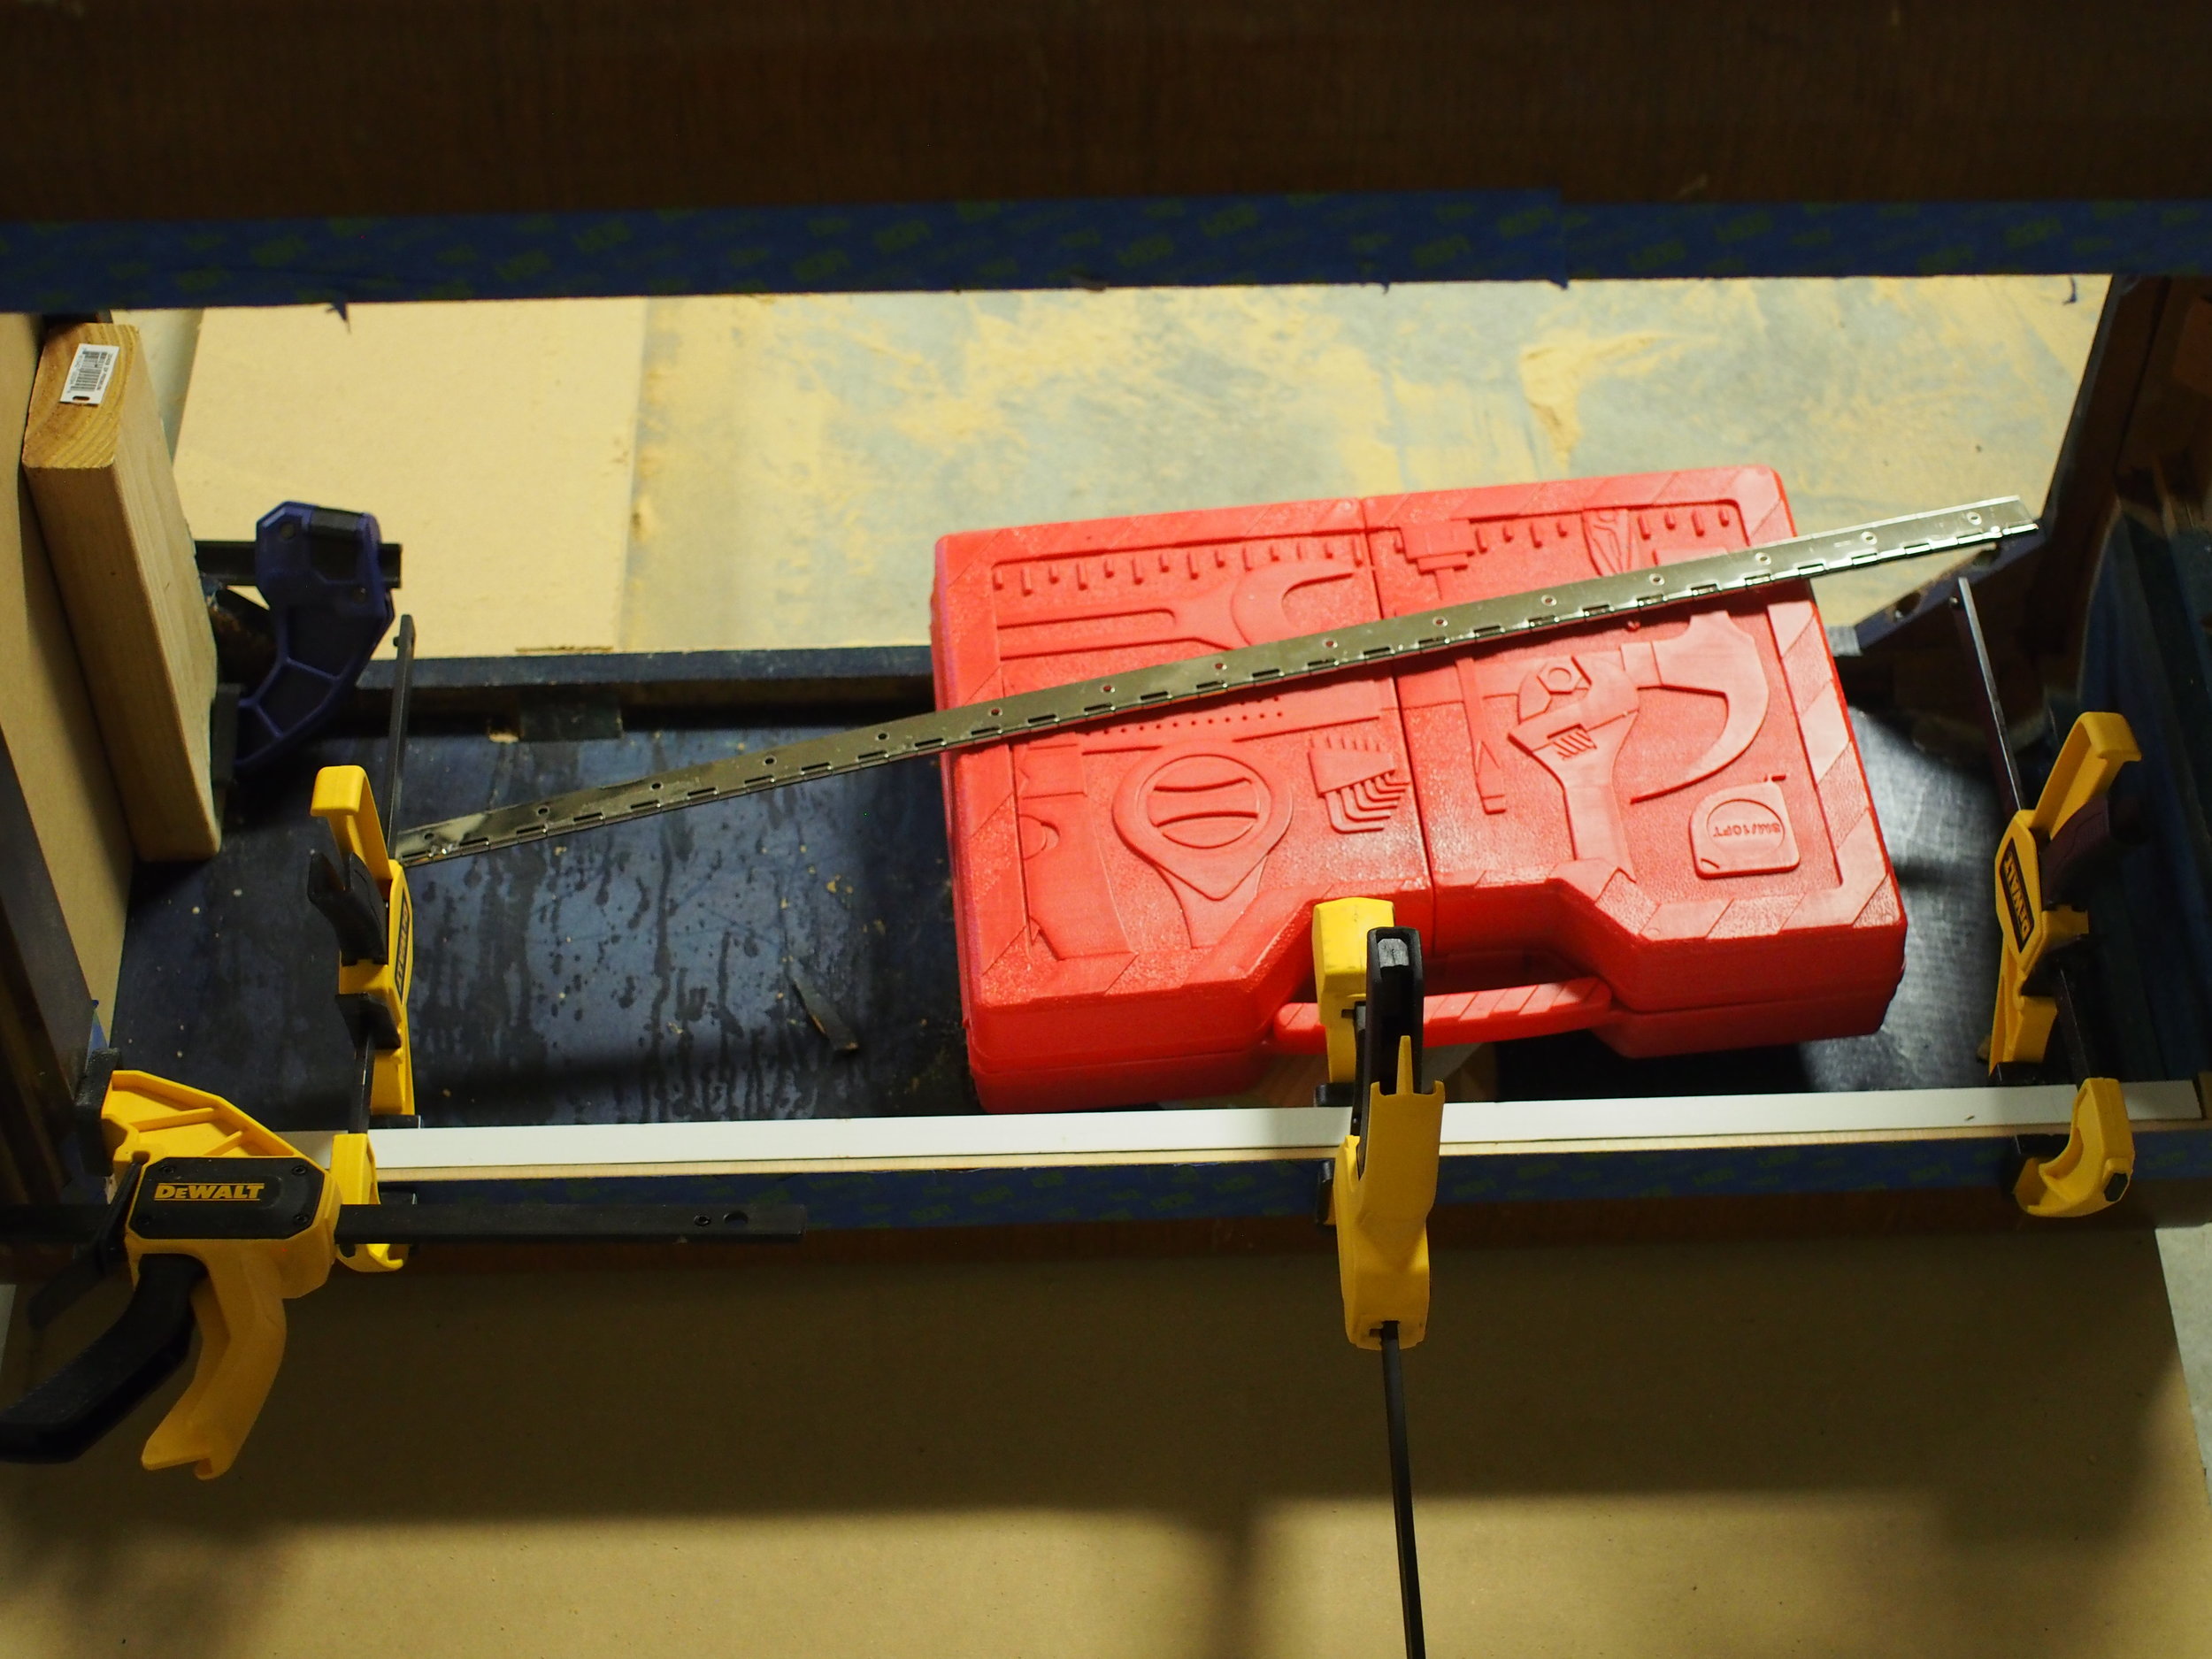
Hinge reinforcement, with the piano hinge I was planning on using for reference
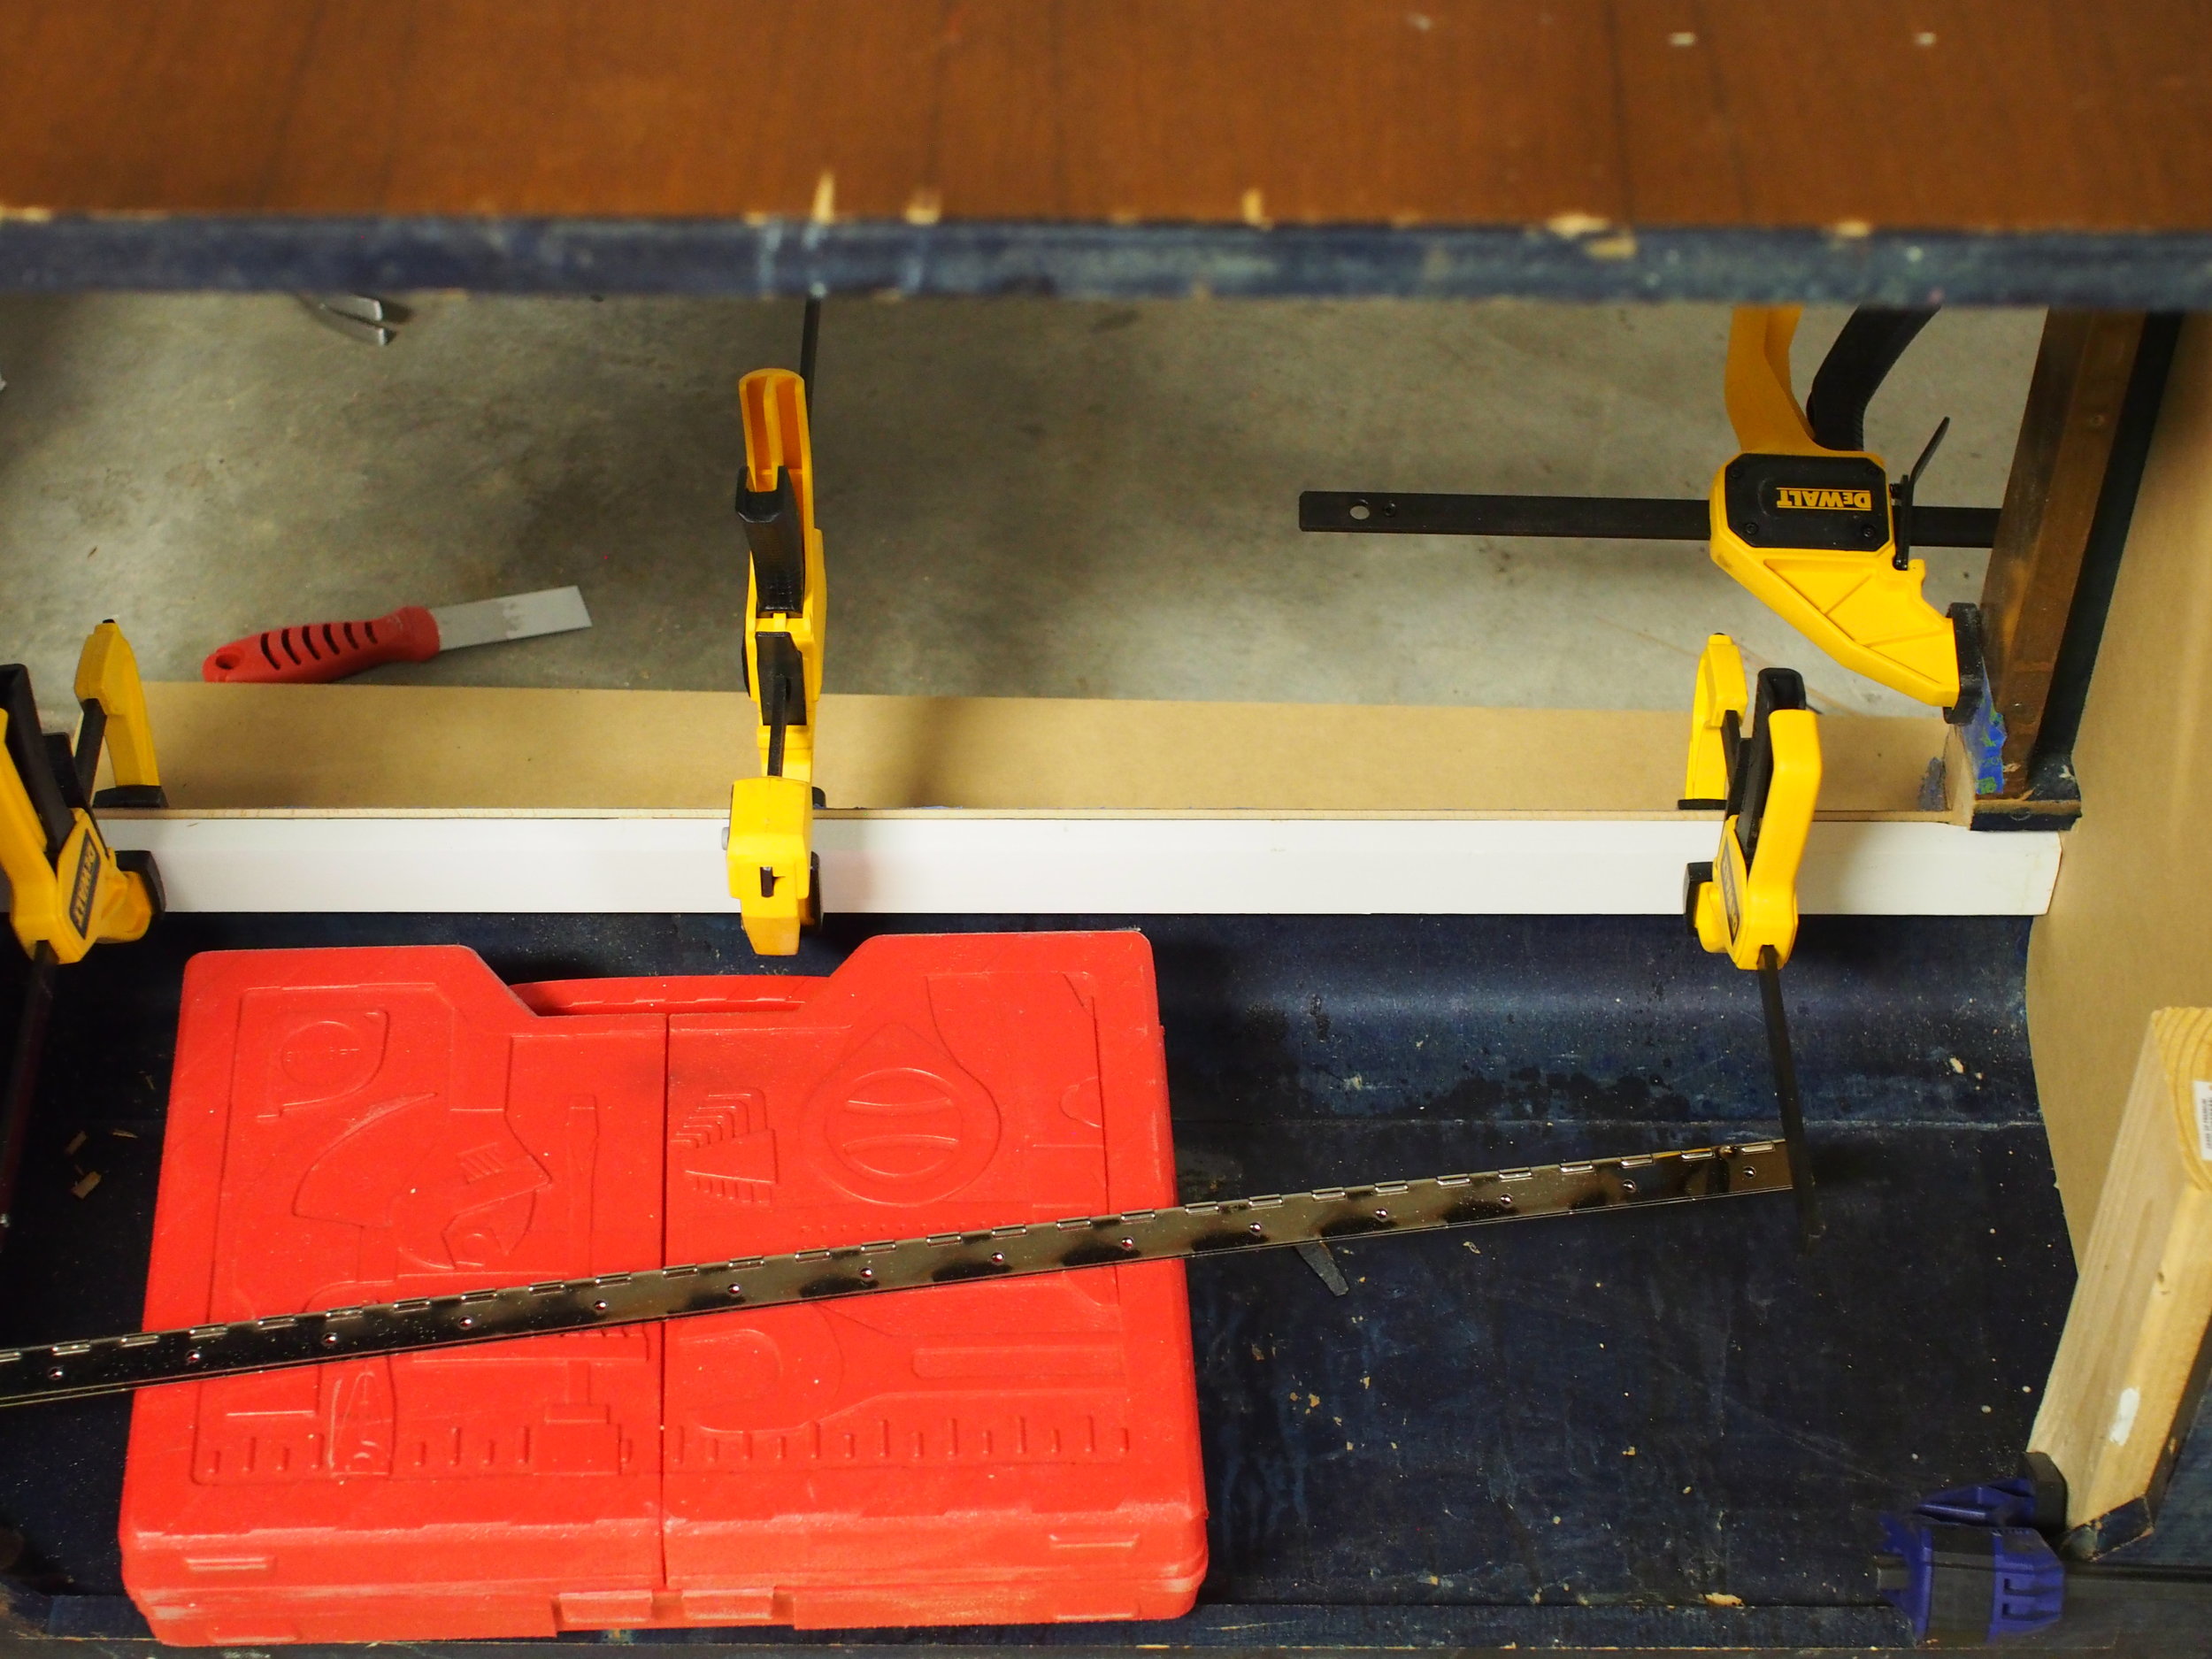
Ready to cut the door
Once the hinge area was reinforced, I put the new shelves in, including to smaller ones in the top area.
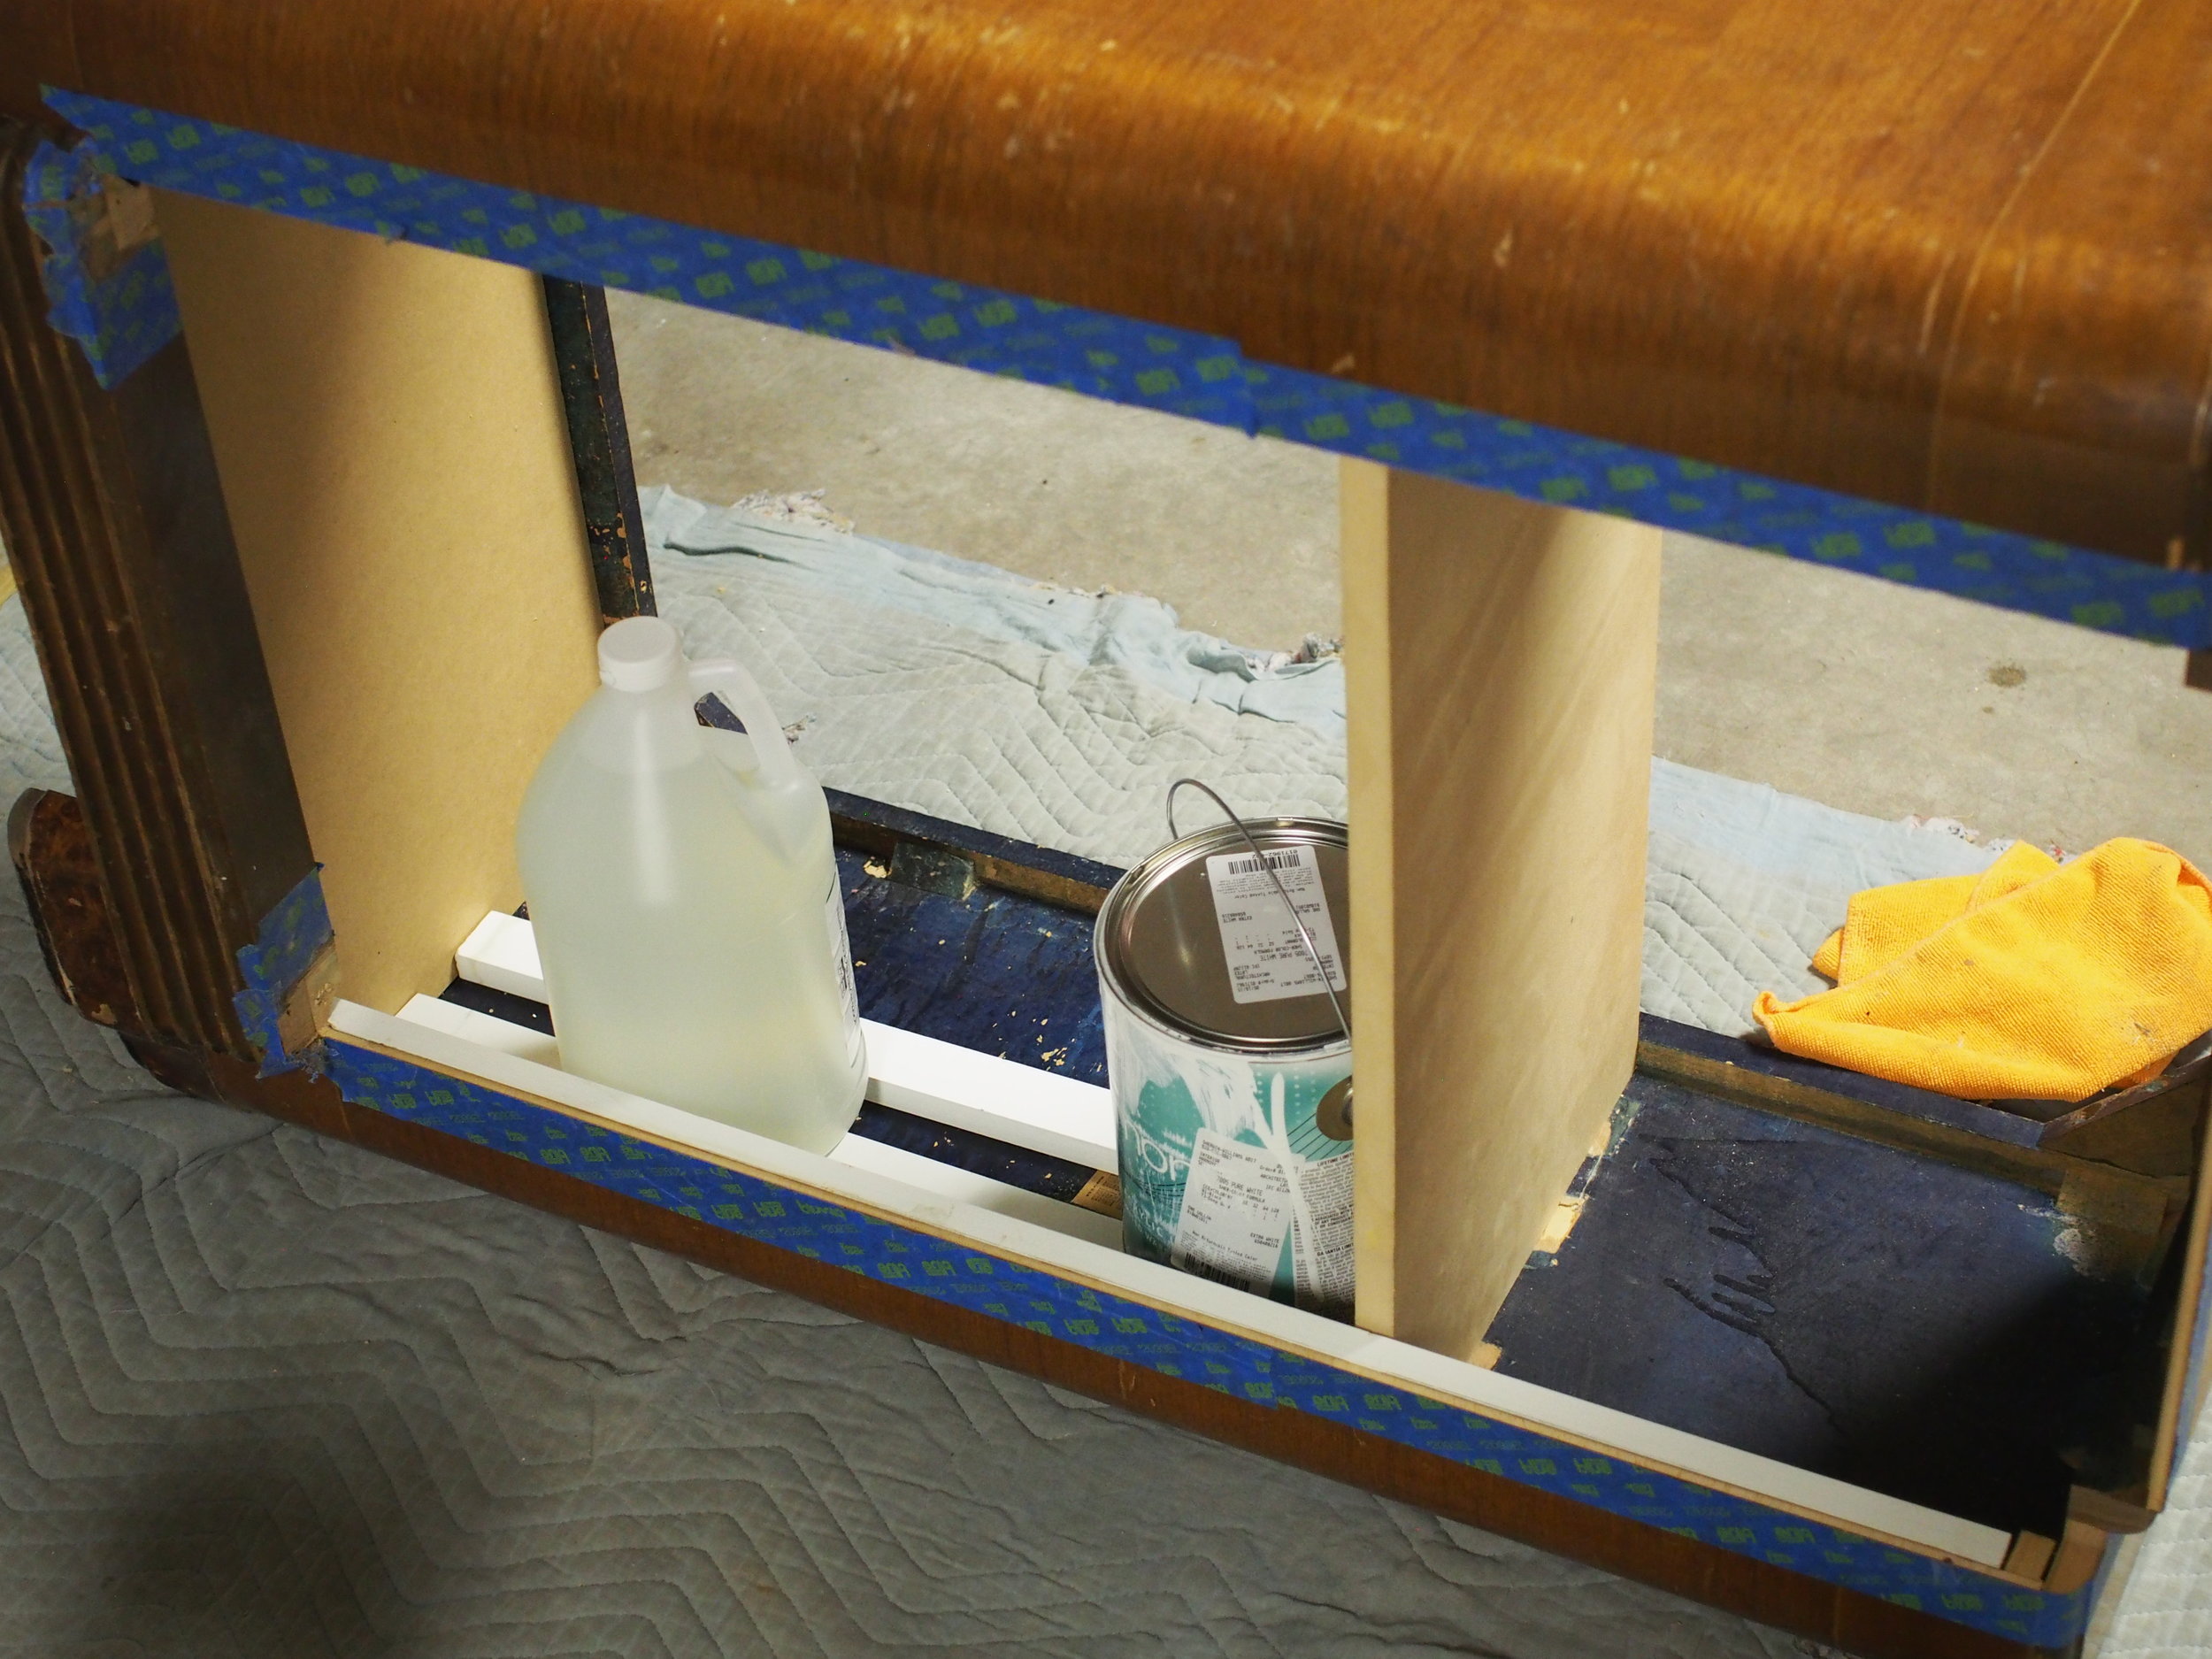
Supports and a little extra mass to hold it all down. You can see where the old shelf was, just a bit higher.
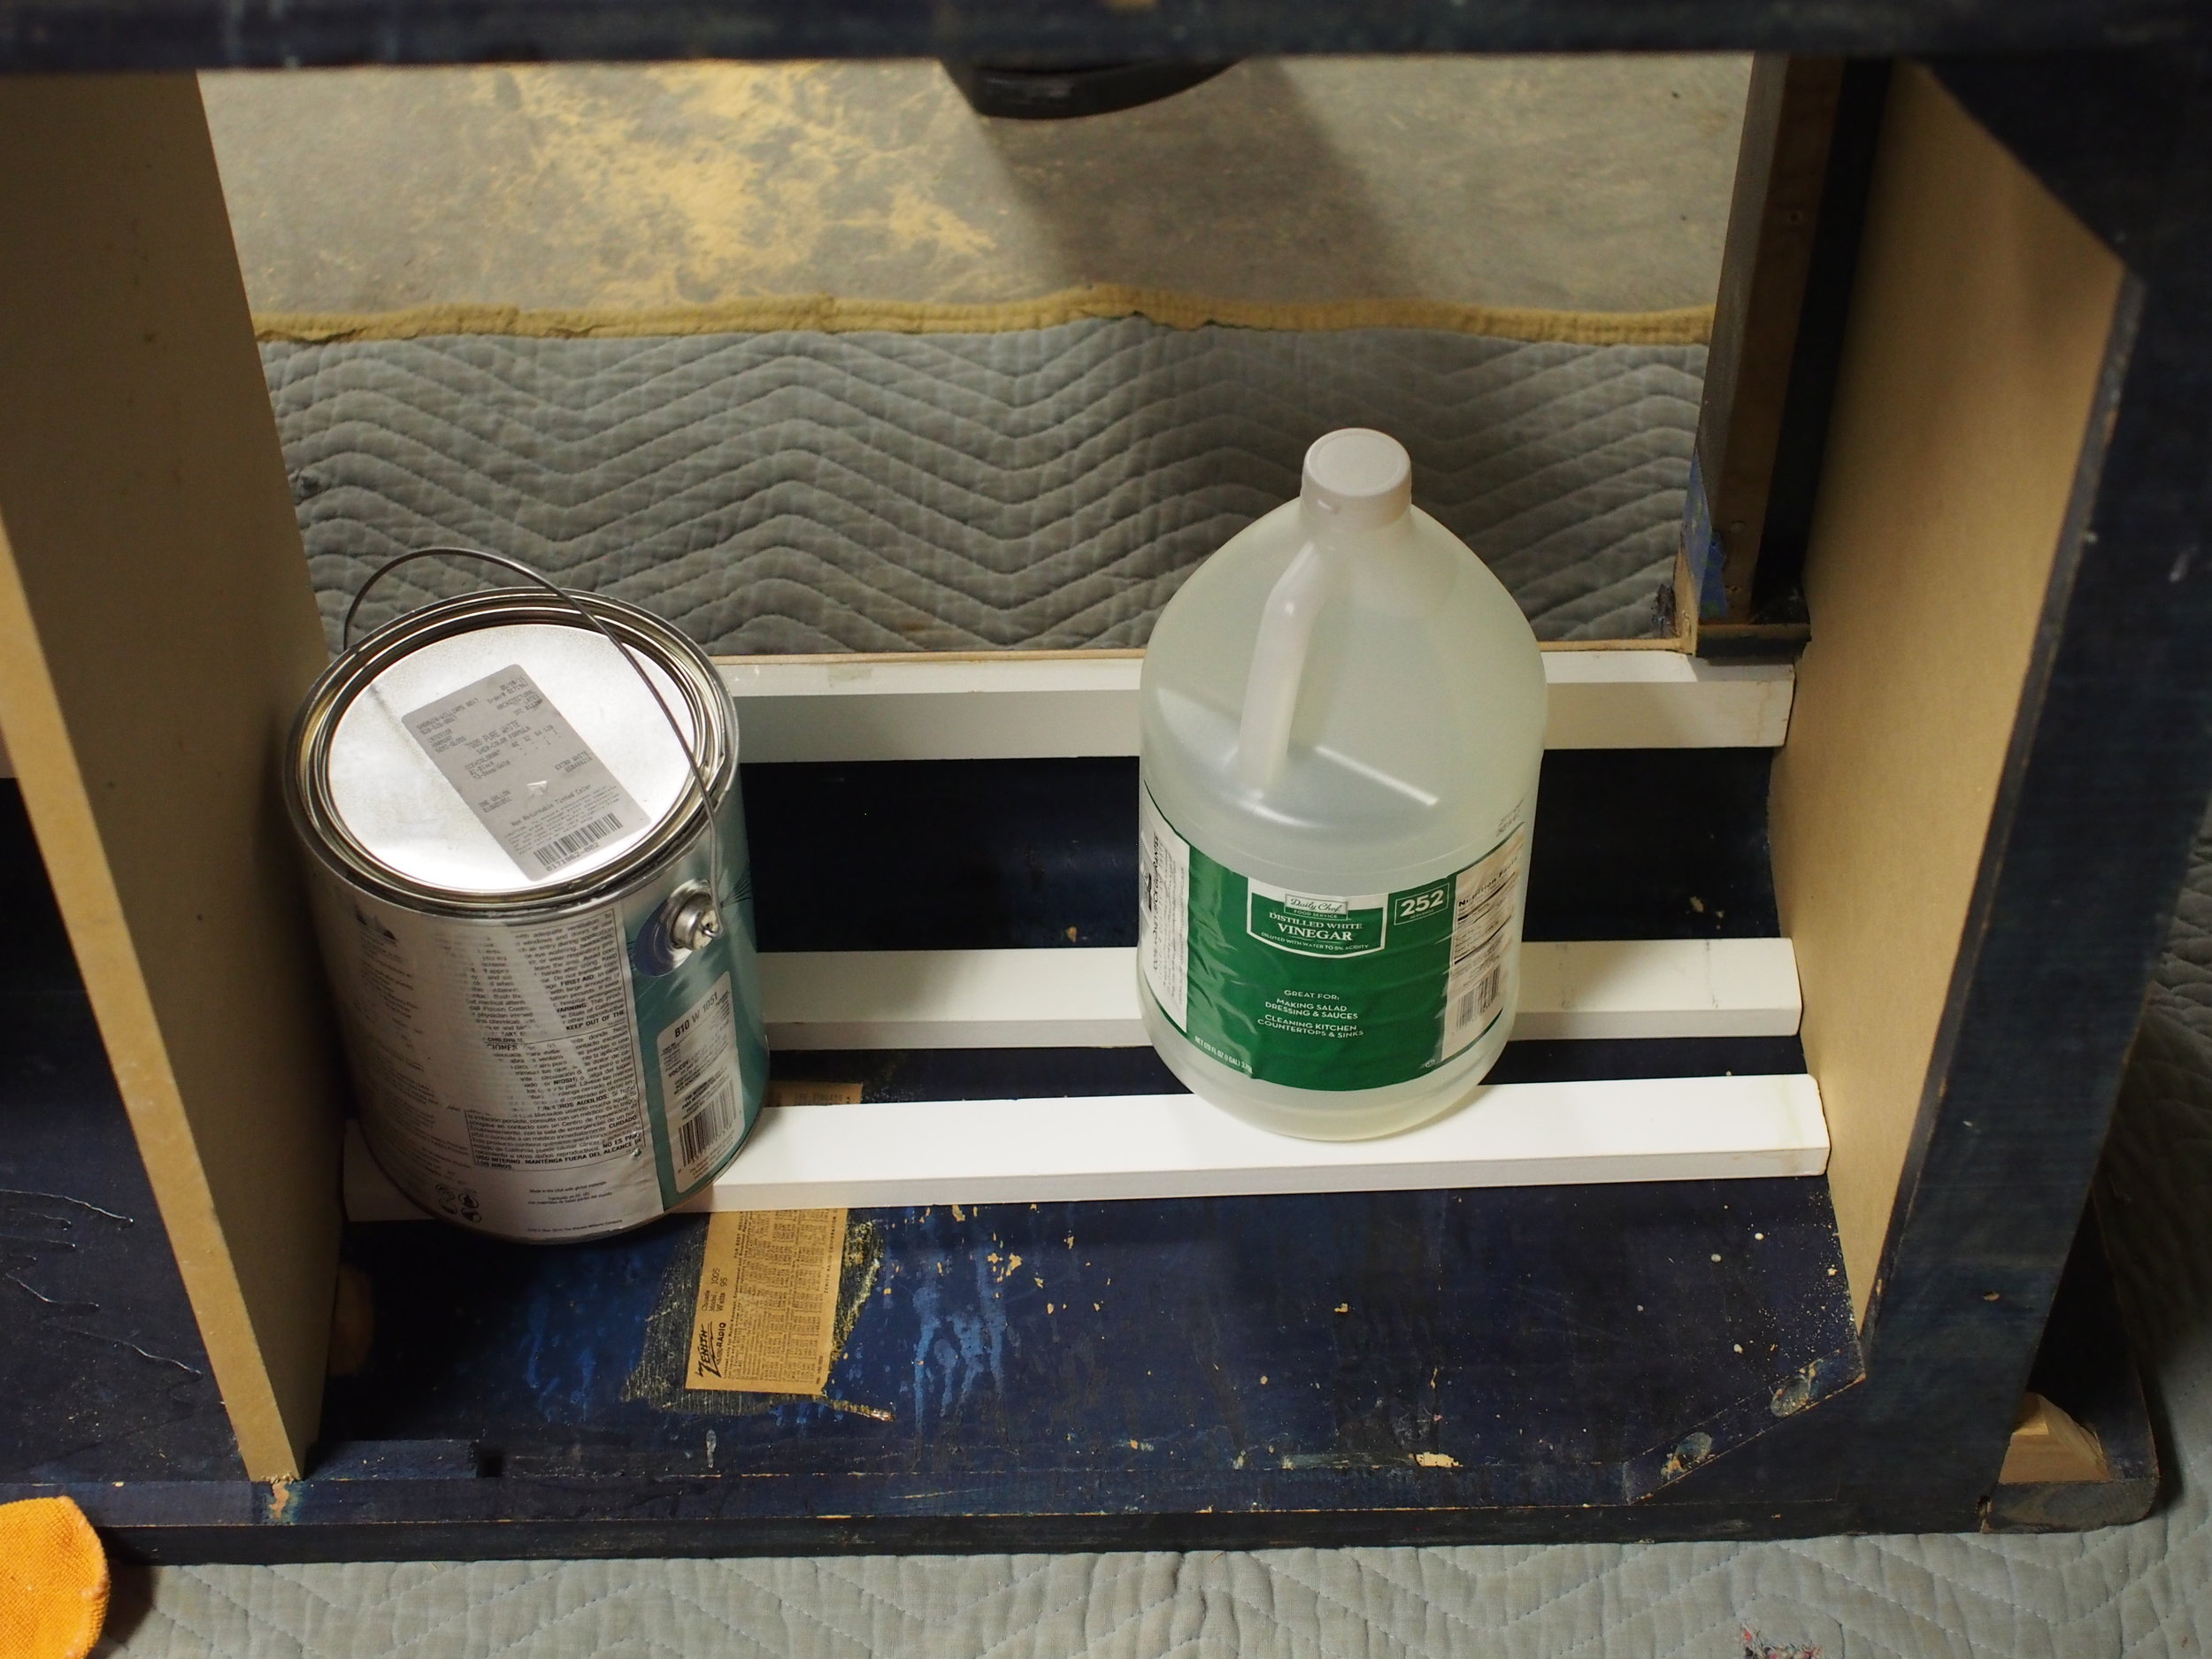
Supports
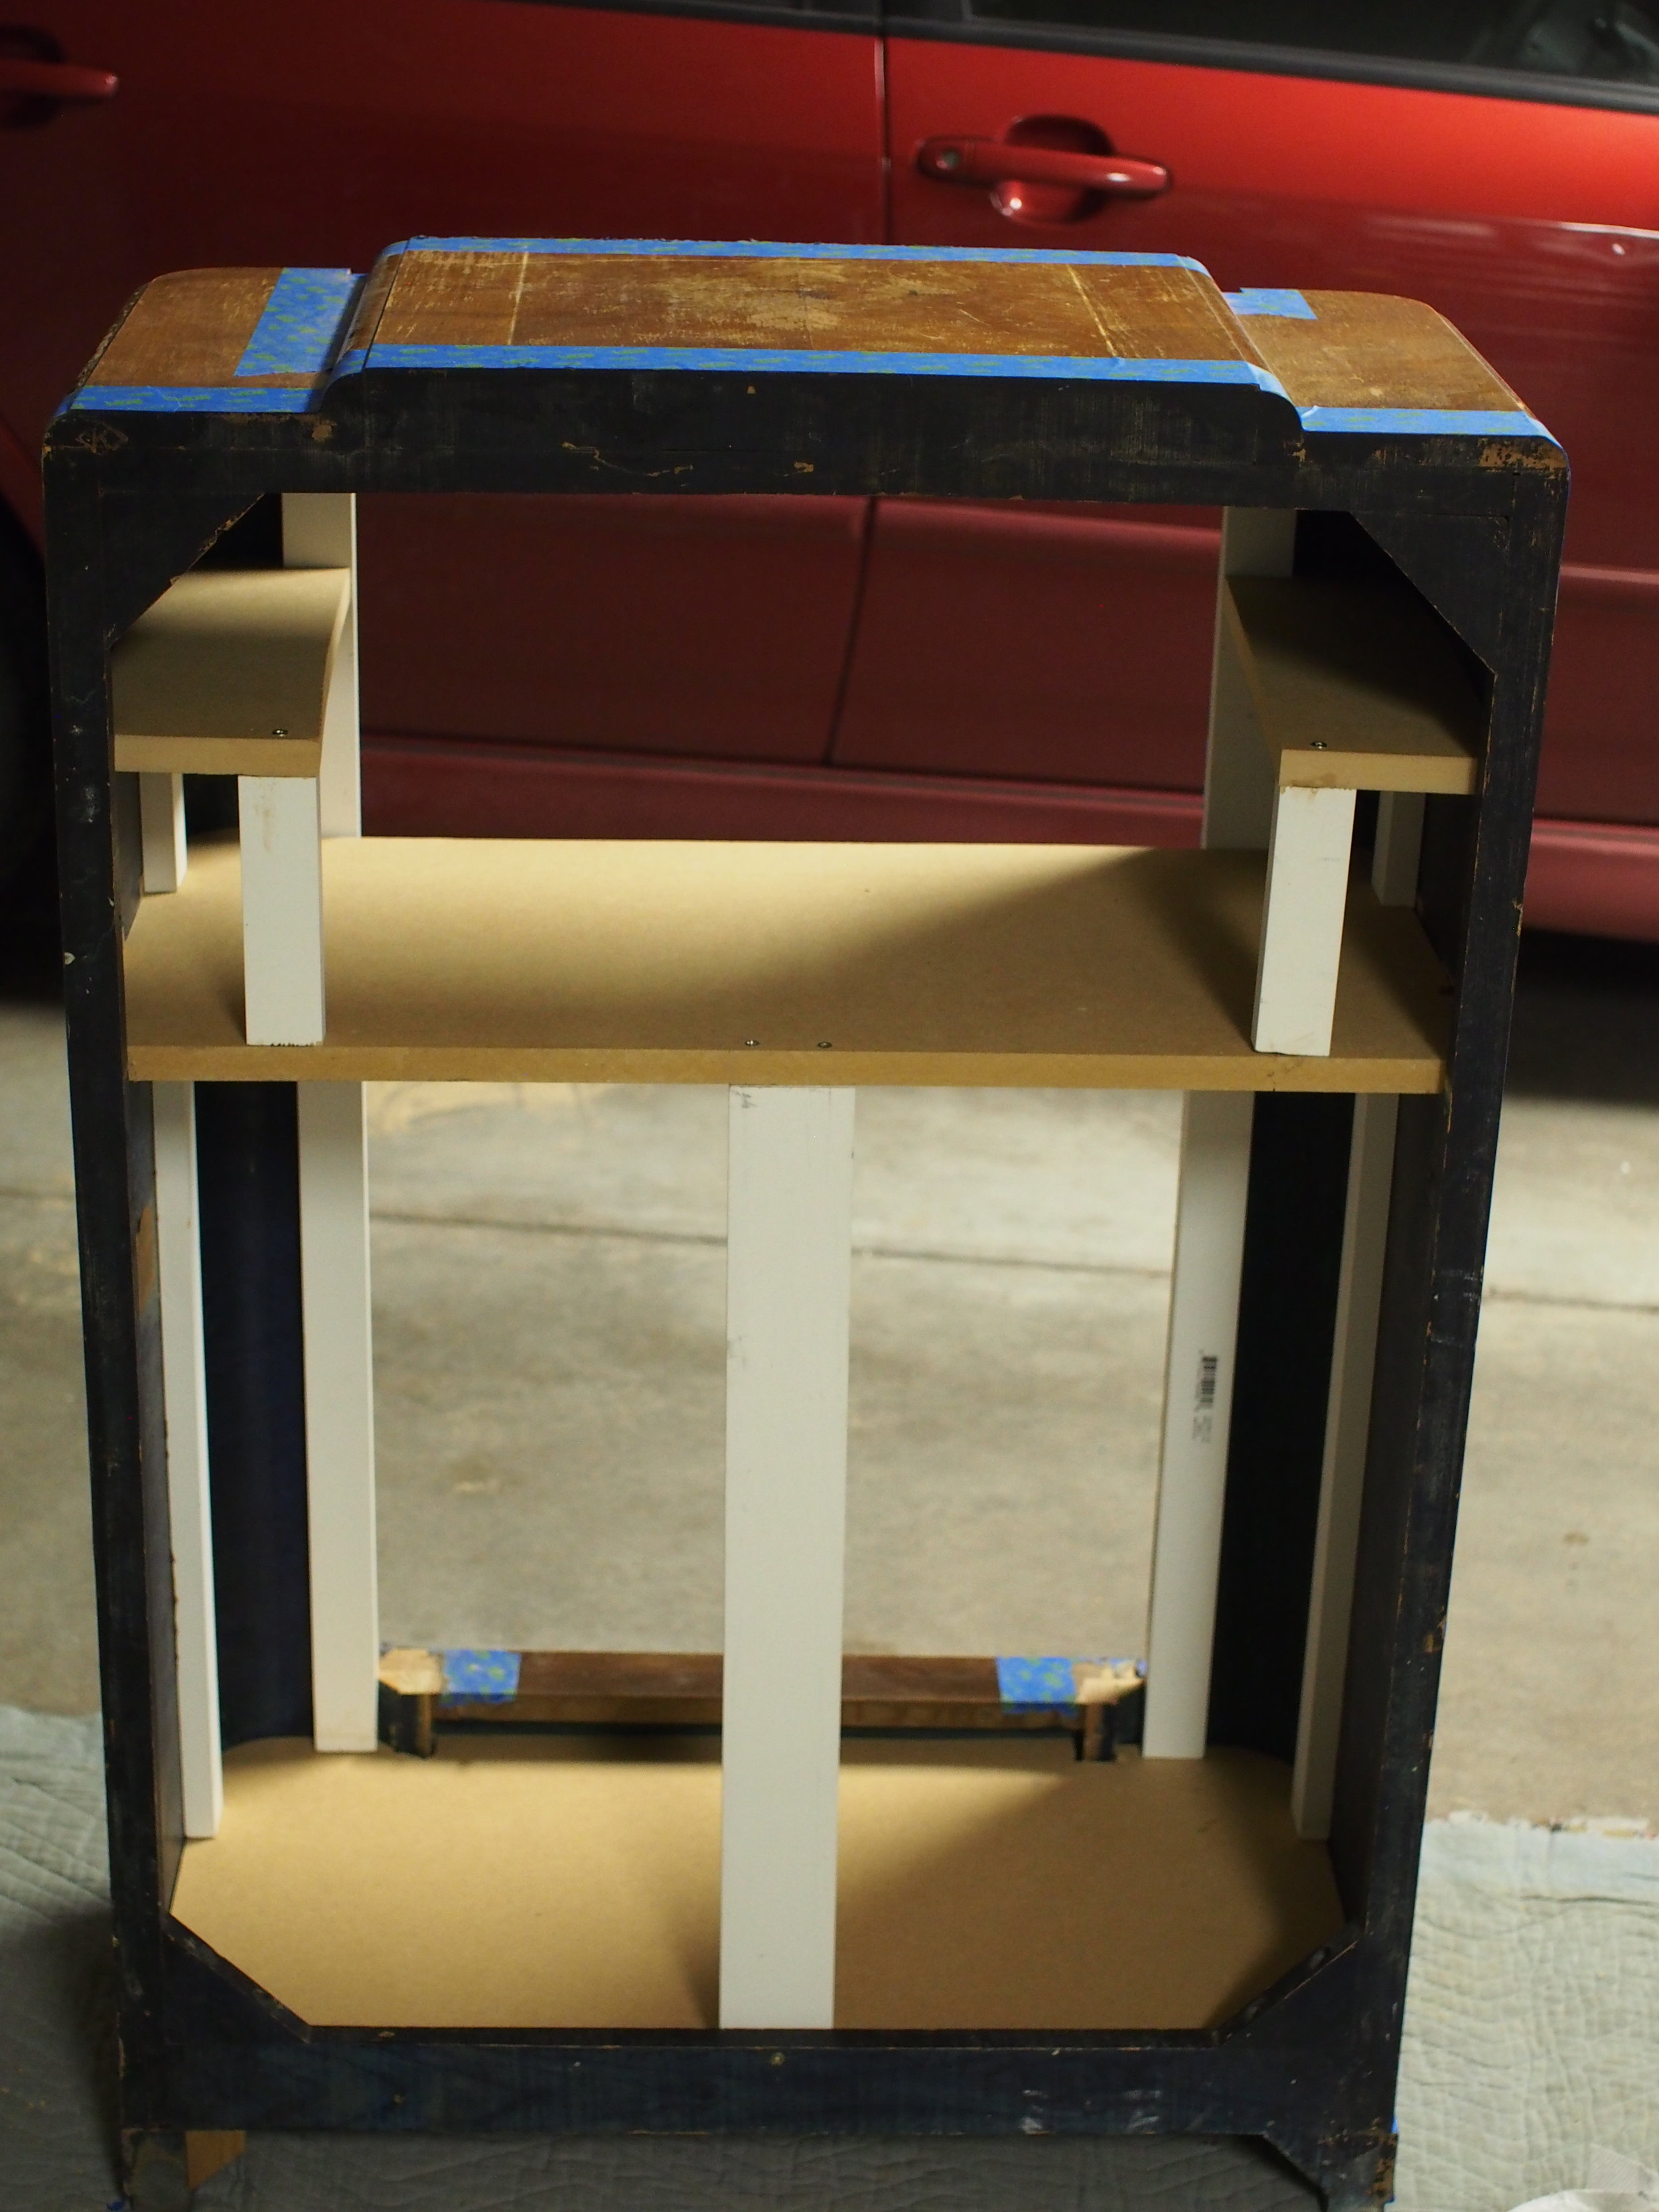
Little shelves, and a center support to prevent sagging
Next
Up next is the finish work on the wood. I'll turn that over to my wife, since she did all the refinishing.
Comments ()