How to turn a Vintage Zenith Radio Cabinet into a Lighted Bar Part 2: Disassembly
Disassembly
Now that we had the radio cabinet home, we could begin to remove the radio parts and faceplates before attempting to cut the door into the front.
The Radio
Pulling out the radio was relatively easy. I took out a few screws, and pulled the whole assembly out the back.
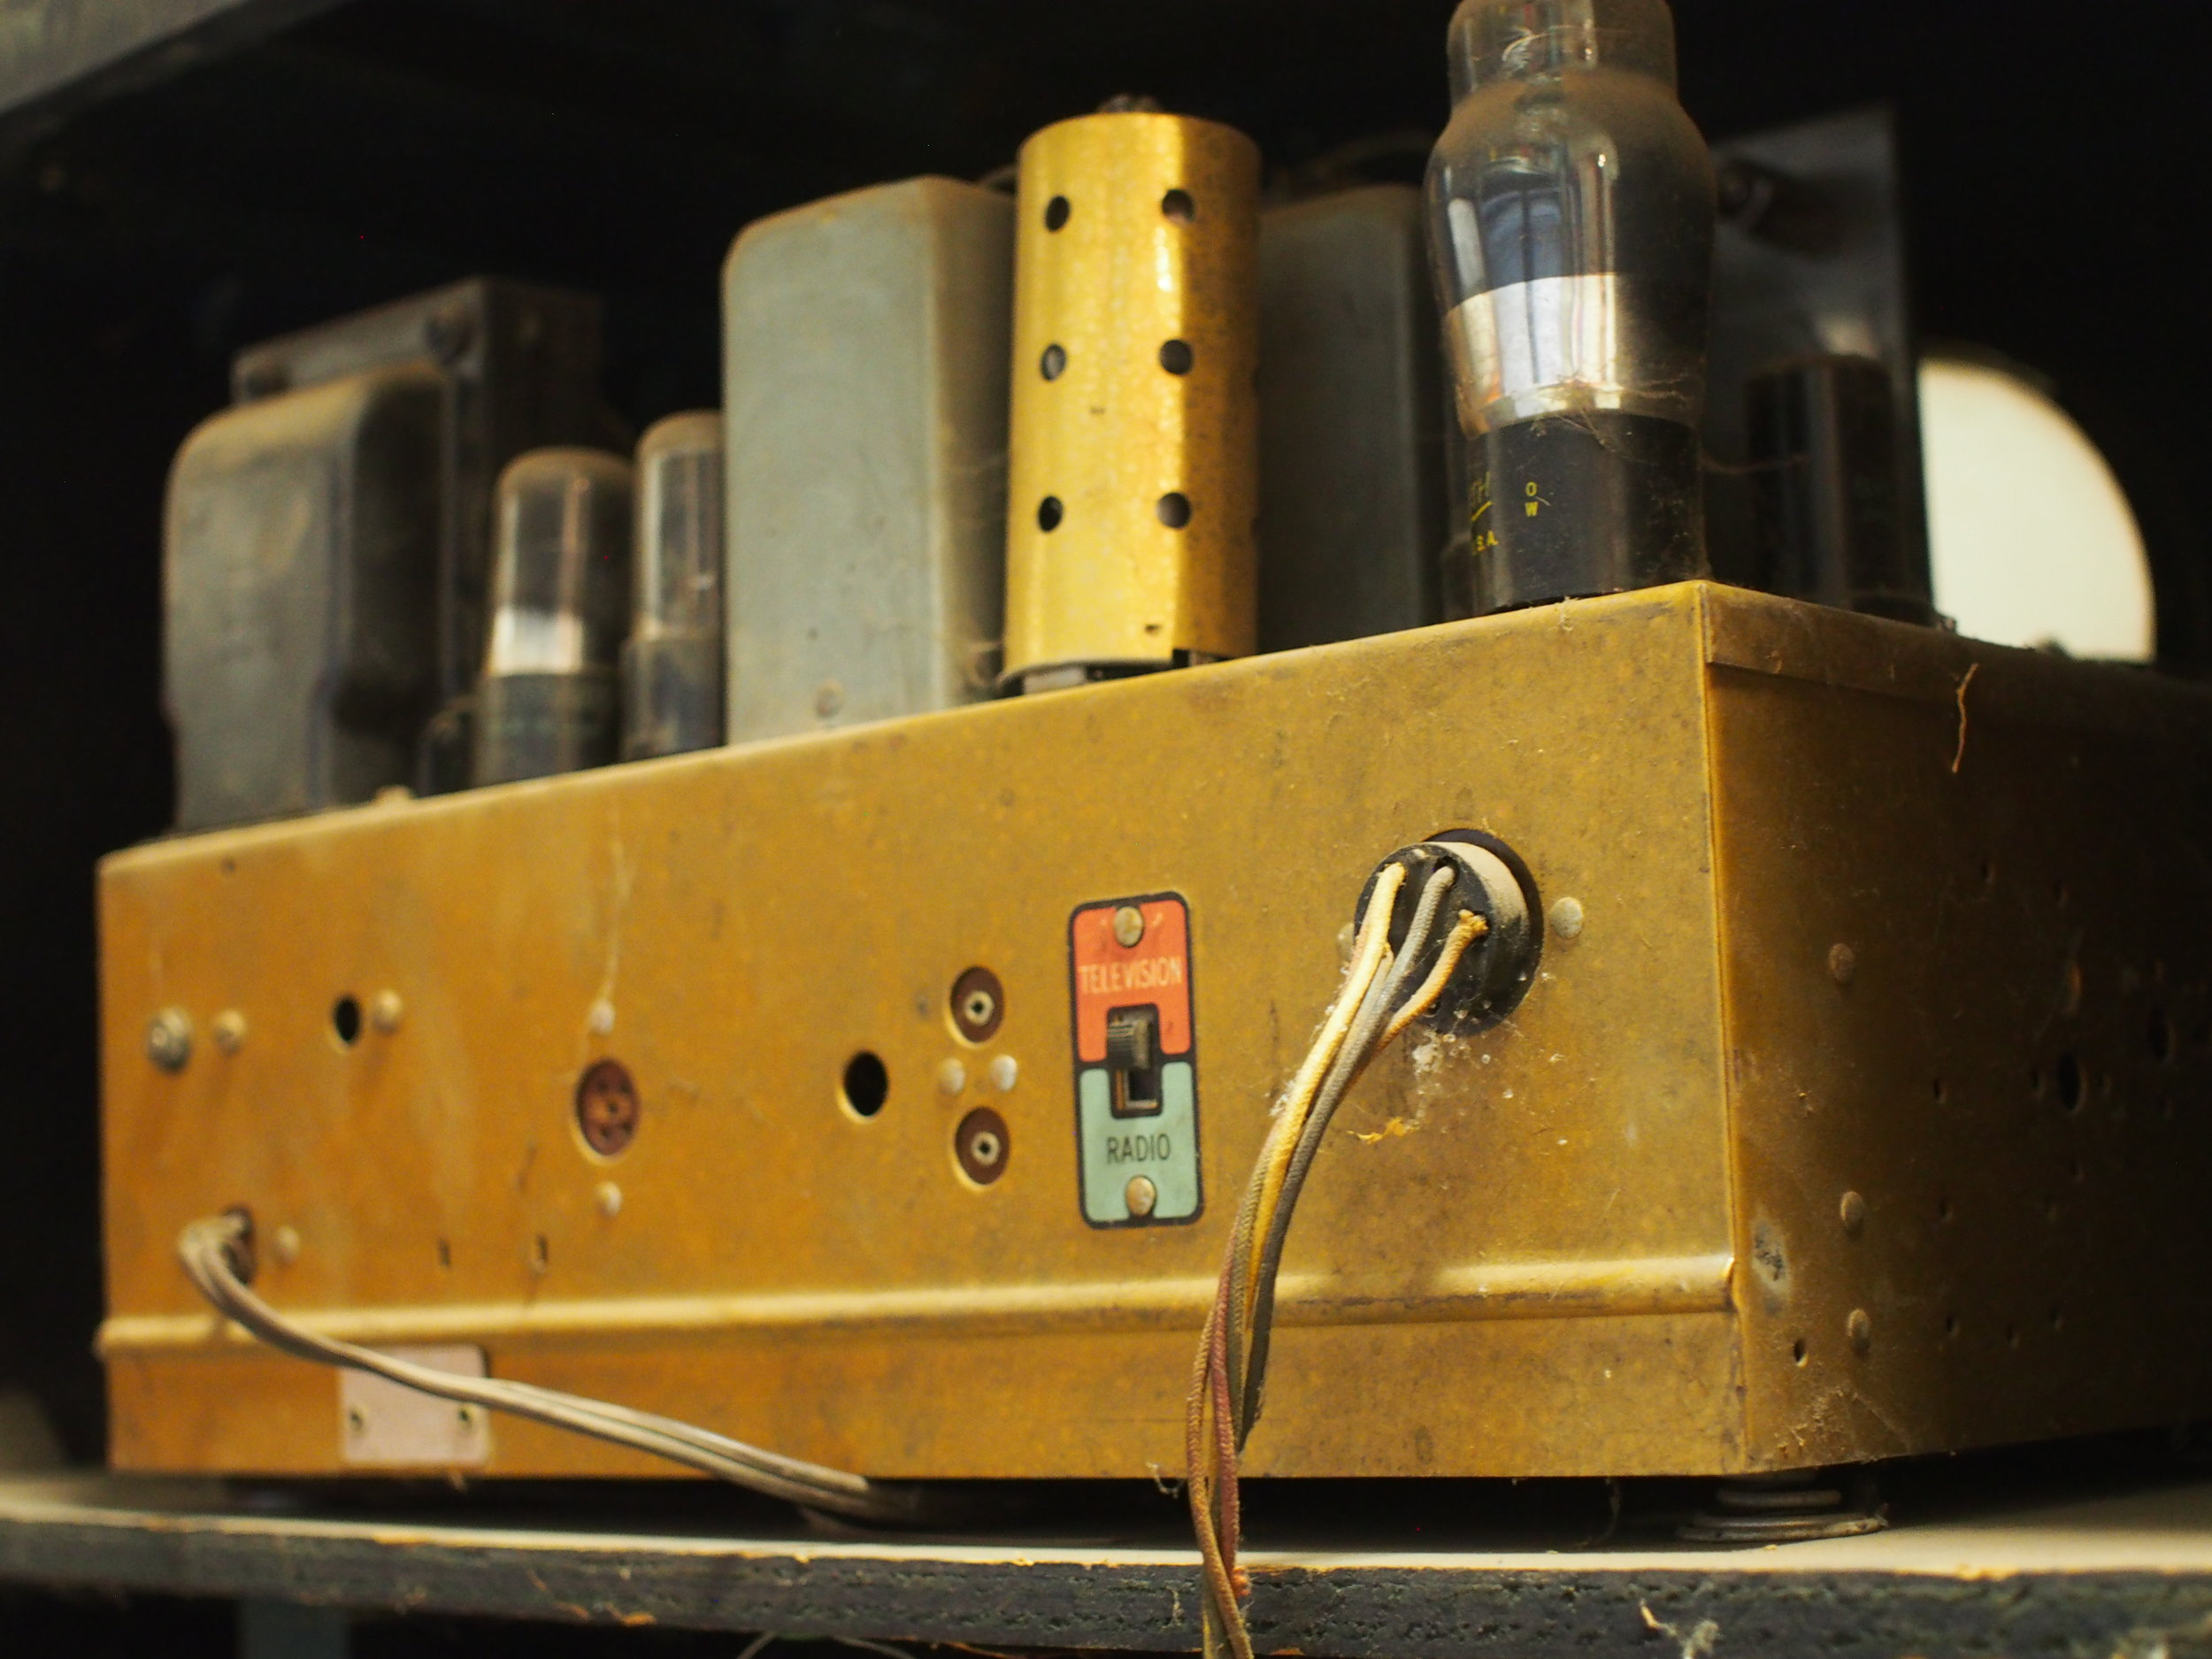
The radio
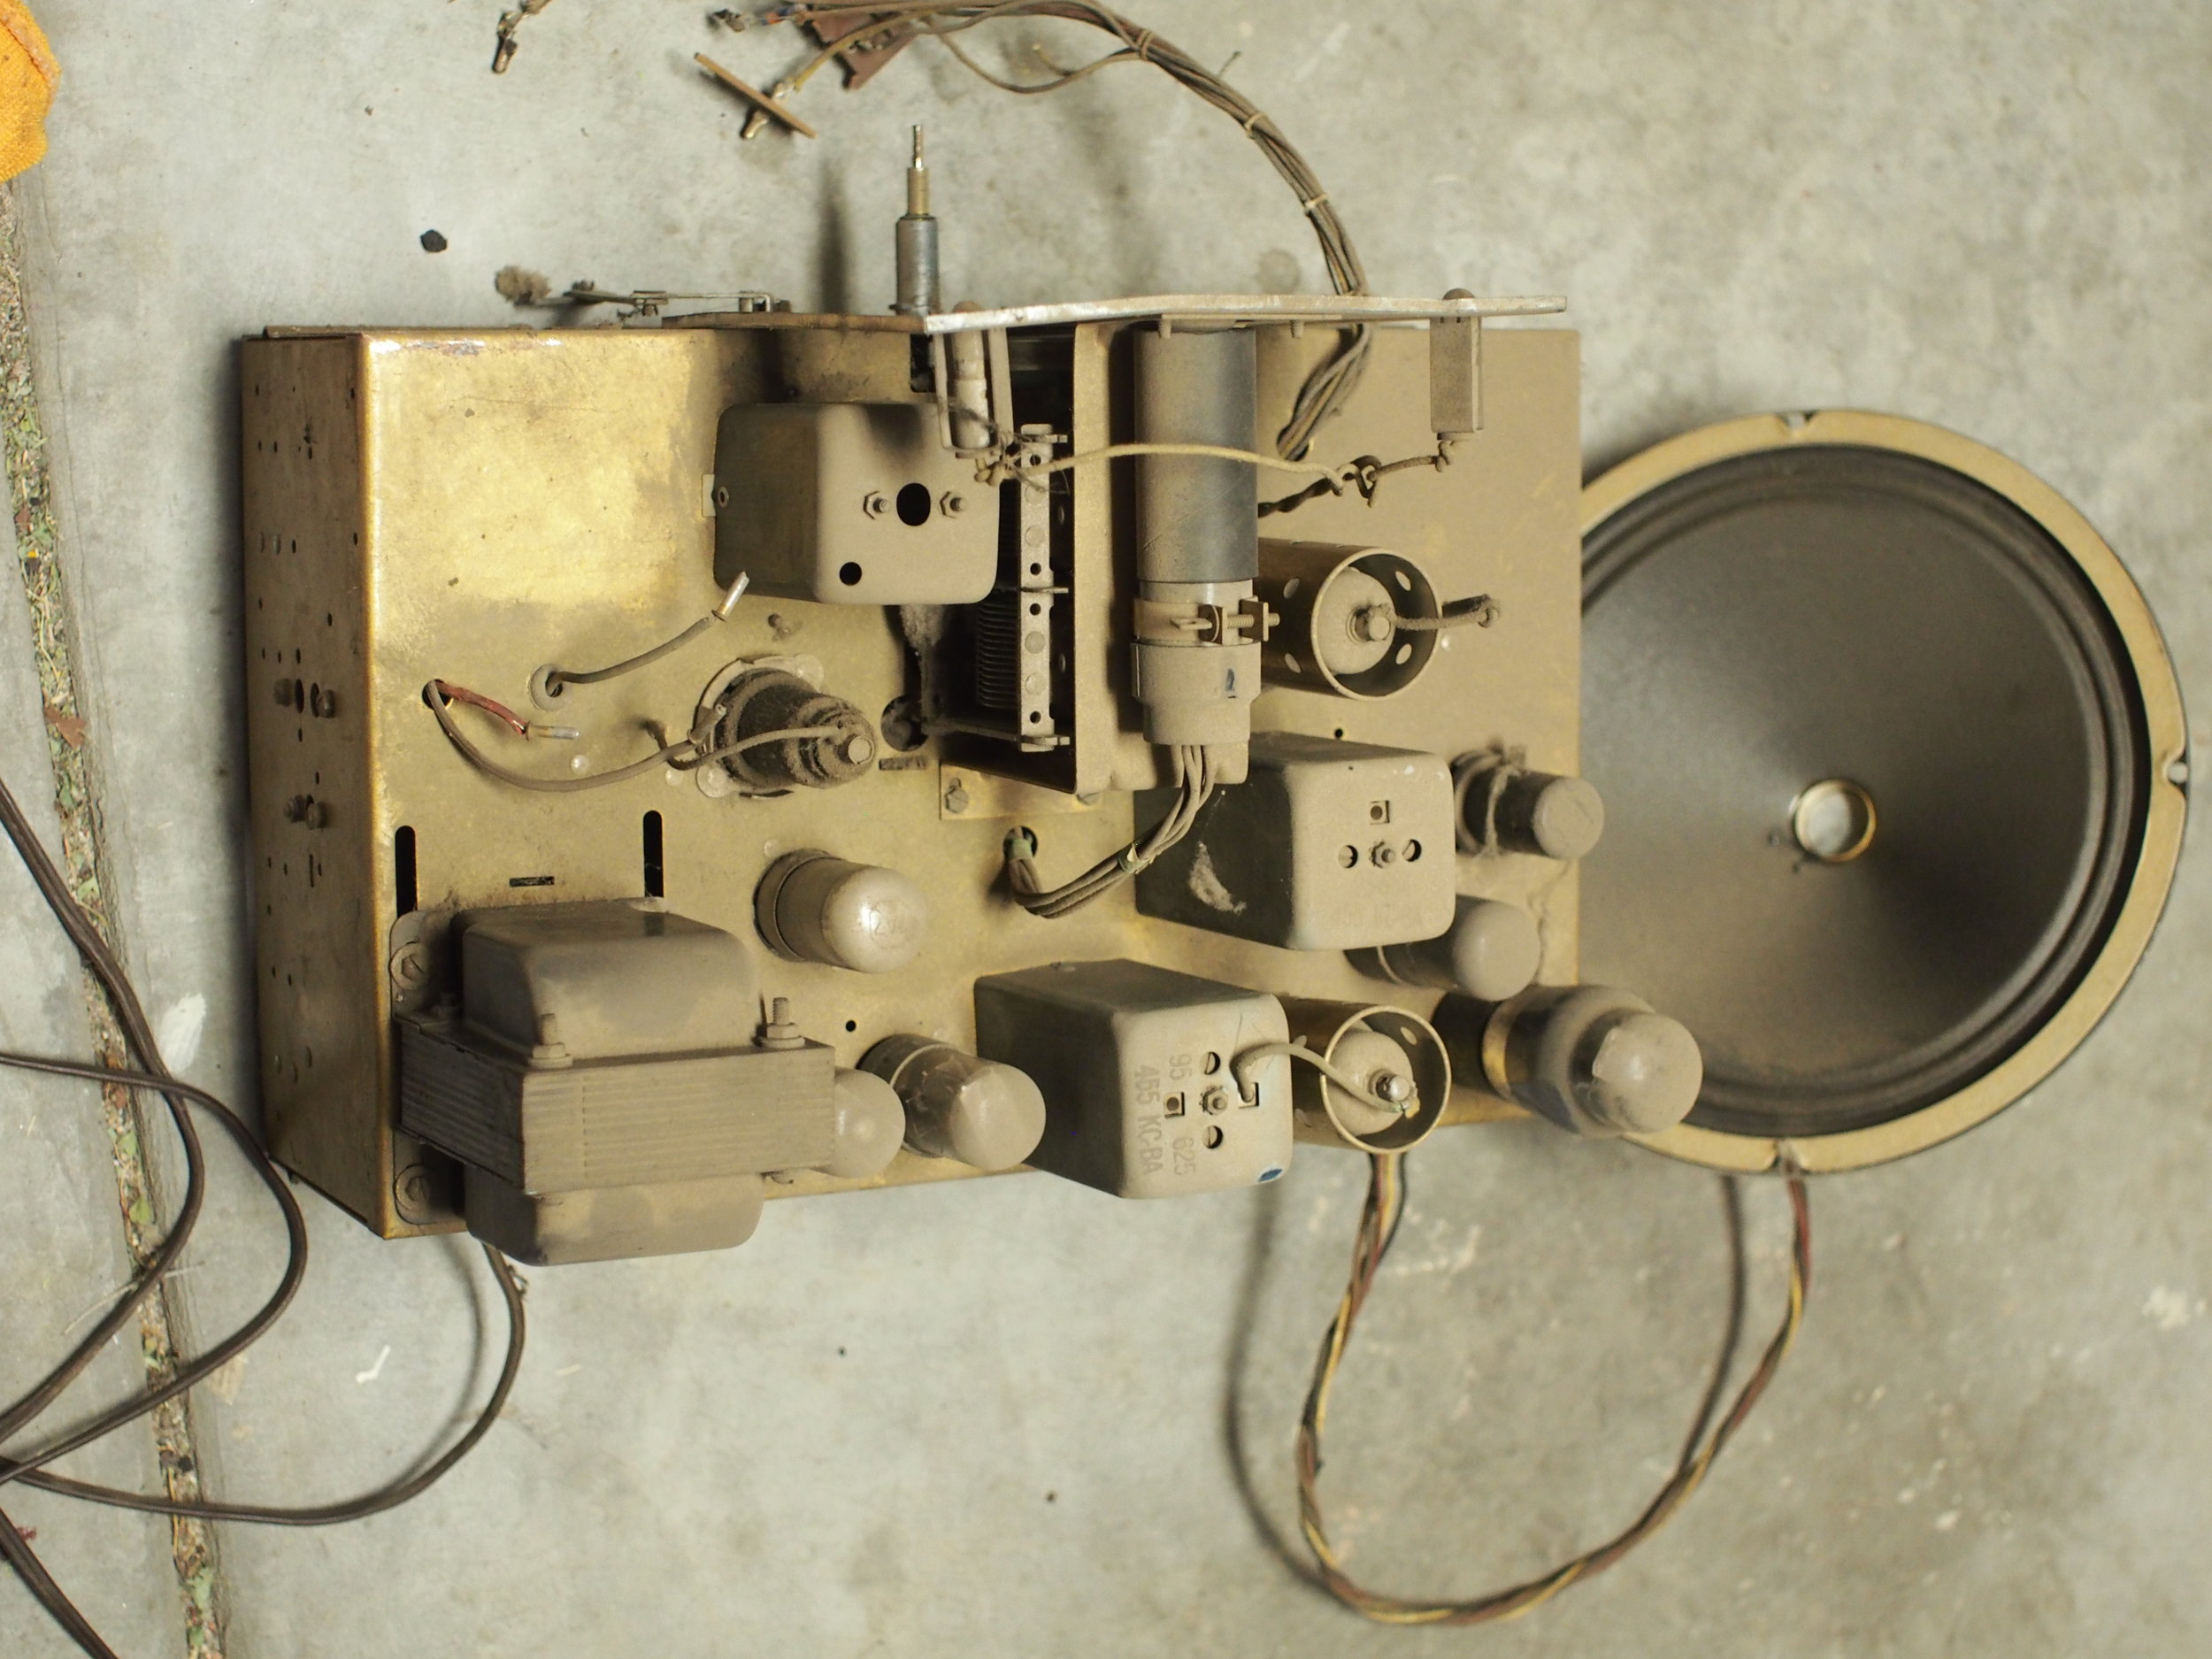
The guts of the radio and the speaker
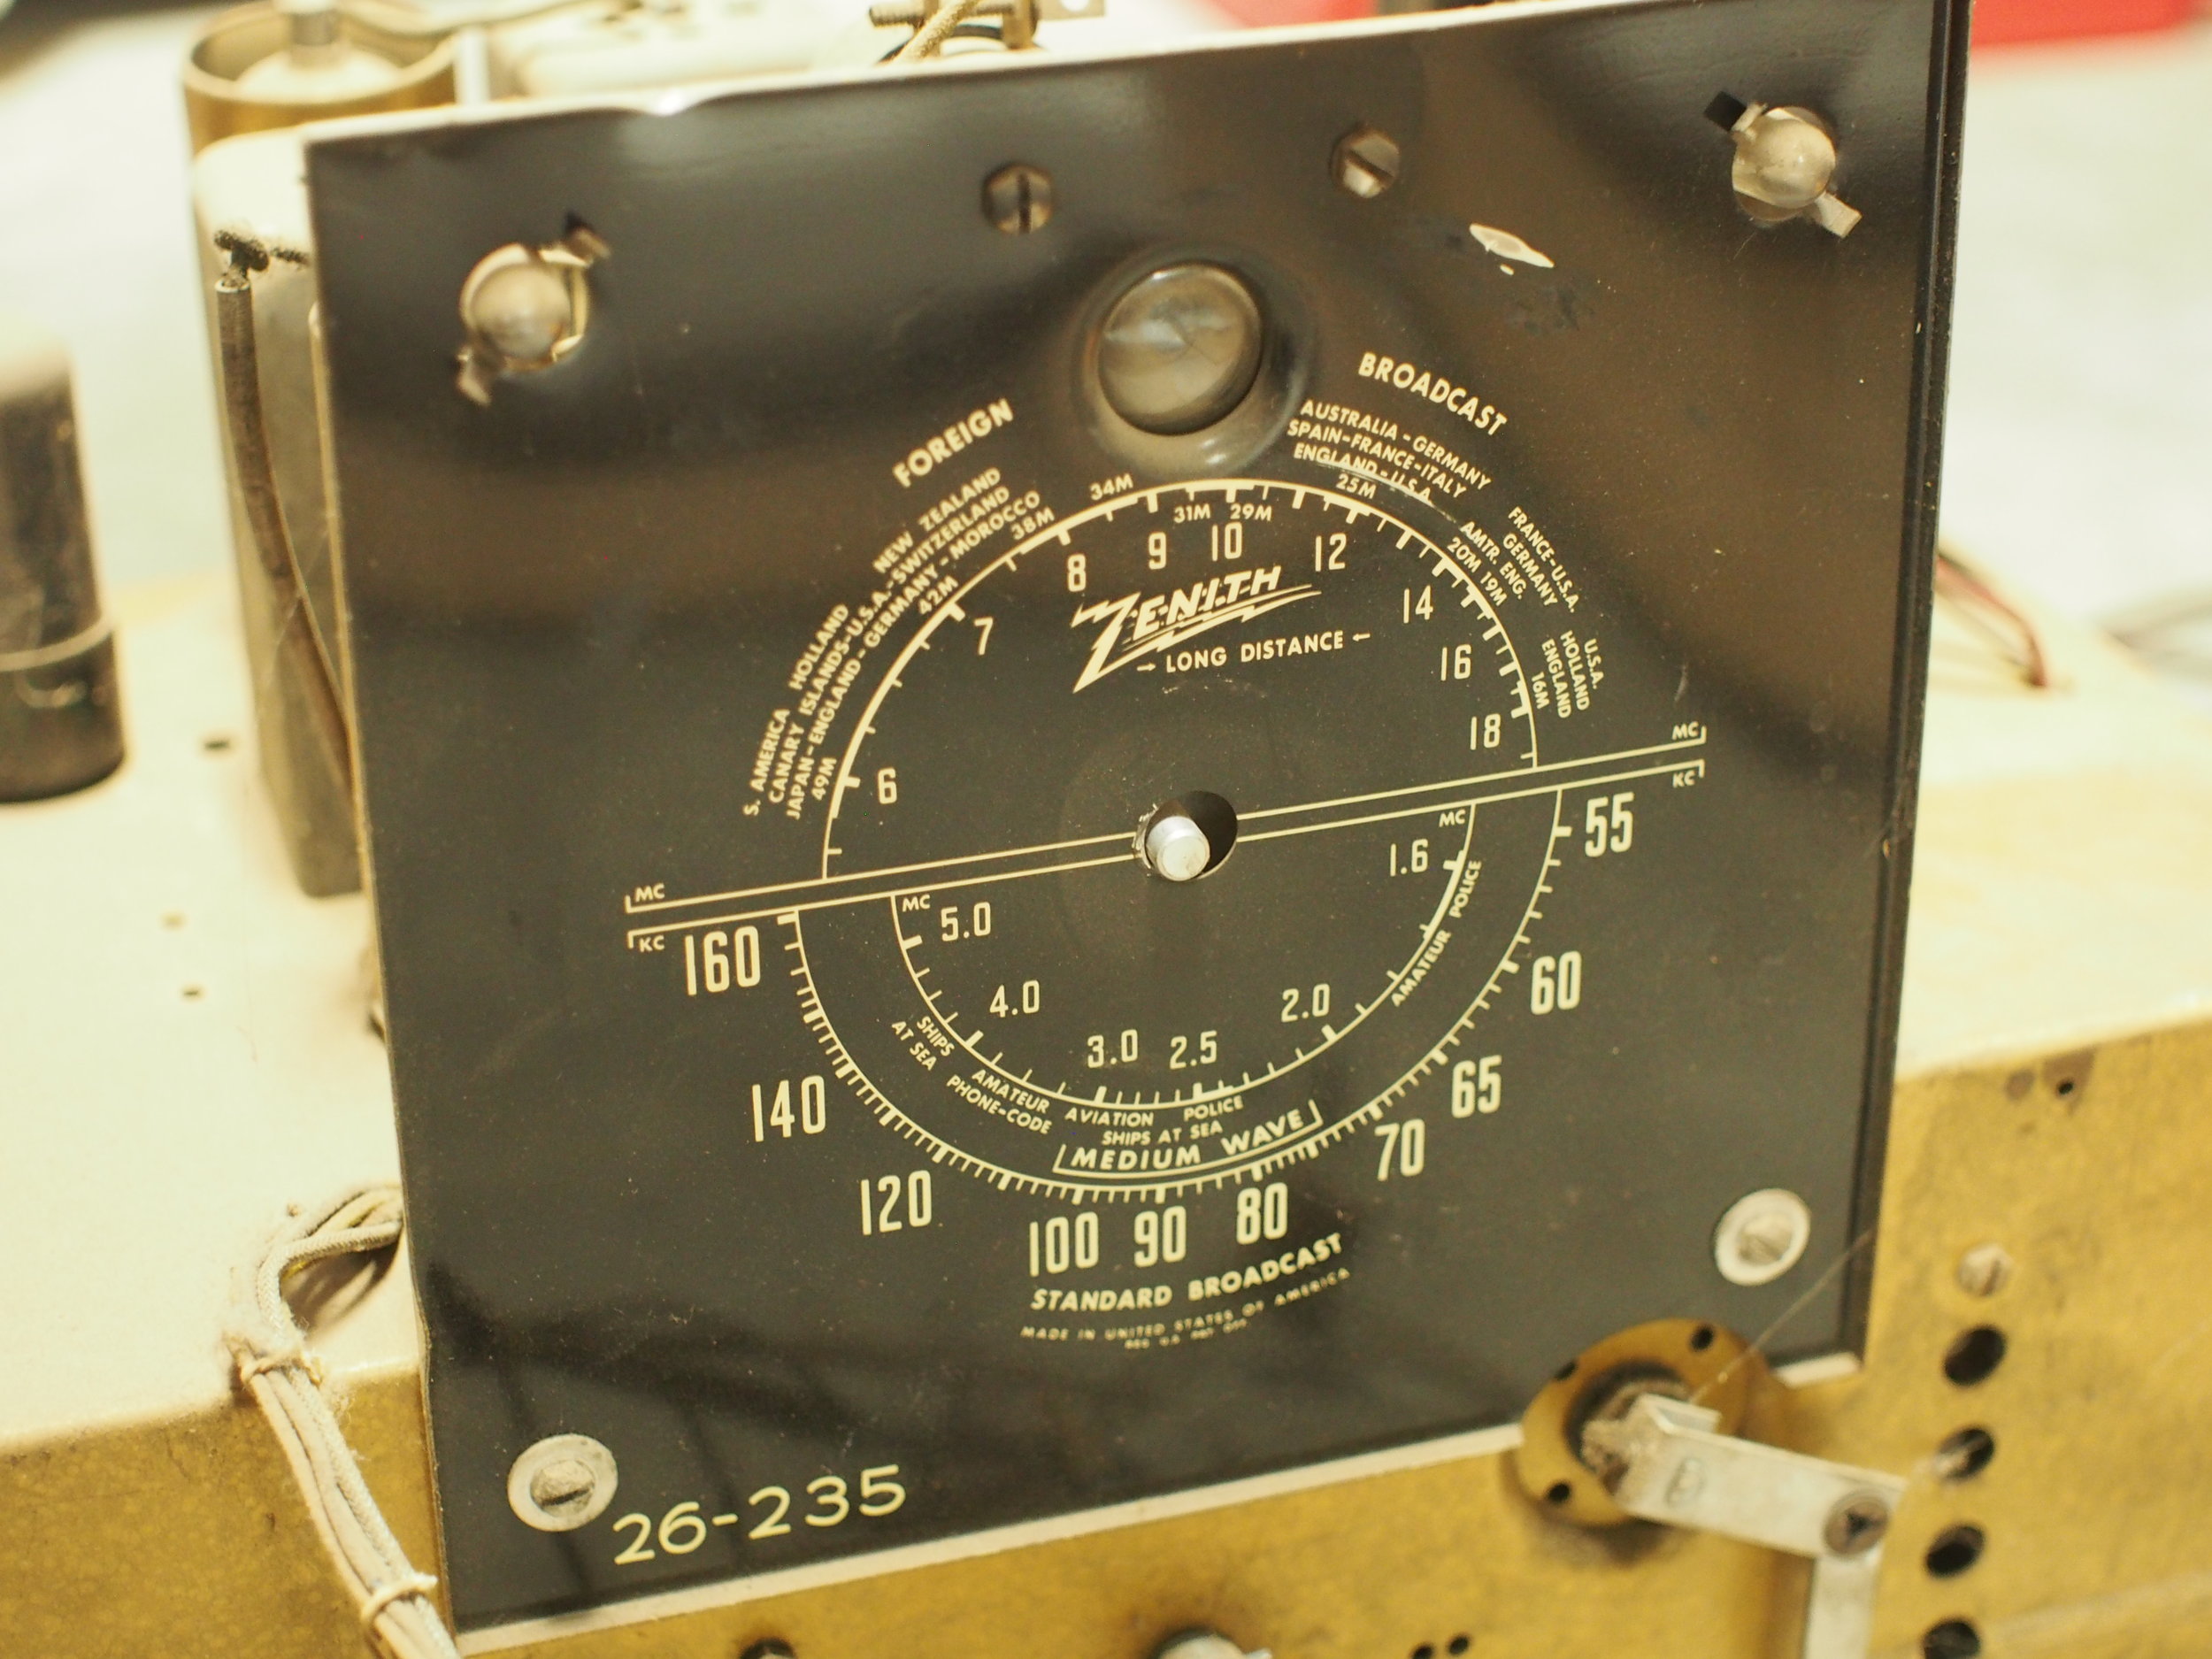
The dial
Getting the face plate off was a little harder. The screws were hidden behind the rocker buttons, and I couldn't figure out how to get to them. It turns out, there is a spring-loaded pin that holds the plate with the buttons in place.
The back of the face plate

Taking off the buttons using the spring pin
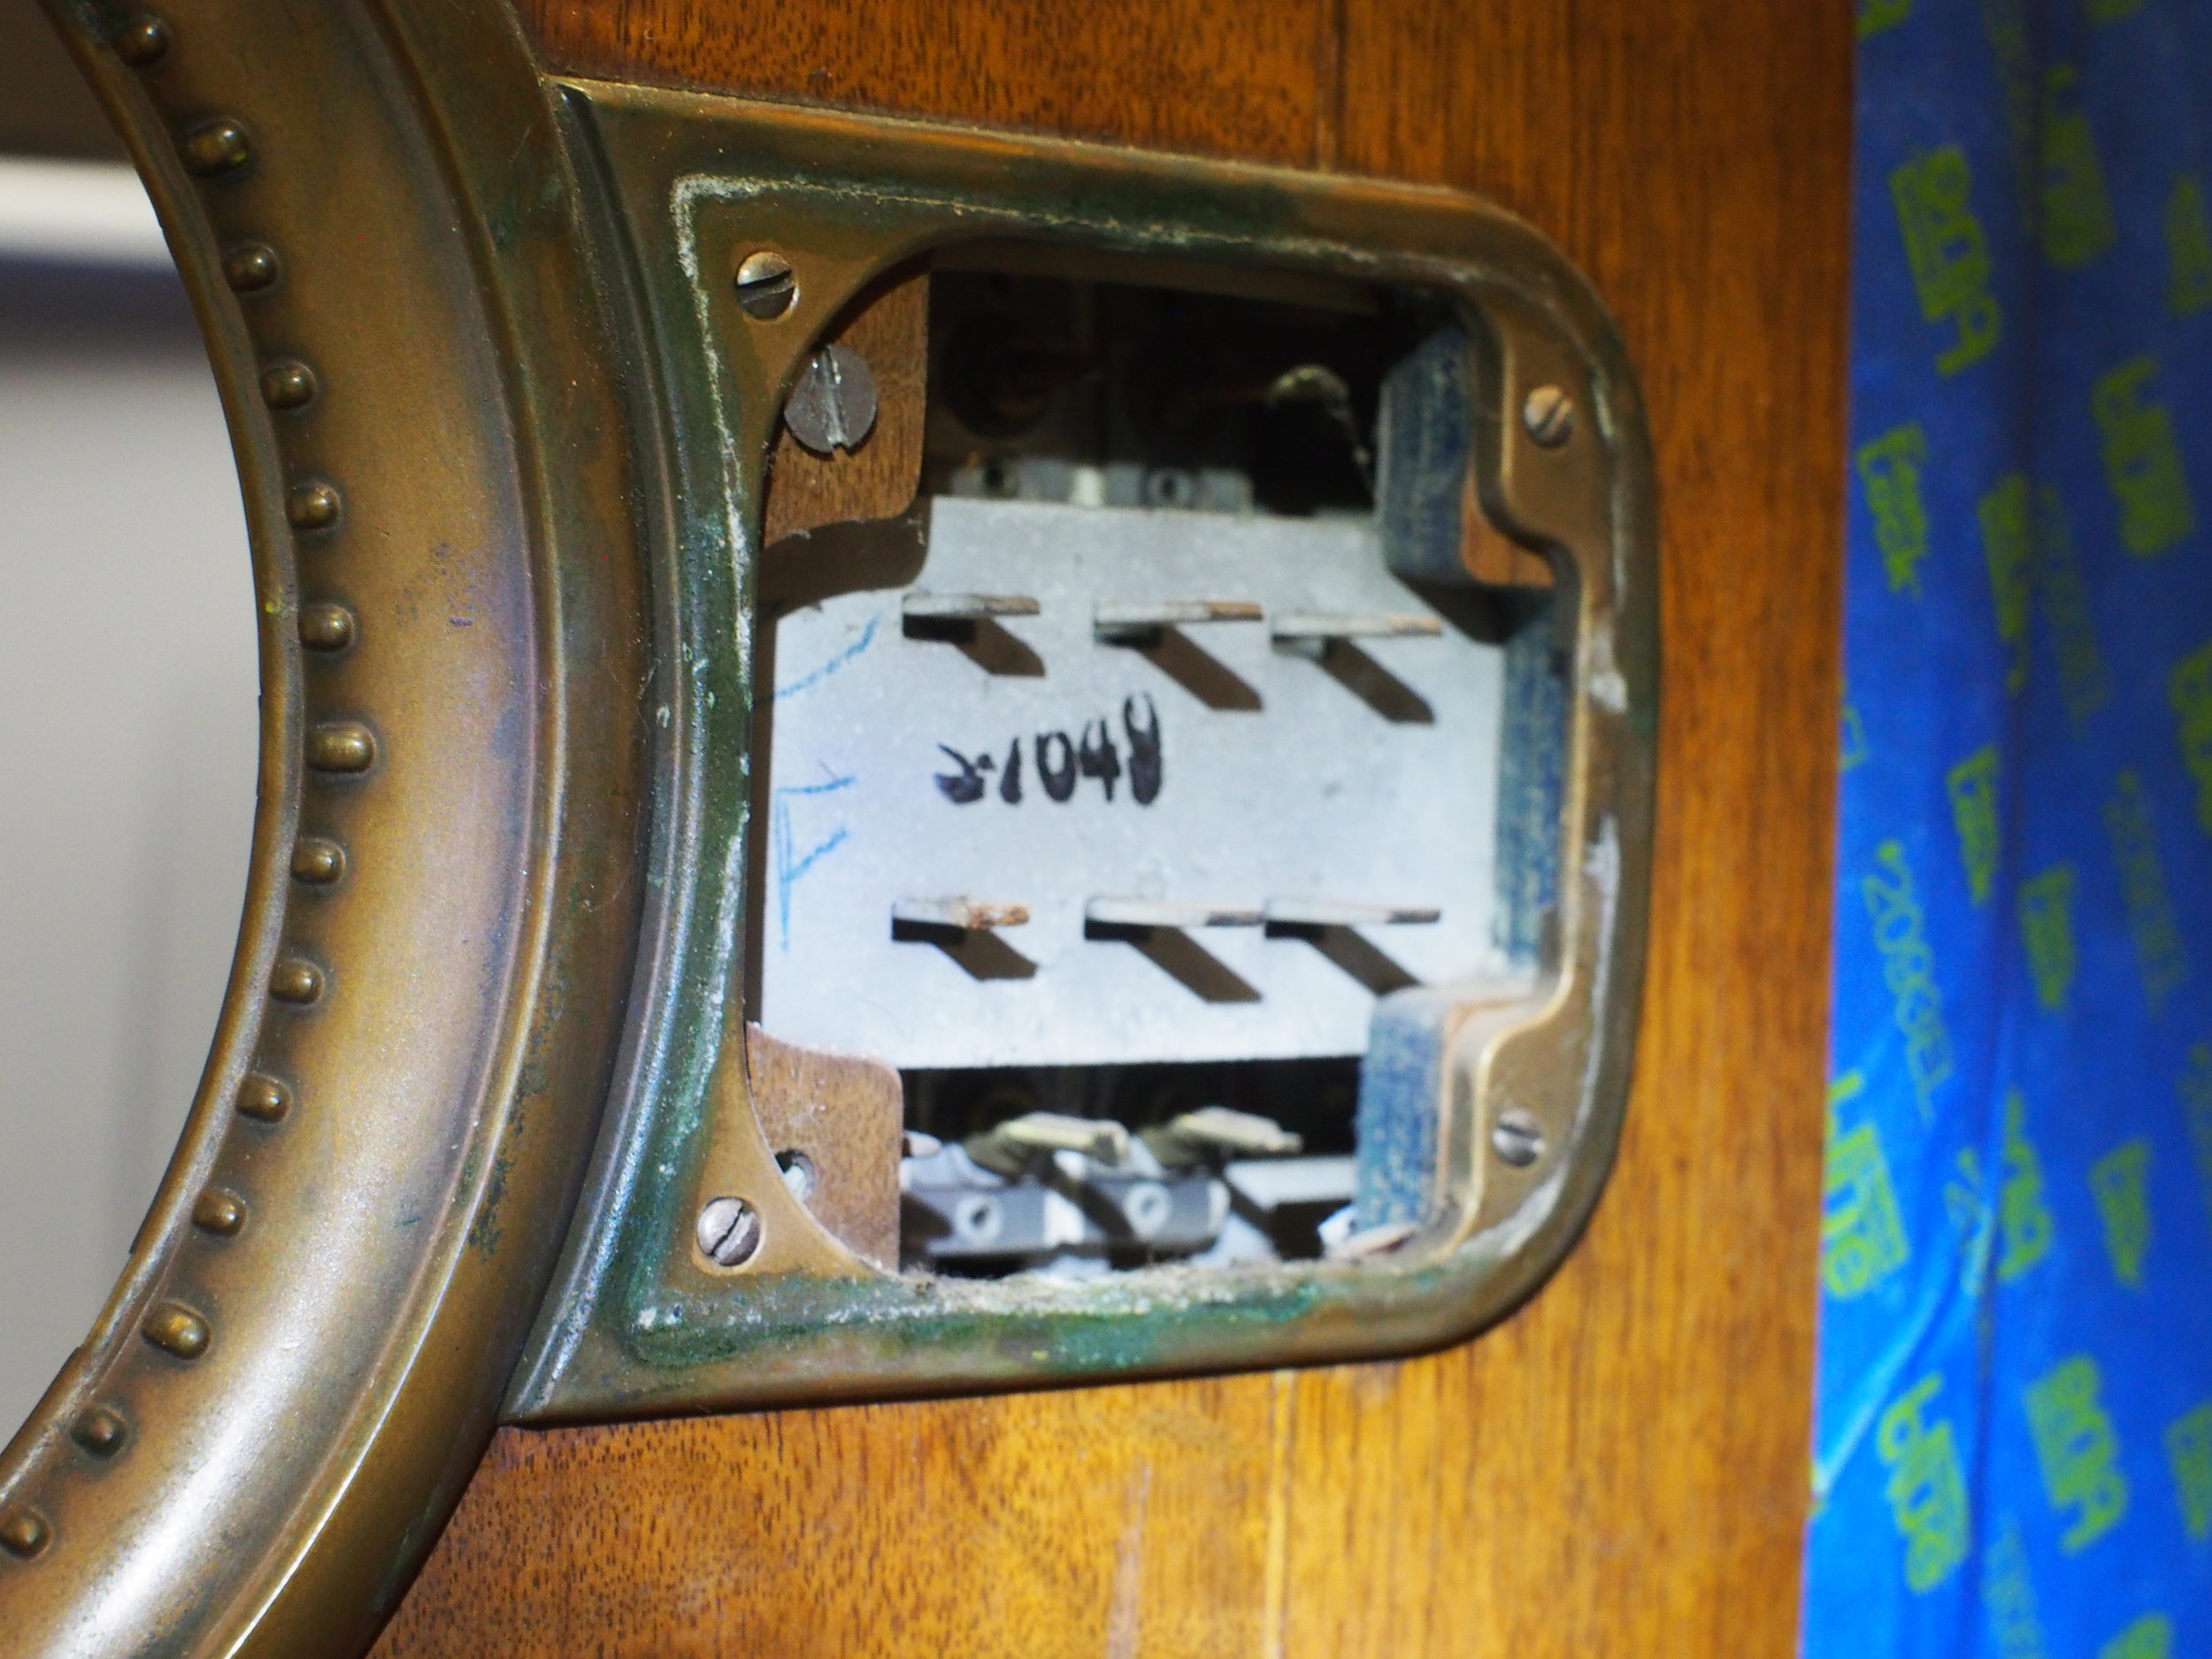
Screws exposed
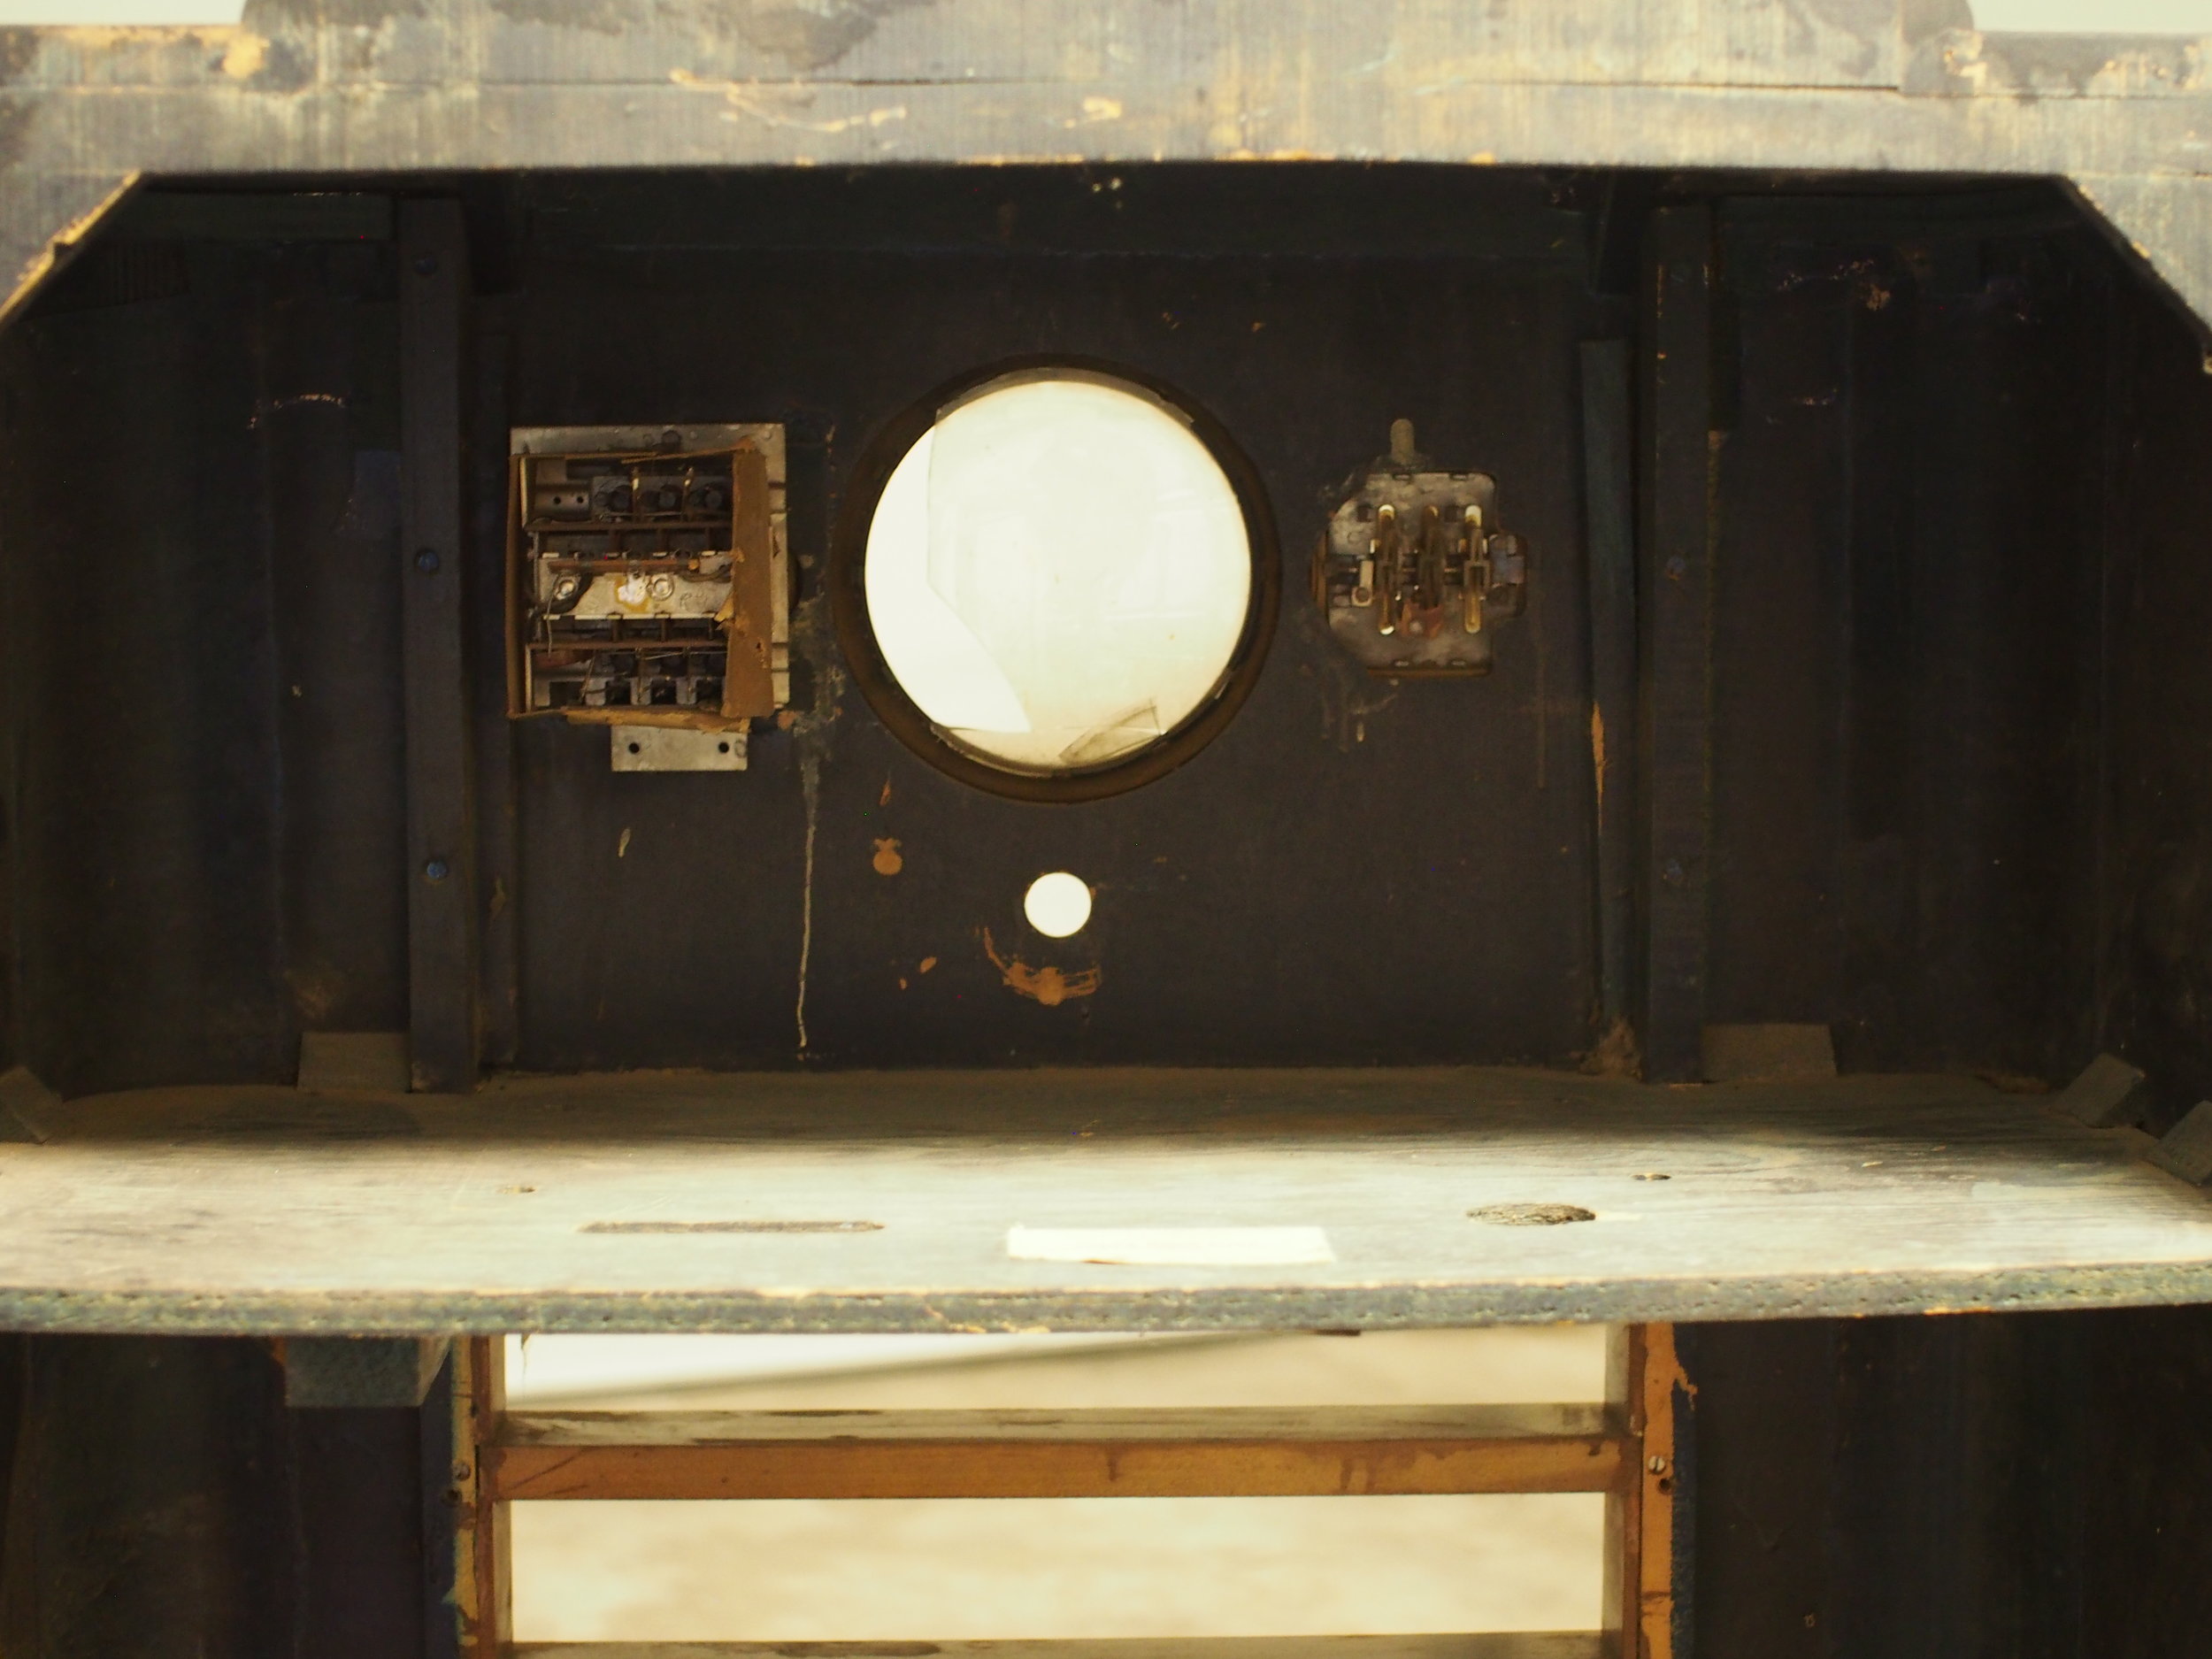
With the cabinet bare, I took some measurements of where I wanted to put the door.
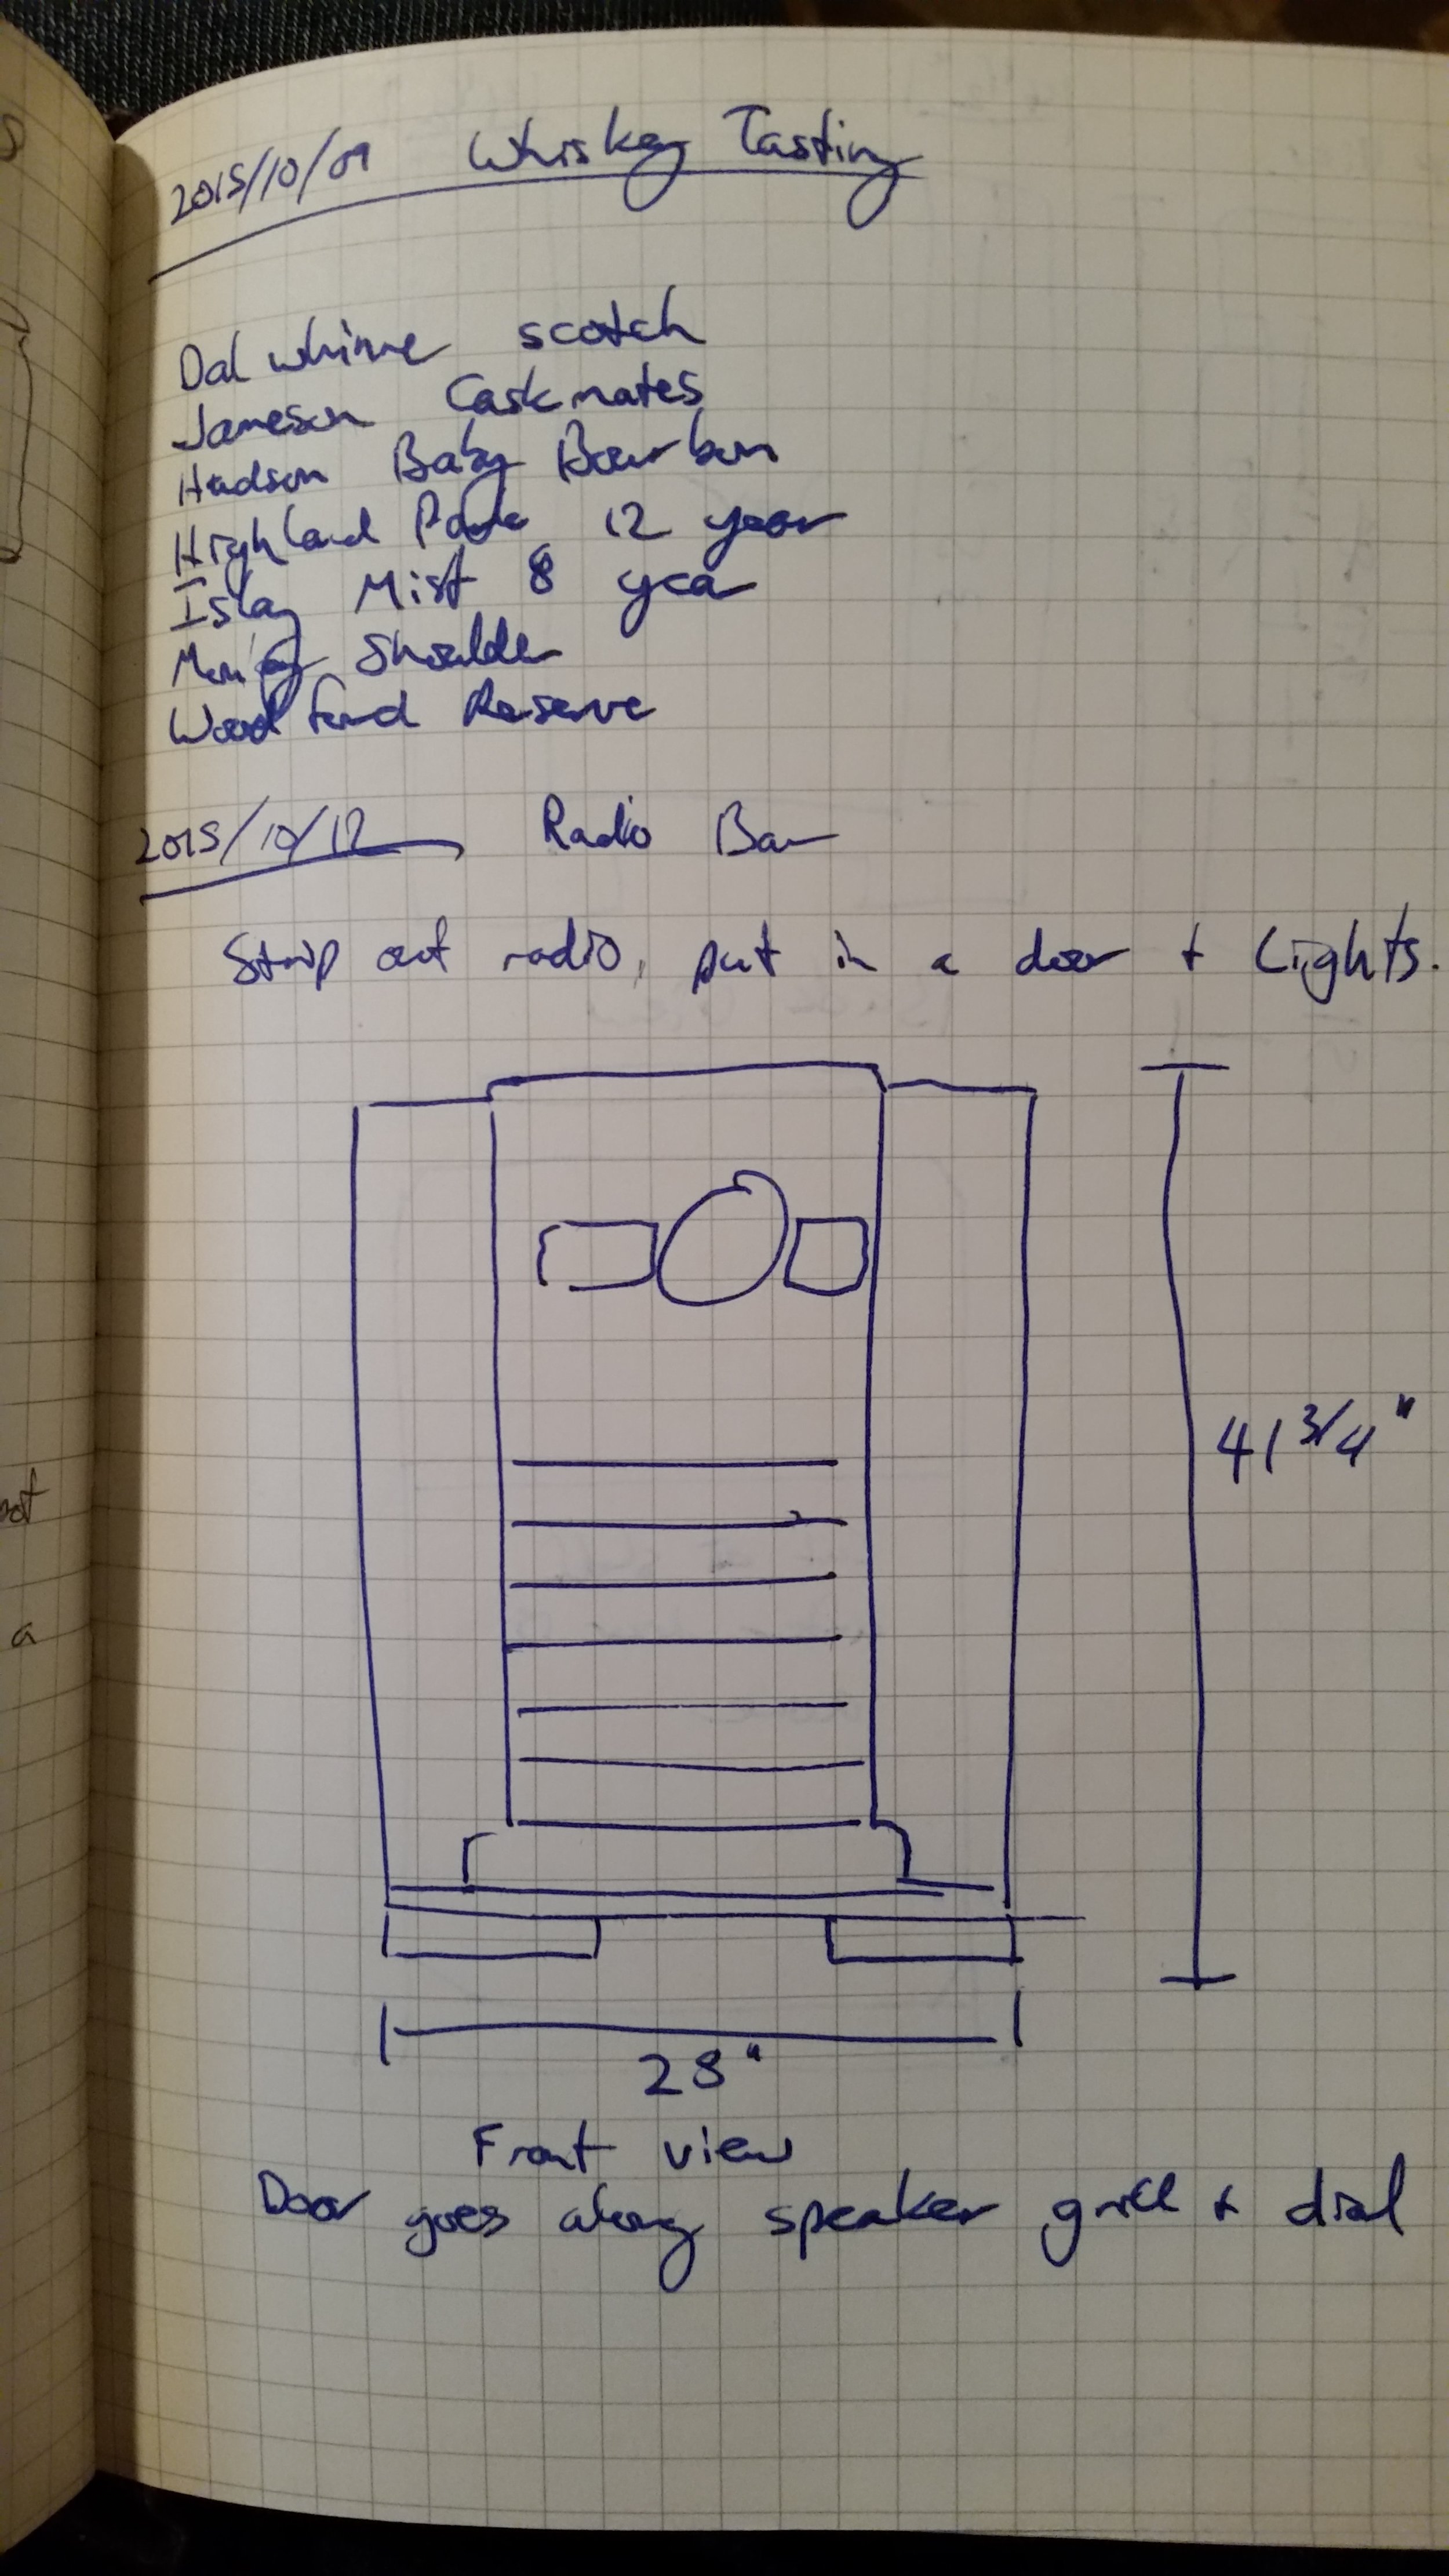
Overall dimensions, plus a nice whiskey tasting to boot
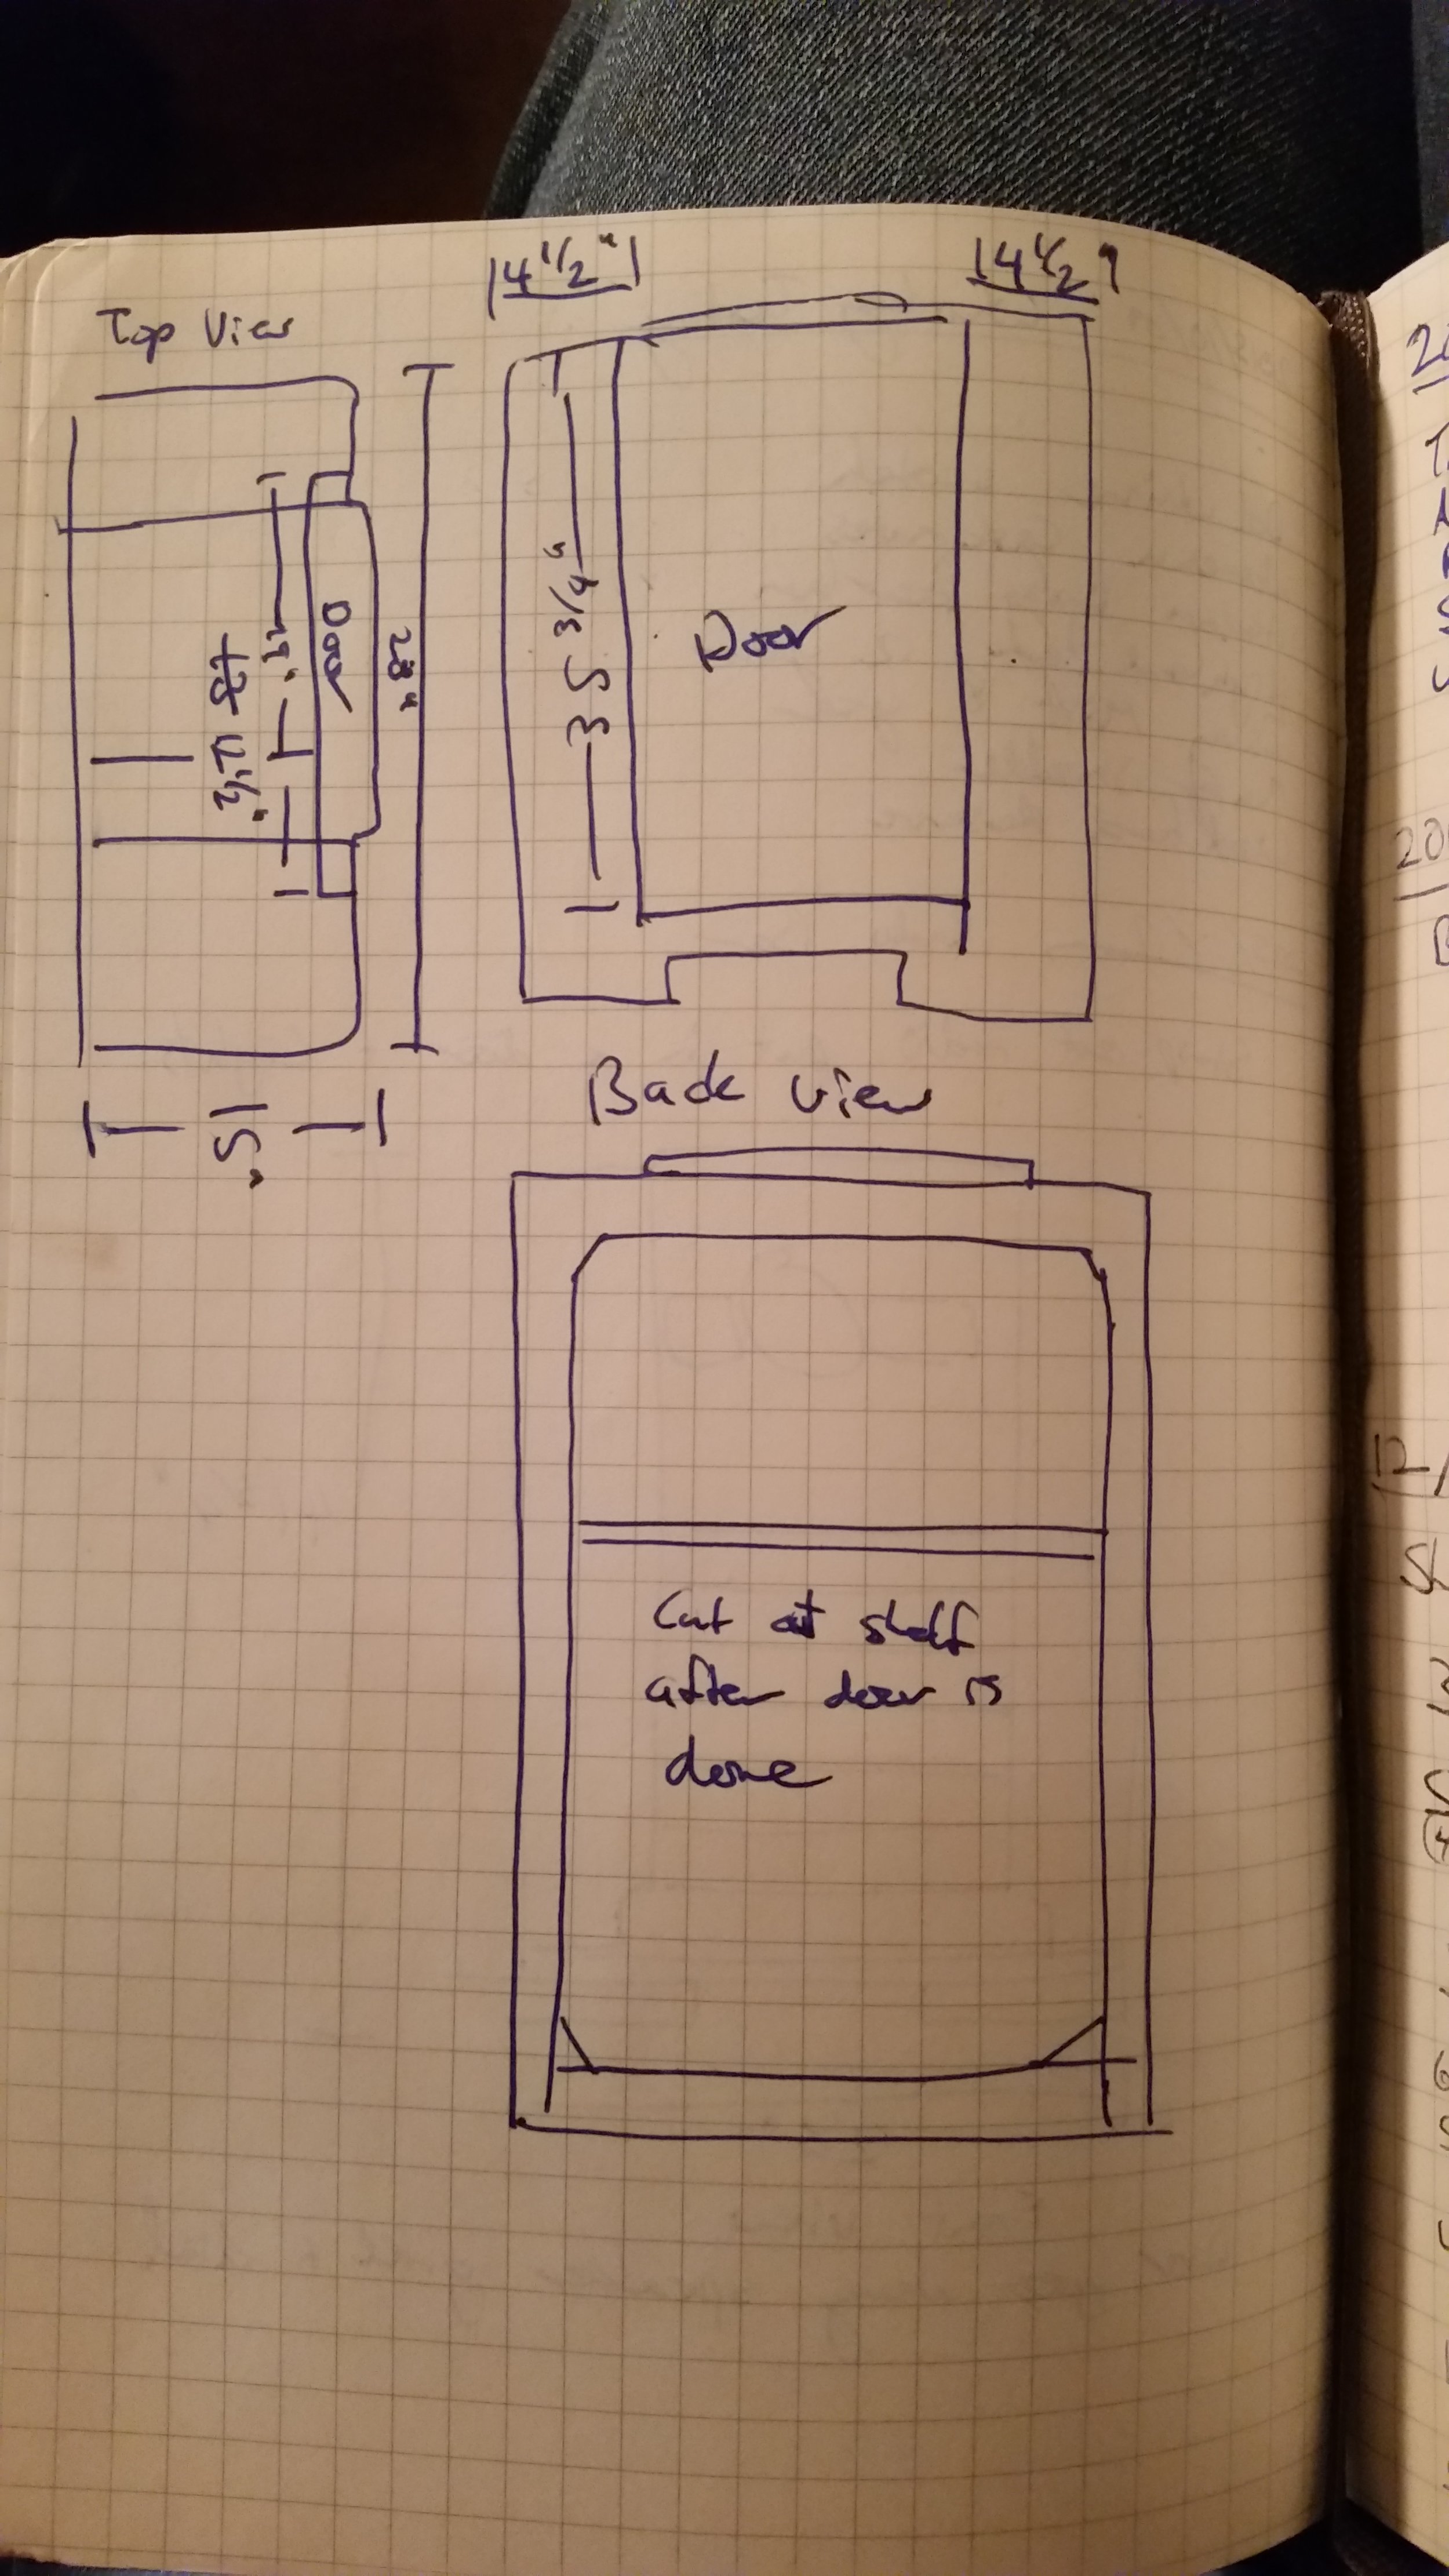
Radio bar door measurements
We cut out the shelf the radio was on, but we decided to put another one in a similar place, with enough room for bottles on top. It turns out to be a really good place to display things through the dial glass. I also ended up making some new shelves on top of that, but we'll get to the interior modifications later.
Based on the plans, my wife put some painter's tape in the areas I wanted to cut. This keeps the splintering down when you cut with a saw.
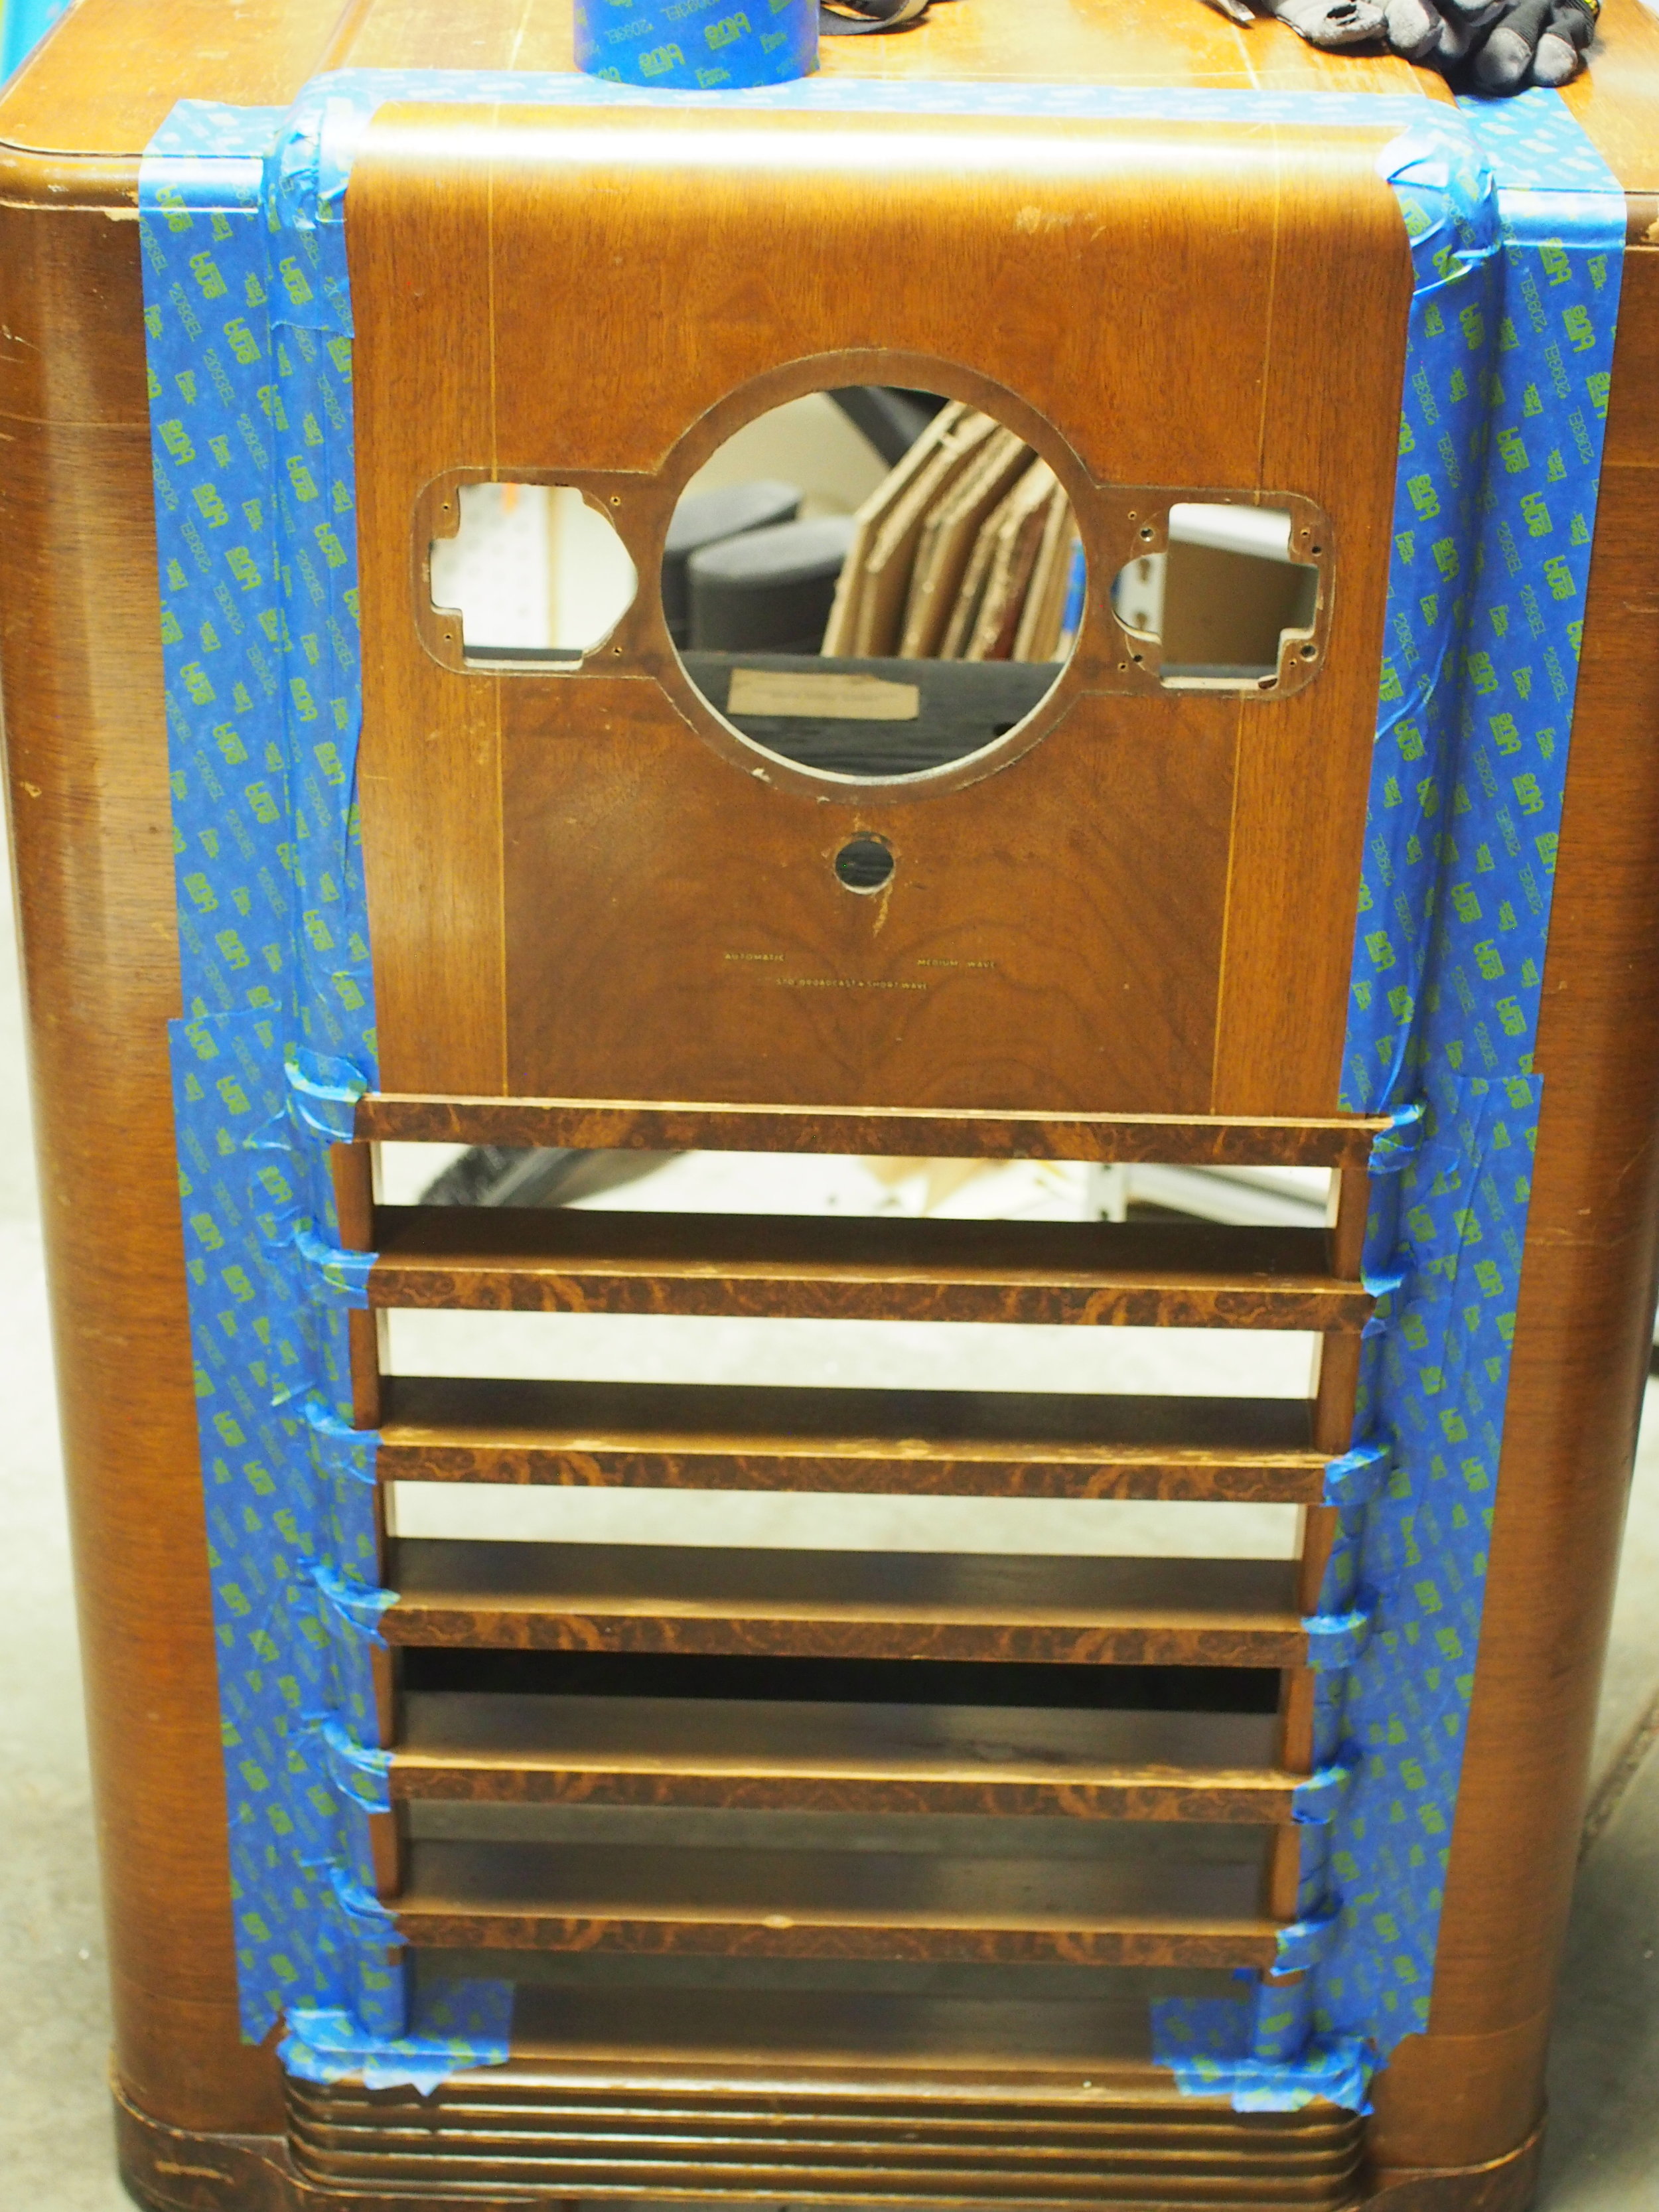
Ready to cut the door
On the inside of the cabinet were two tags. One had the model number, plus all of the patents Zenith claimed on the design of the radio. There was also the business card of a local radio repair shop. We decided to keep them both. The business card came off the shelf ok, but we had to leave the Zenith tag, and mask it for later painting of the interior.
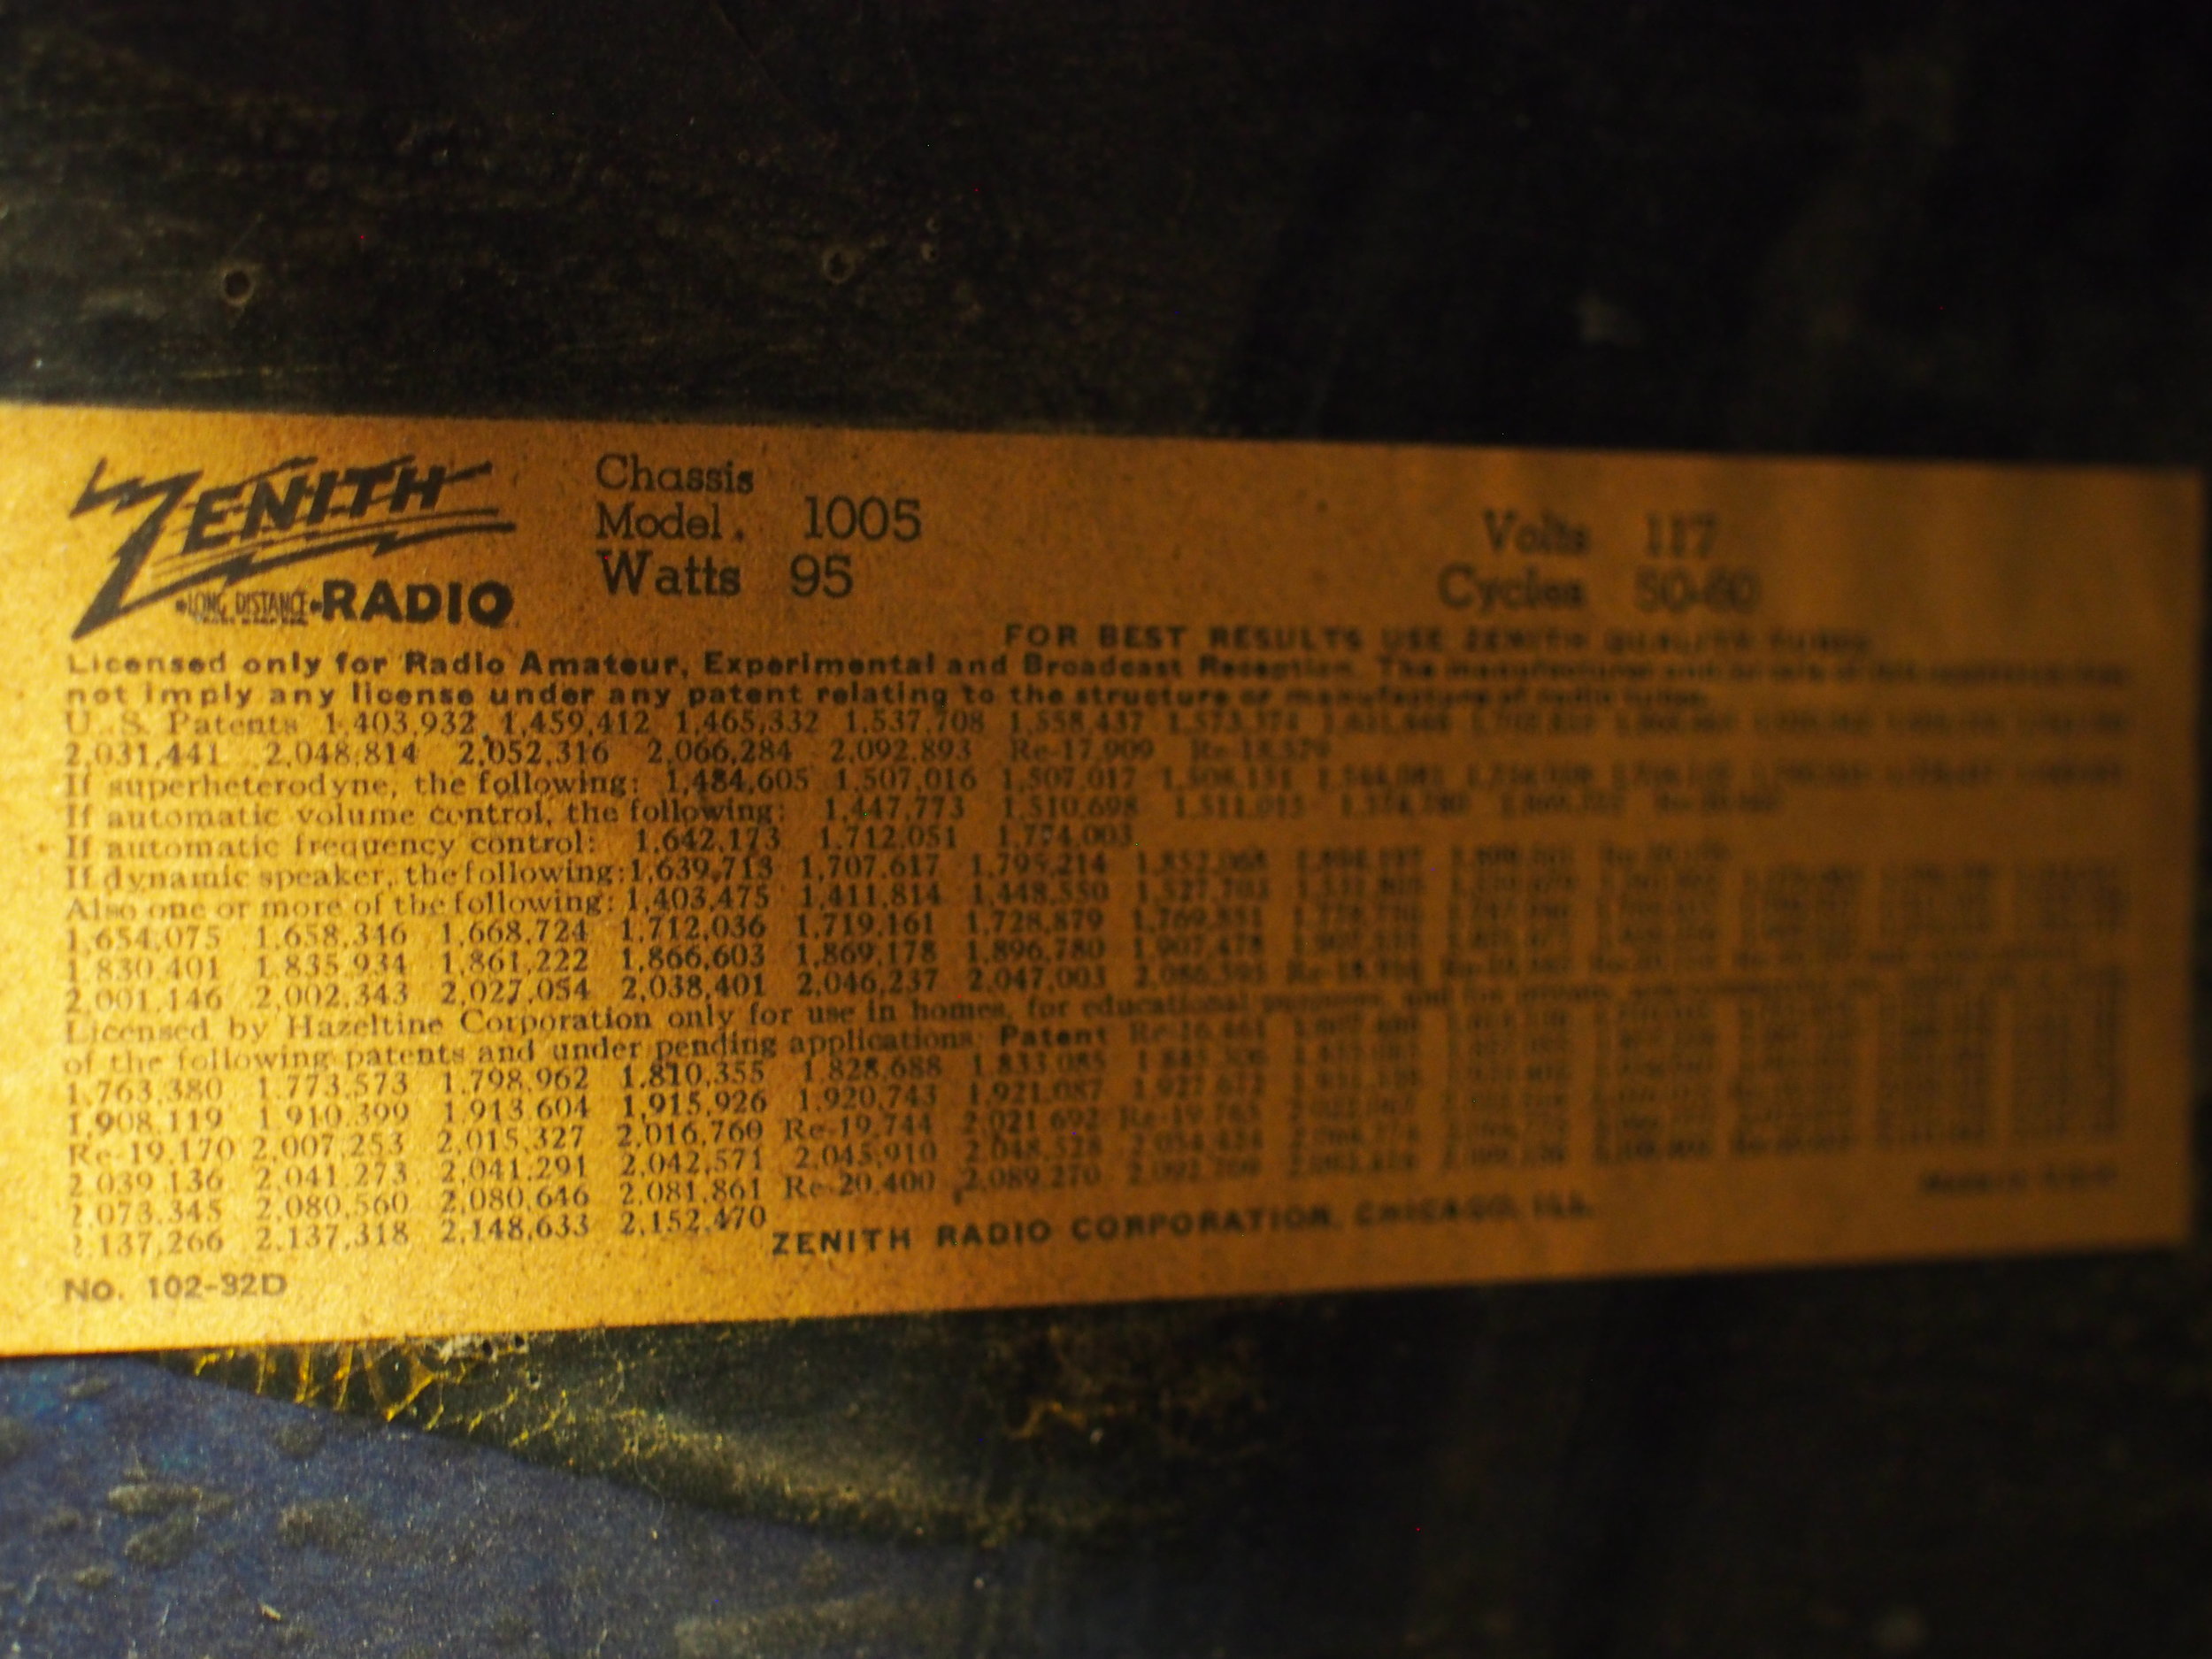
Zenith patents and model number tag
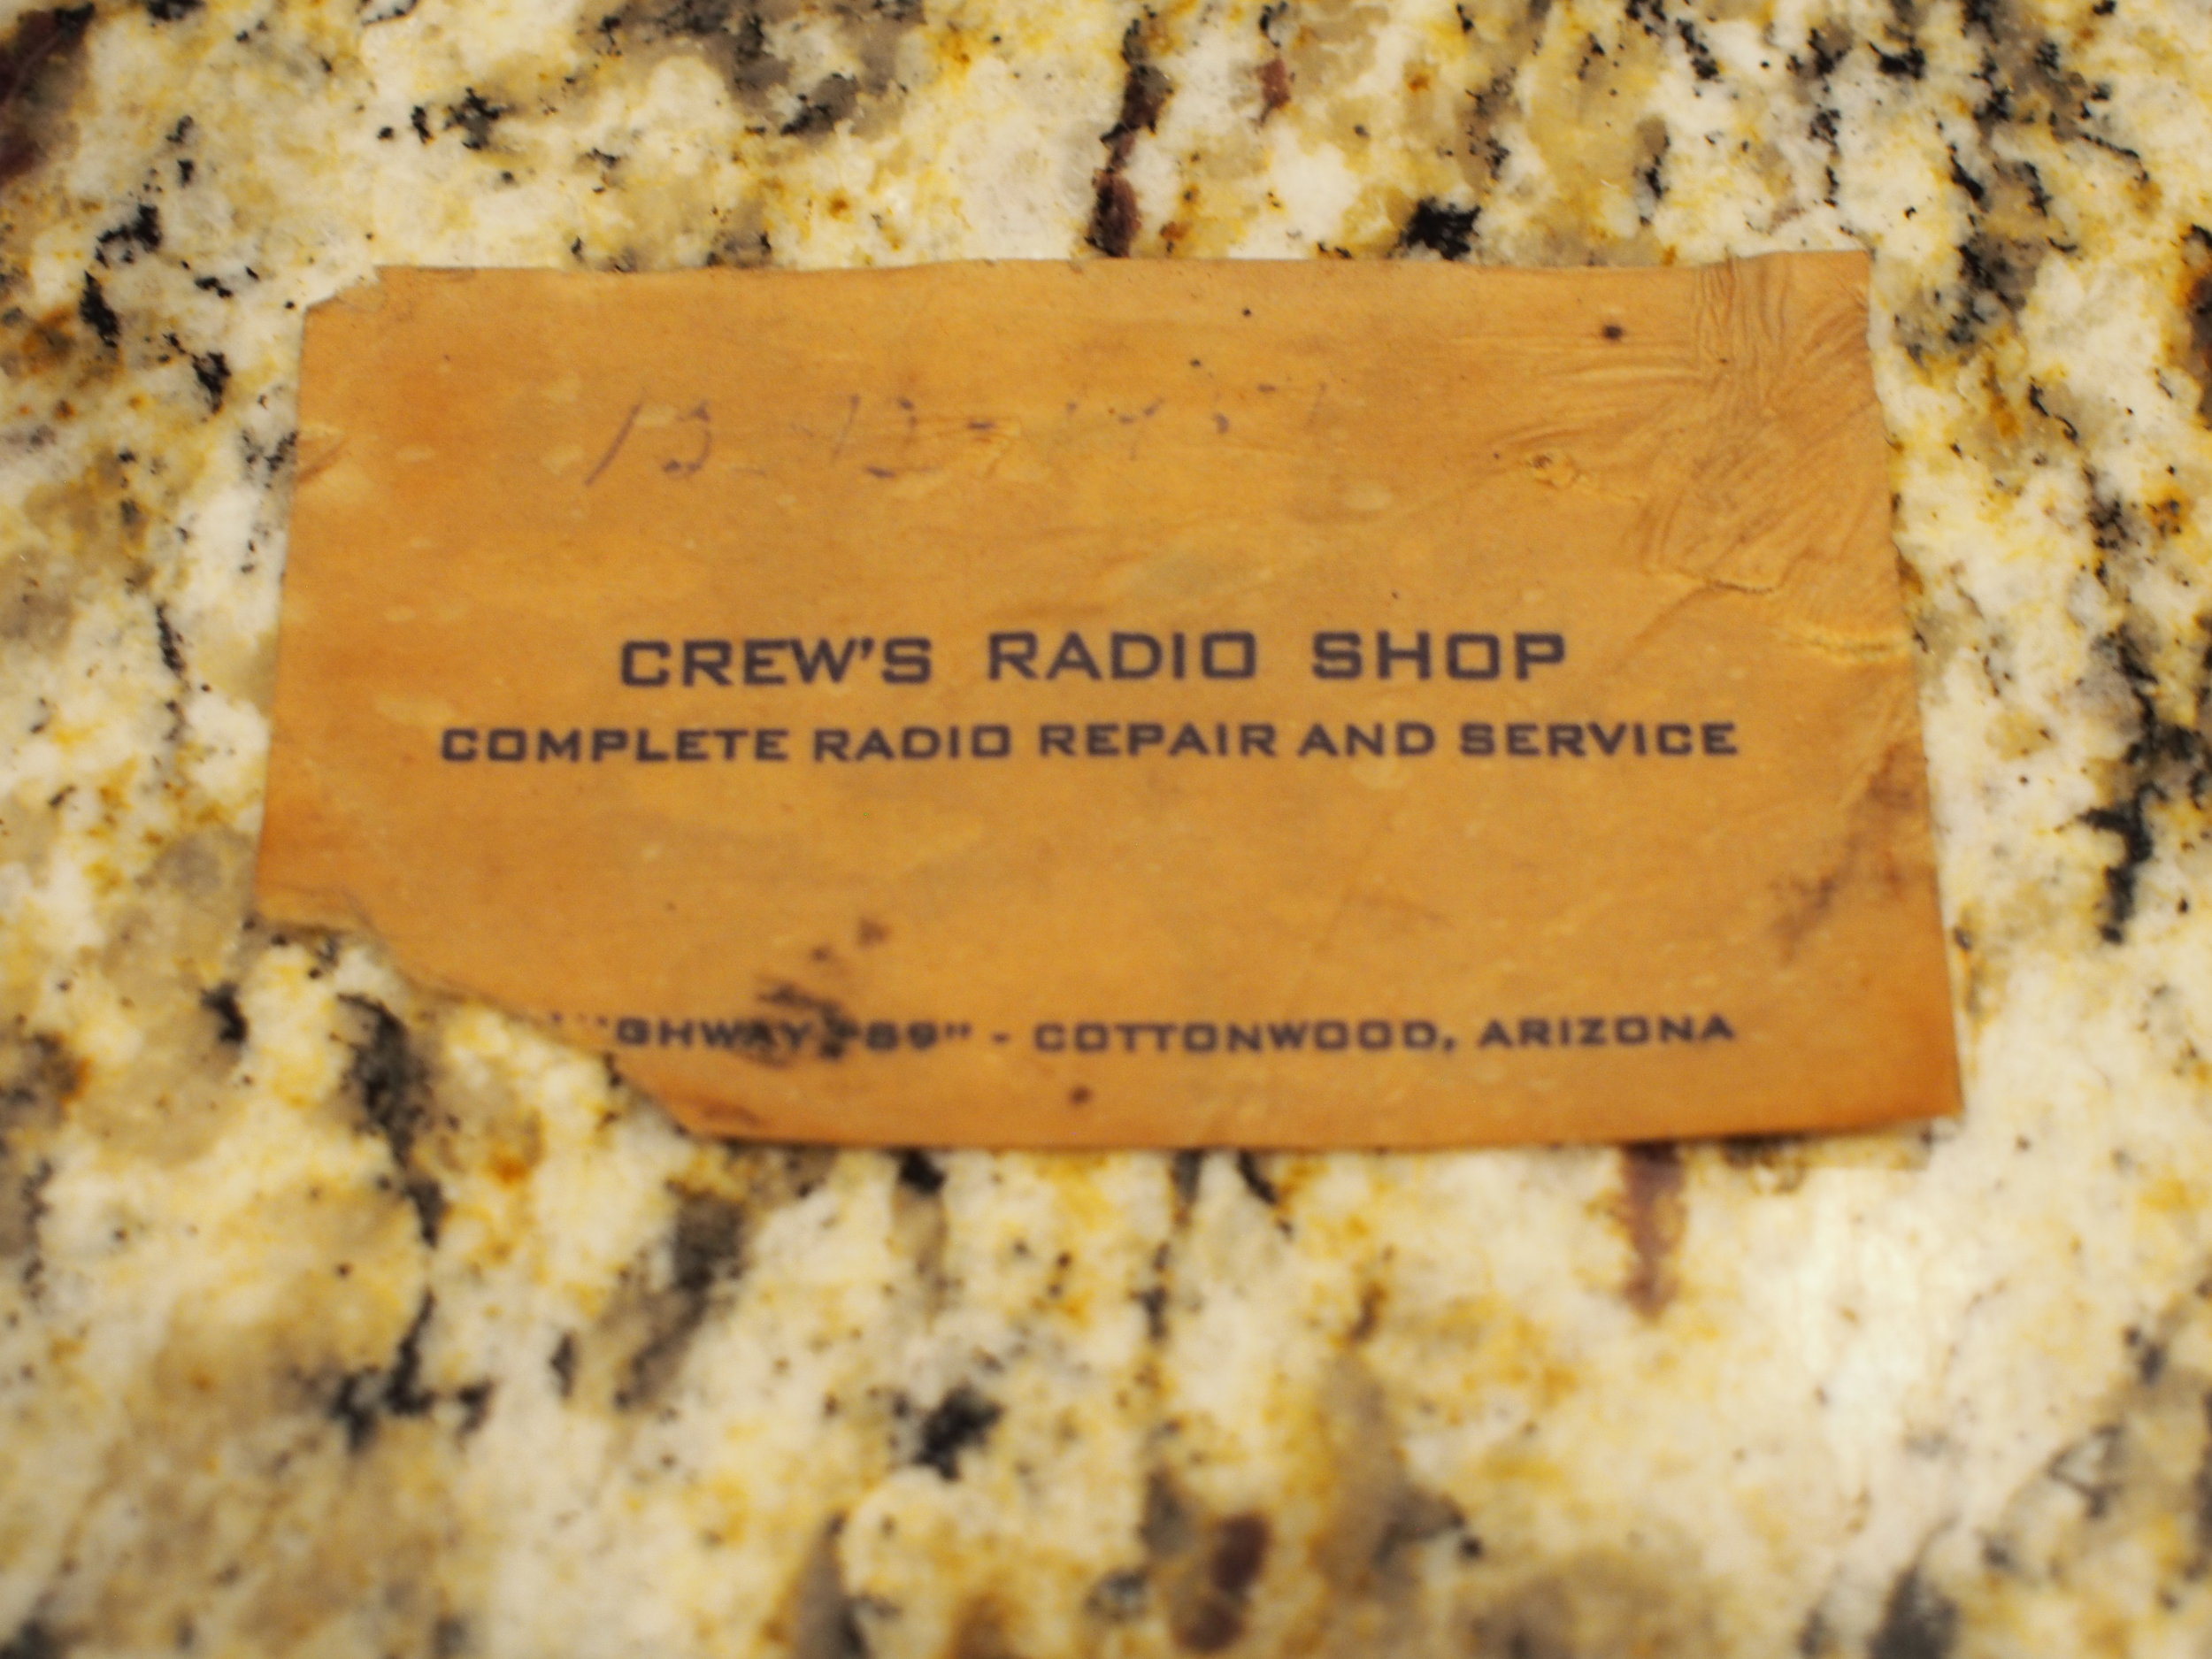
Repair shop
Next
Up next are the interior modifications we made to allow us to store bottles inside, plus cutting out the door.
Comments ()