DIY Swing Set from Timber and Swing-N-Slide Brackets
It has been a while since I’ve done a DIY post. However, I was motivated to do one for this project as I felt I learned a few things the hard way and I wanted to share. Seven years ago, I wanted a swing set and a playhouse for my kids, so I bought something from the flat pack industry. I considered a DIY set at the time, but I didn’t quite feel comfortable putting it together myself. So I bought a prefabricated one. It served its purpose, but since flat pack stuff like this is usually manufactured on the other side of the Pacific ocean and then shipped here, it is value engineered to the hilt and is just strong enough.
After a few years of playing and UV exposure at my altitude [7000 feet], it was getting wobbly. So I decided to replace it with something beefier. There are a few swing set hardware vendors out there, but I selected Swing-N-Slide as a good value. The ratings and reviews seemed positive as well. However, I do have some comments. Amazon affiliate links benefit me.
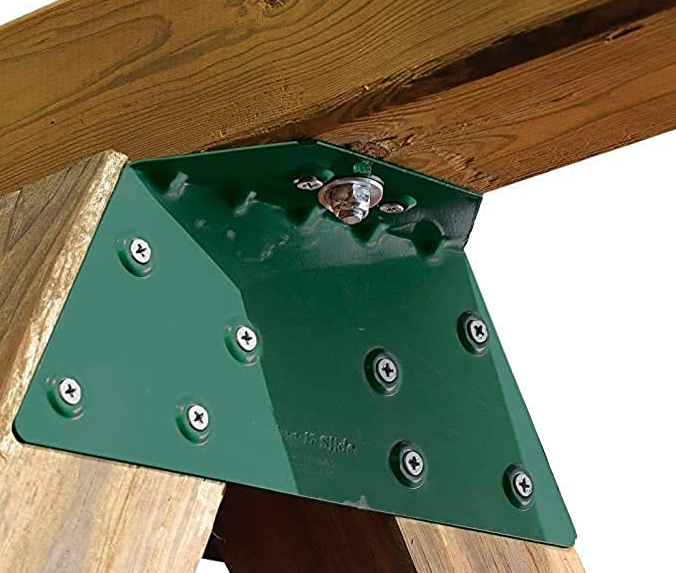
The most important thing is that these brackets:

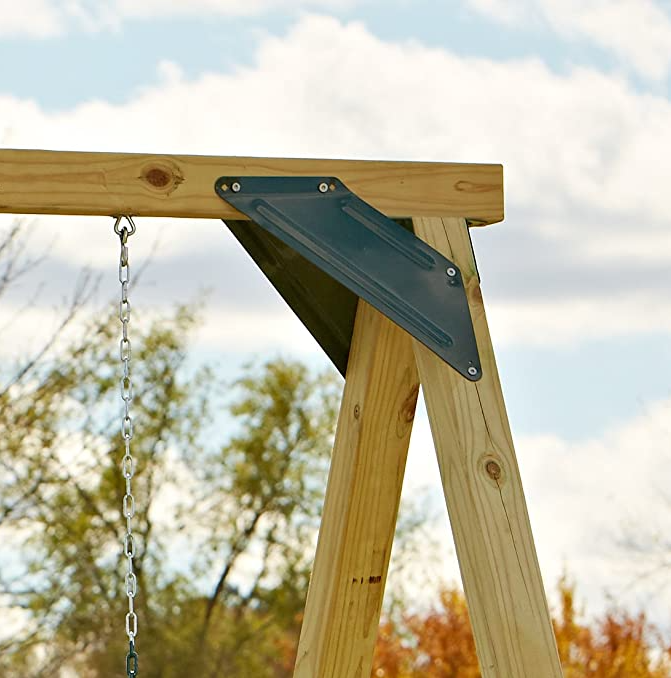
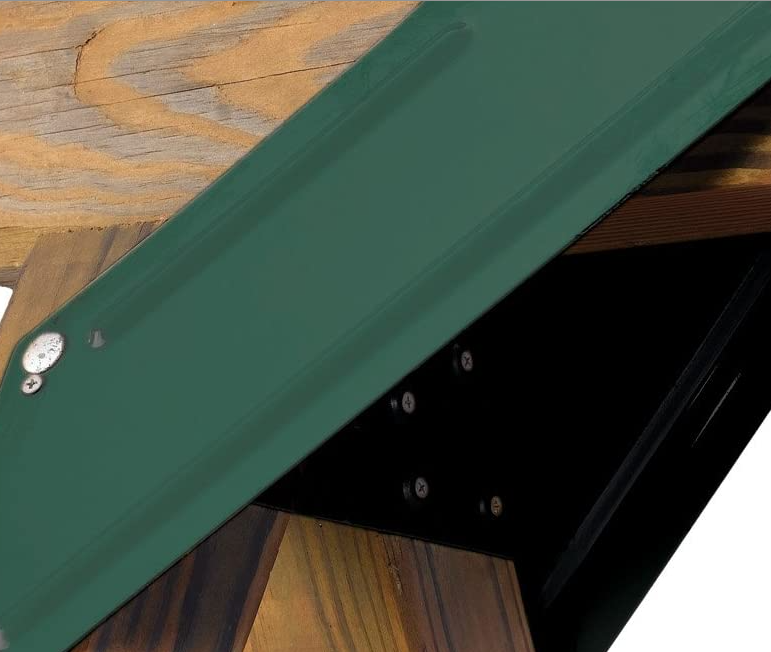
Have to be used with these, or something like them:

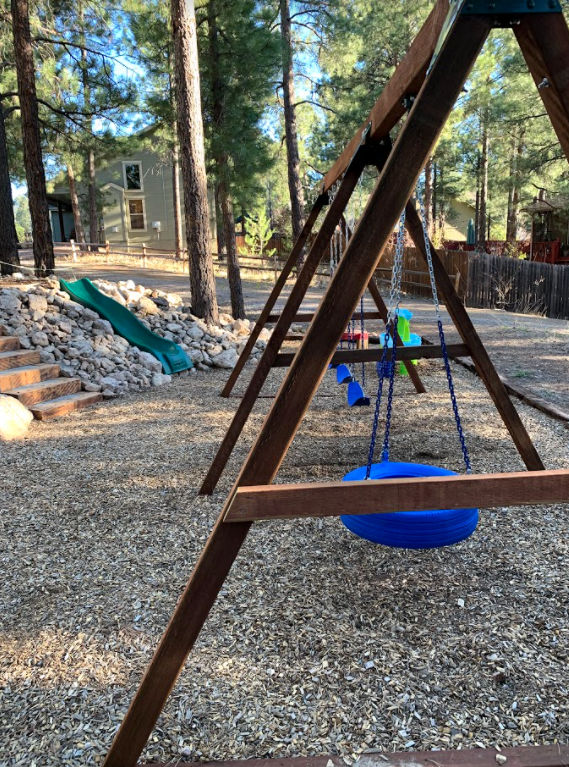
No installed per instructions
The instructions provided with the right angle brackets swing set brackets from Swing-N-Slide [Amazon link] don’t say anything about needing the angle braces. [Amazon link] I had glanced at the angle braces, and assumed they were a less sturdy way of doing an A-frame, but I should have zoomed in because you can see the right angle A-frame bracket in the pictures.

If you read the reviews, I think you can figure this out, but in my case I put the frame together, and decided it needed torsional reinforcement, and then discovered that Swing-N-Slide probably meant them to be used together. So after putting everything together, I ordered the braces, which of course took another week to arrive. I could have saved myself some time by ordering it all together, and now hopefully you can too. Overall, I like the product, but I do think the instructions should be clearer that these two things go together.

I also used some really sturdy swing hangers. If an adult, or just a big kid got on my previous swing set, it didn’t sound quite right. Since I elected to add a foot or so of height to this set by using longer timbers for the A-frame, you also get extra force and torque on the swing hangers. I elected for the maximum possible swing length on the Gorilla Playset swings, and I think the kids like the longer travel.
The final bit is that I elected to use a tie plate to join together a ten foot and an eight foot cross piece at the top. I could have custom ordered a longer one, but there shouldn’t be an excessive amount of torsion at that joint, given that all the A-frames are anchored in place. The ten foot 4x6 gives me room for three swings, and the eight foot mounts the Gorilla Playset tire swing. I like not having an open interior for the tire swing, keeps me from breeding mosquitoes. Also, the tire swing I ordered comes with a swivel, which is nice.
This was a reasonably easy project, and I can recommend it for anyone with even moderate experience. You can easily size it up or down to meet your needs.
Comments ()